Working on your website’s customization is a creative and fruitful process, that can turn a template, which has been freshly installed, to a quite different and unique theme.
In this tutorial you’ll find an extensive WordPress Customizer guide.
A Customizer is a powerful tool, that is invaluable for you to manage header and footer appearance, widgets, typography, menus, colors etc.
Customizer Overview

To find Customizer navigate to your web site’s Appearance menu in the left column of the Dashboard or click the Customize button located in the top toolbar directly at the website front-end.
Click on the Customize tab to open Live Customizer.

You can also open it by going to the Dashboard page and clicking on Customize Your Site button.

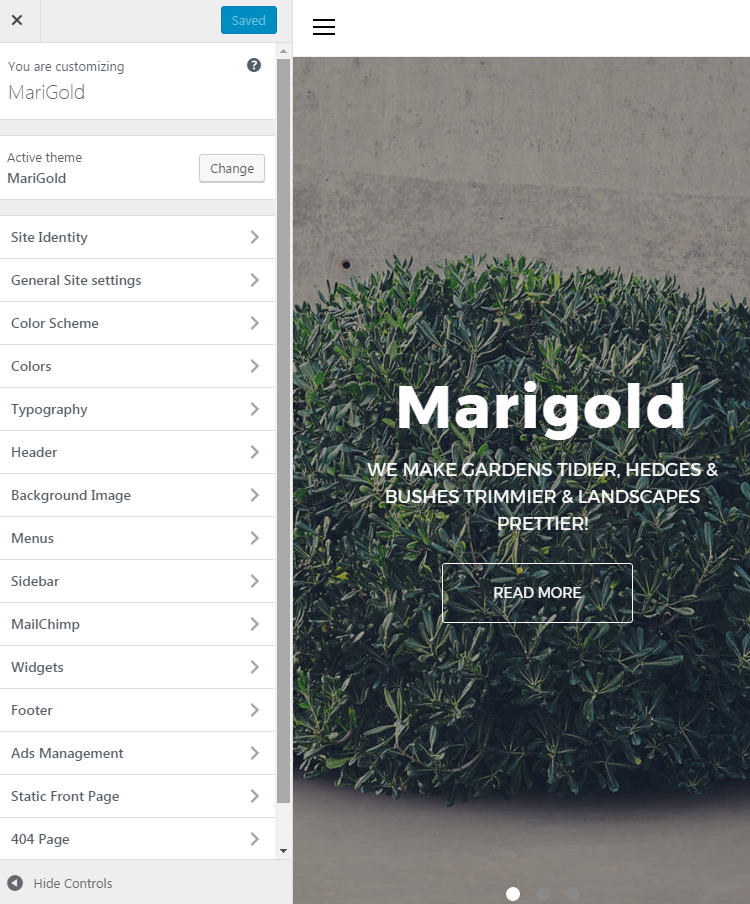
In the Customizer window, you’ll see your website’s current exterior, and a column, where customization options are listed.
The first block tells you, what theme you are currently customizing, you can see which theme is active now.
There is also Change button that allows switching the theme you’re customizing to a different one.
Customizer Options
Let’s go through Customizer functionality and find out, what can be done when using different options.
- Customizer. Site Identity Section
- Customizer. General Site Settings Section
- Customizer. Logo & Favicon Section
- Customizer. Breadcrumbs Section
- Customizer. Social Links Section
- Customizer. Page Layout Section
- Customizer. Color Scheme Section
- Customizer. Typography Section
- Customizer. Header Section
- Customizer. Menus Section
- Customizer. Sidebar Section
- Customizer. MailChimp Section
- Customizer. Widgets Section
- Customizer. Footer Section
- Customizer. Ads Management Section
- Customizer. Static Front Page Section
- Customizer. 404 Page Section


