


One of the most important preparation steps, that should be completed before installing WordPress, is creating a database.
From this tutorial you’ll learn about creating database manually.
A database is the package of structured data, which is organized to be found and changed easily. In the narrower sense, it is the storage of the tables, that contain all the data. WordPress uses MySQL database management system to store its data.
Now that you have a hosting, it is the right time to create a database, where your future website’s data will be contained in the form of tables.

WordPress engine requires MySQL database format, so your hosting provider must support MySQL 5.5, or higher.
Creating Database Manually
Let’s go through the steps of creating a database.
- First, enter your hosting control panel (it is usually called cPanel).
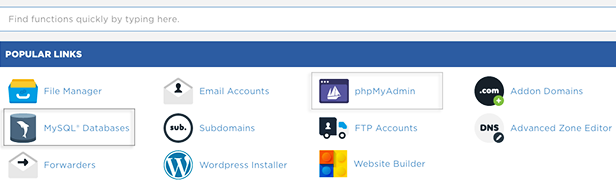
- You need to navigate to phpMyAdmin, where you’ll see the tab called Databases.
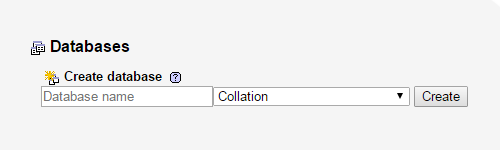
- Now enter the name of your database. Type it in the required field, and click on Create. Please, keep the name you’ve chosen, in mind, as you’ll need it in the further process of installing WordPress engine.
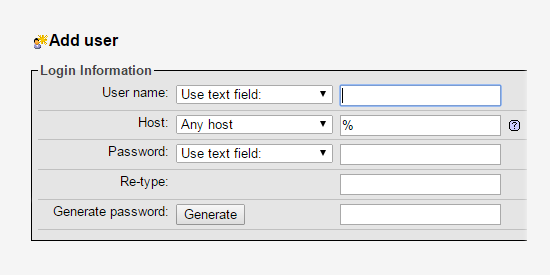
- When you’ve created a database, you’ll need to add a new user. Type in the name you want to use, assign a password, retype it in the required field. Then click on Create.
- Now let’s assign a user to the database. Click on Check Privileges icon, and see, if the user has access to the current database.
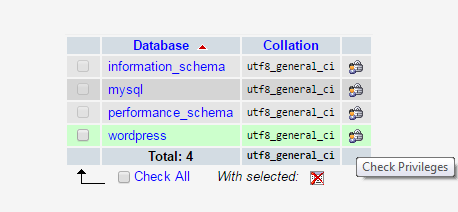
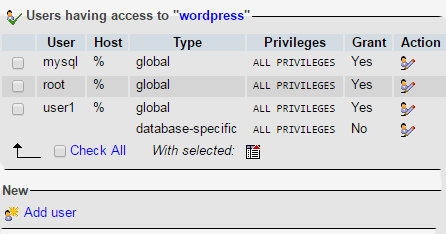
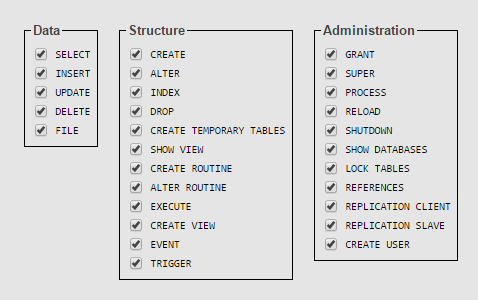
- Make sure that you’ve selected all the privileges for the user from the list. This will enable the user to manage a database.
That’s all! Now you are ready to upload files to a server and install WordPress engine.
