To fully install a template manually, you should do the following:
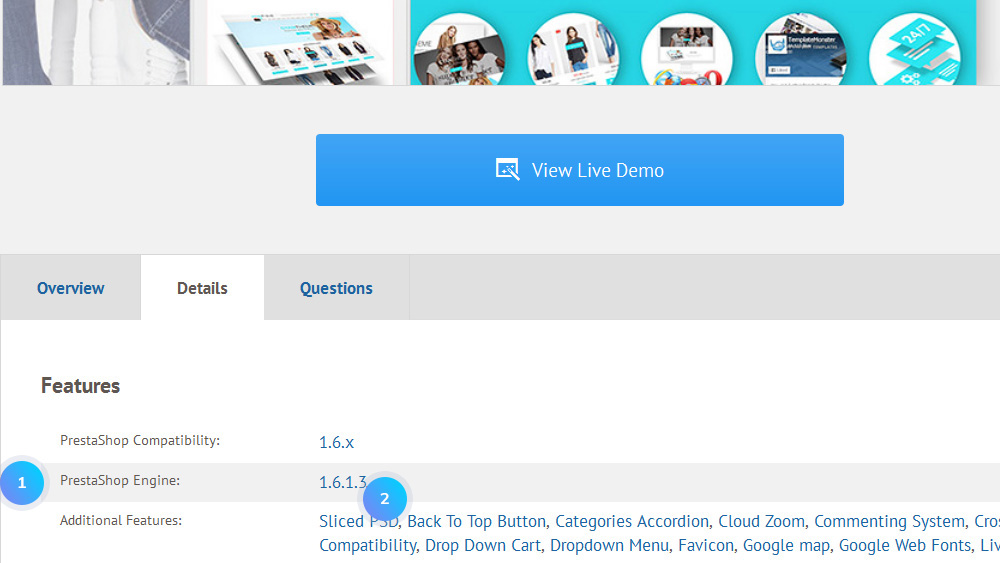
- First of all, download a PrestaShop engine under the following link: https://www.prestashop.com/en/download.Don’t forget to check the version compatibility! PrestaShop Engine compatibility of your template can be found under the Details tab on the template page.For this tutorial, the template 58343 will be used.
 It is necessary to use 1.6.1.3 version of the engine for the installation. Previous versions can be found at the following link: https://www.prestashop.com/en/developers-versions#previous-version.
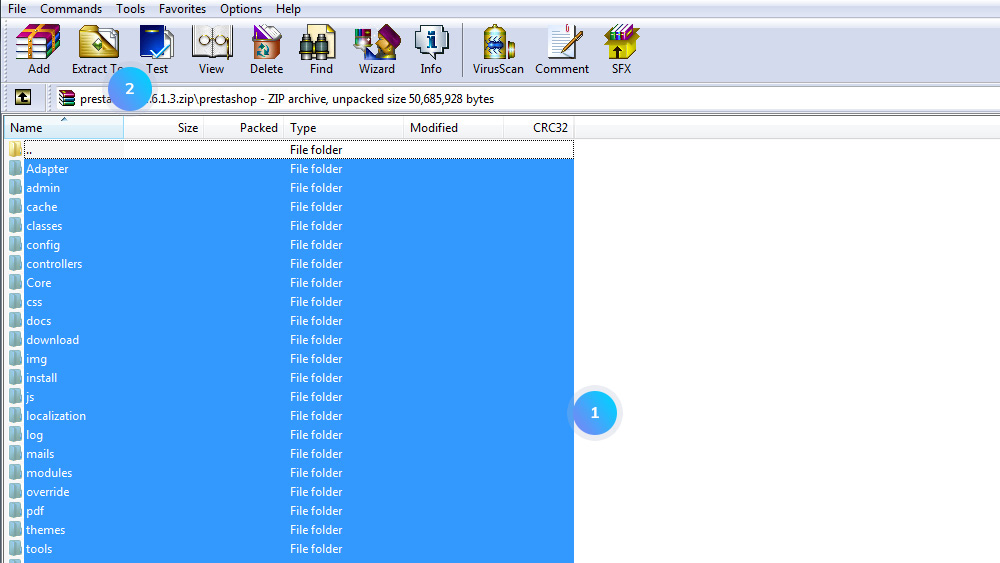
[notice type=”warning”]NOTE! You will be able to upgrade your PrestaShop to the latest version using 1-click Upgrade module. - Extract the engine files in a folder on your computer. Open the engine package, go to Prestashop folder, select all the files and extract them.

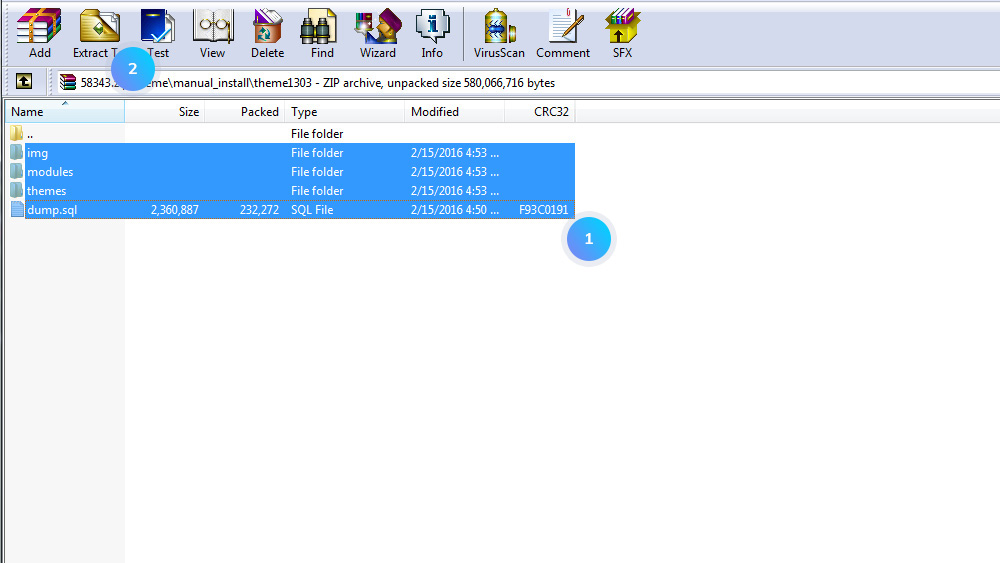
- Open a zip archive which contains your template and go to the following directory: theme/manual_install/themeXXXX. Select all the folders and files (folders: img, modules, themes; file: dump.sql) and extract them to the same folder where you have extracted the engine files. Please confirm overwrites if you have any.

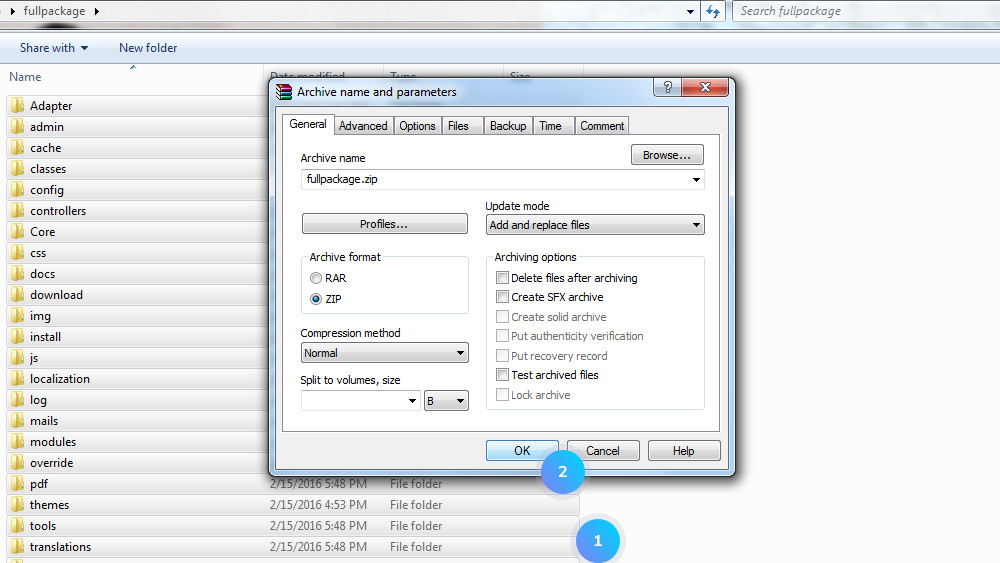
- Zip archive img, modules, themes folders. Upload the archive to your server and extract it in there.

- Proceed with the engine installation according to this tutorial.
- When the installation is completed, delete or rename the install folder.
- Go to phpMyAdmin to import dump.sql file to your database.You should get the following message: Import has been successfully finished, XXX queries executed. (dump.sql). See the screenshot below:

- In your Admin Panel go to Preferences–>Images and regenerate the thumbnails.Click here to watch a tutorial.
- The manual installation is completed. Refresh your website to check the result.
Hopefully, this tutorial was helpful for you.


