From this tutorial you’ll learn how to use Restaurant Menu plugin. It allows to create, maintain and display menus for different restaurants, cafes, hotels, etc.
Restaurant Menu Plugin Installation
- Let’s start with the plugin installation. In most cases, it goes with your theme and will be installed with Cherry Plugin Wizard. Please, feel free to check the process of theme and plugins installation in Template installation with Cherry Wizard tutorial.
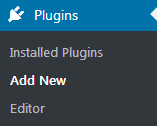
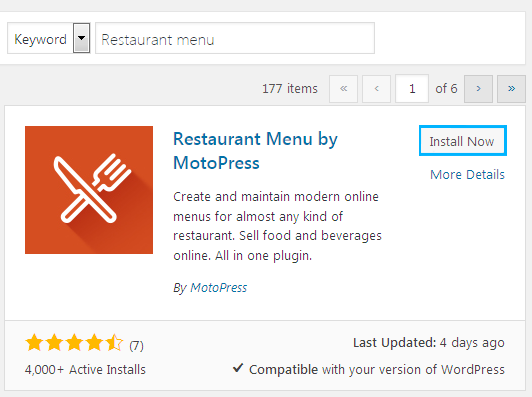
- If you haven’t got Restaurant Menu plugin, you can install it using WordPress Dashboard. Navigate to Plugins > Add New tab on the left of the Dashboard and input Restaurant Menu in the search field on the right.

- Locate Restaurant Menu plugin and click on Install to install it. Then click Activate button.

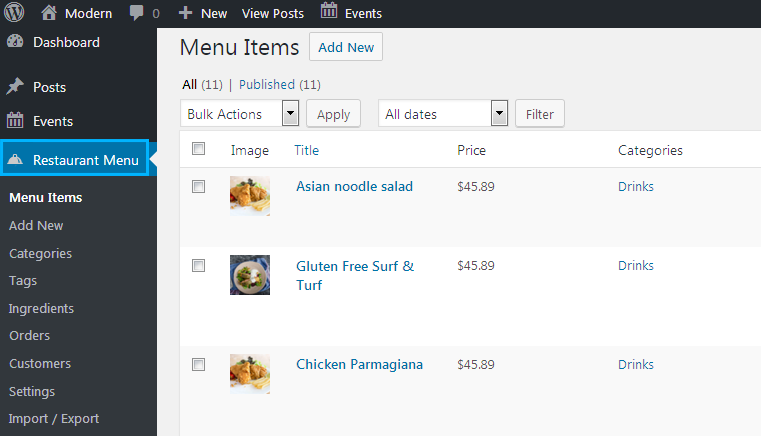
- Now the Restaurant Menu plugin is active on your website, and you can see Restaurant Menu tab in the left column of the Dashboard.

- You can find the full overview of how to add new menu items, manage categories and tags, add new ingredients to the dishes, handle orders and use its versatile settings from the tutorials below.
- Creating Menu Items with Restaurant Menu Plugin
- Adding Categories to Restaurant Menu Items
- Adding Tags to Restaurant Menu Items
- How to Add Dishes Ingredients Using Restaurant Menu Plugin
- Managing Orders in Restaurant Menu
- Managing Customers in Restaurant Menu Plugin
- Managing Restaurant Menu Plugin Settings
- Import/Export in Restaurant Menu Plugin
This tutorial is based on Monstroid2 Multipurpose WordPress theme (Modern Skin).


