


From this tutorial you’ll learn how to create a menu from WordPress Dashboard.

Creating a Menu
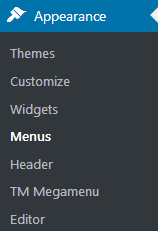
- Login to WordPress Dashboard and open Appearance > Menus tab on the left.
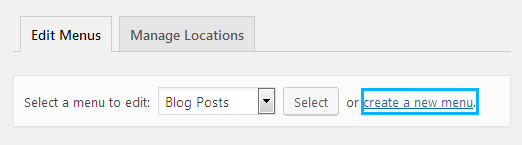
- Here click Create a new menu option next to the Select button.
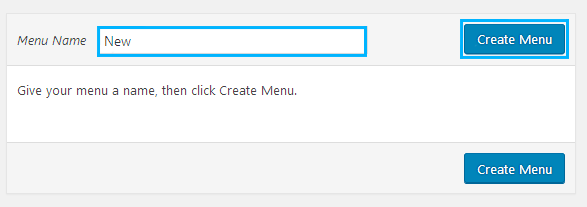
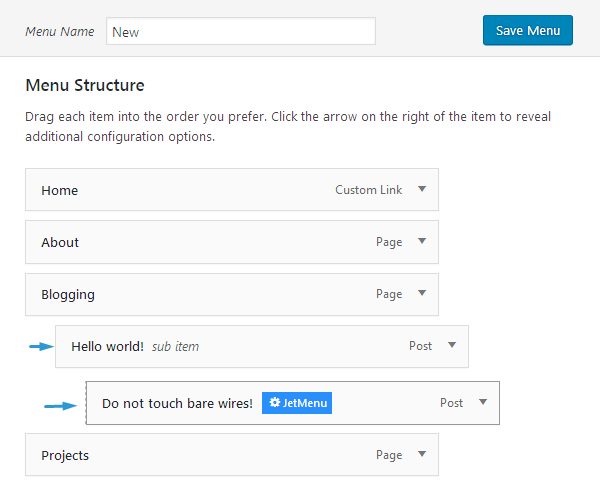
- Enter the menu name and click Create Menu button to create a new menu.
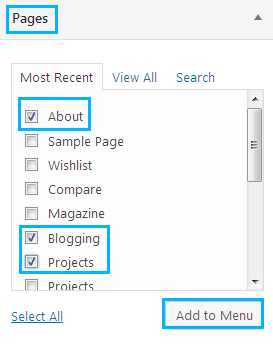
- Now let’s add menu items to it. In the case you need to add one of your website’s pages to it, open Pages tab on the left and select the page you want to add.
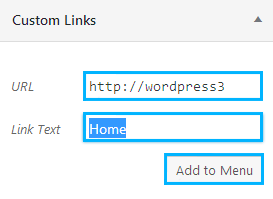
- If you want to add an external link or a separator as one of the menu items, navigate to Custom Links tab. Here input your custom address in the URL field. Type in the item title in the Link Text field. Then click Add to Menu button to add the item to the menu.
- To create the submenu items drag the items added to the menus to the needed position below the parent menu items. You can set your custom order and position the menu items according to your needs.
- Locate Menu Settings block and set the needed location of your new menu (top, social, etc.).
 Note, that different themes have different menu locations.
 - After that, please, click Save Menu button to save the changes. As a result, you’ll have a new menu.
Feel free to check the following tutorials to learn more about creating and customizing menus.
- Creating a Custom Menu
- How to Enable Advanced Menu Item Options
- How to Add Menu Item Description
- How to Add Custom Menu Separator
This tutorial is based on BeDentist & Medical WordPress theme.
