From this tutorial you’ll learn how to change taxes using WooCommerce plugin in online store themes.

Changing Taxes
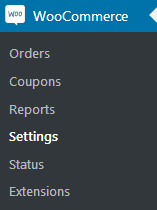
- Log in to WordPress Dashboard. Here locate WooCommerce > Settings in the left column.
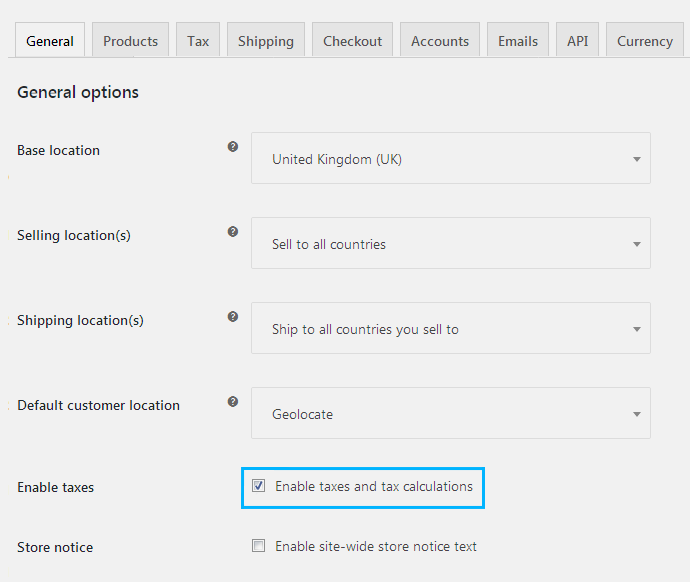
- Switch on Enable taxes option in the General settings block. Then save the changes.
- Now you’ll see the Tax tab along with the other settings blocks at the top of the page. Navigate to it to access taxes settings.
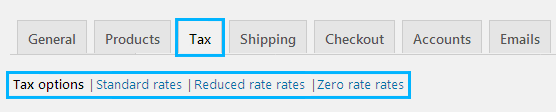
- Here you can manage tax options, standard tax rates, reduced rates and zero rates.
Tax Options
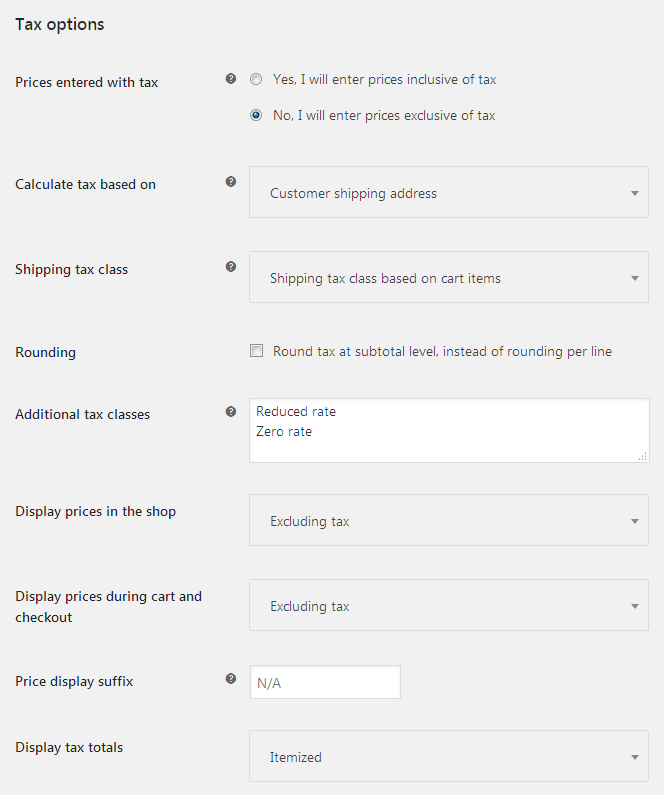
- Prices entered with tax — here you can select, whether you want to add the prices including the tax, or not.
- Calculate tax based on — here you need to define if you want to calculate the tax based on customer shipping address, customer billing address, or shop base address.
- Shipping tax class — here you can set, if the shipping tax class will be based on cart items, on reduced or on zero rates.
- Rounding — enable this option if you want the tax to be rounded at subtotal level.
- Additional tax classes — here you can list the additional taxes (one per line) to add them to the standard tax rate.
- Display taxes in the shop — here you can set if you want to display the product prices in the shop including taxes, or without them.
- Price display suffix — input in this field the explanation for your pricing.
- Display tax totals — here you can set if you want to display the taxes for each separate item, or as a single total.
“Standard” Tax Rates
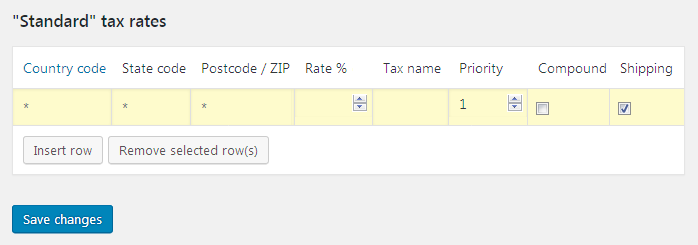
To manage standard tax rates you need to click on Insert row button. The option will add the row with the fields where you’ll have to fill in the following data.
- Country code — here fill in the country code in two digits.
- State code — indicate the state code (or leave the field empty to apply the tax to all the states).
- Postcode — here you should fill in the ZIP code (or leave the field empty to apply the taxes rule to all the ZIP codes).
- City — here you can define the city to which the tax will be applied.
- Rate — here you have to indicate the tax rate in percents.
- Tax name — here you can define the name for the tax rate.
- Priority — here you can set the priority for this tax rate.
- Shipping — check this option to show that the tax also applies to shipping.
- Compound — check this option to define that the tax rate will apply on top of other tax rates.
Save the changes when you’ve filled in all the taxes. Now you know how to add and change taxes for your online store products.