From this tutorial you’ll learn how to add coupons to provide discounts to your customers.

Adding Coupons
- To add a coupon you need to log in to WordPress Dashboard and navigate to WooCommerce > Coupons tab on the left.

- Here click on Add coupon button at the top of the page.
- Fill in the coupon code that the user will need to enter in order to get the discount.
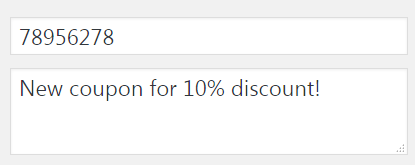
- Provide the description for the current coupon you’re adding.
- You can see the Coupon data block just below the coupon description. Let’s look at these fields more closely.

- Discount type – here you can select the type of the discount provided with this coupon (percentage discount, fixed cart discount or fixed product discount). Choose the type that is more suitable for you.
- Coupon amount – here you can define the fixed percentage of the discount for the current coupon.
- Allow free shipping – check this option if you want to permit the free shipping with this discount.
- Coupon expiry date – here you can set the closing date for the coupon.
- In the usage restriction field you can define the minimum and maximum costs spend allowed to use for the coupon.
- Individual use only – enable this option is this coupon can’t be used together with other coupons.
- Exclude sale items – enable this option if you want to use the coupons only on non-sale items.
- Products – type in the product name to apply the coupon to it. You can select one, or even several products to apply the coupon to them.
- Exclude products – here you can define the products that won’t be under this coupon discount.
- Email restrictions – here you can restrict to use this coupon for the customers with specific emails.
- Switch to Usage limits block to customize usage limit per coupon and usage limit per user.
- Click on Publish button to save the changes.
This tutorial is based on TechnoFix Tech Repair Company Responsive WordPress theme.