Here you can find the instruction on how to manage Parallax module.
General
To activate the module, navigate to Store > Configuration > Templatemonster > Parallax tab. Here you’ll find option to enable module.

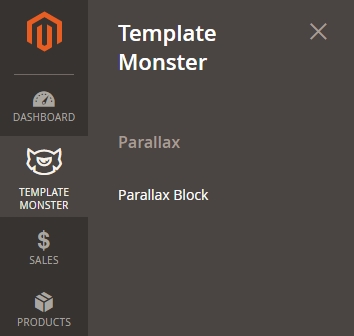
To add and configure parallax block, navigate to TEMPLATE MONSTER > Parallax Block.
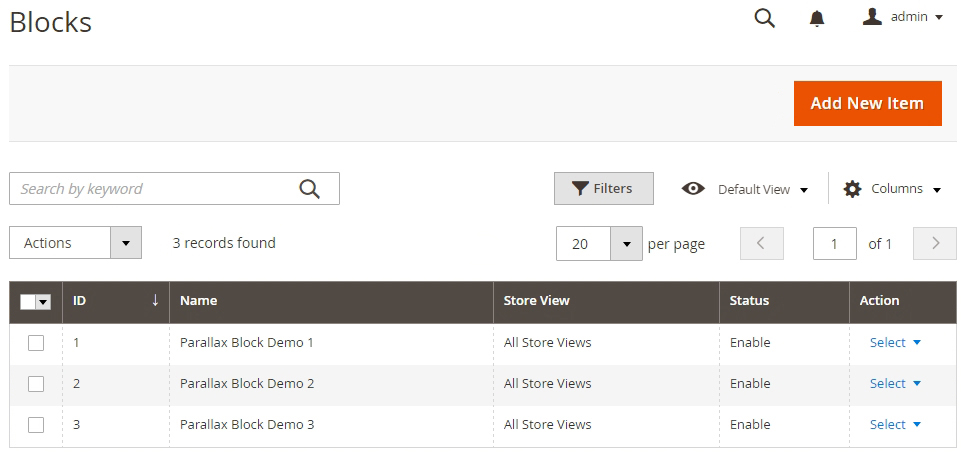
You’ll see the “Add new item” button with the help of which you can add a new parallax block.
While creating or editing a parallax block, two tabs become available. They are General Settings & Parallax Block Item.
General Settings
In this section, you’ll see the general setting for a parallax block.
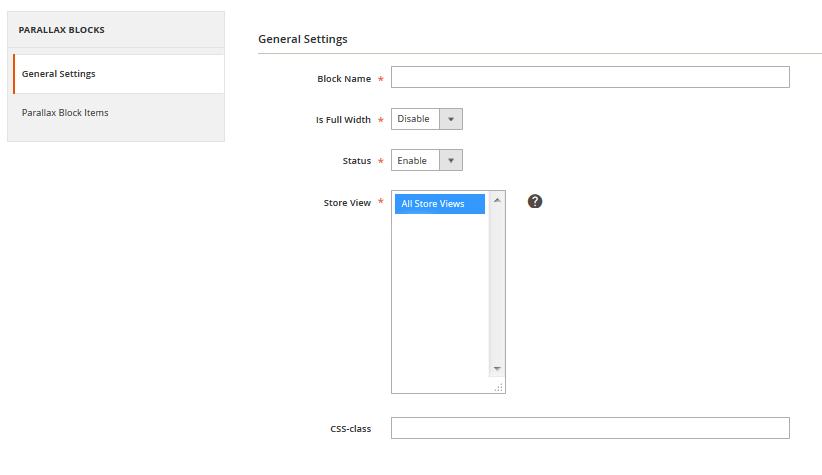
➤ Let’s review module options:
- Block Name — you can input a name of a parallax block in this field.
- Is Full Width — if you choose “enable”, you going to have a full-width page parallax block, if “disable” — the block with the same width as the container in which the one is.
- Status — enables/disables the parallax block on your website.
- Store View — choose the store view, where to place the output of a parallax.
- CSS-class — you can add CSS class to your block here.
Parallax Block Items
In this section, you can see the “Add item” button that is needed for adding a new layer, with the parallax or not. This button appears after a new parallax block creating only [once you click on the “Save block” or “Save and Continue edit” button].
Also, you are able to see this parallax block layers list.
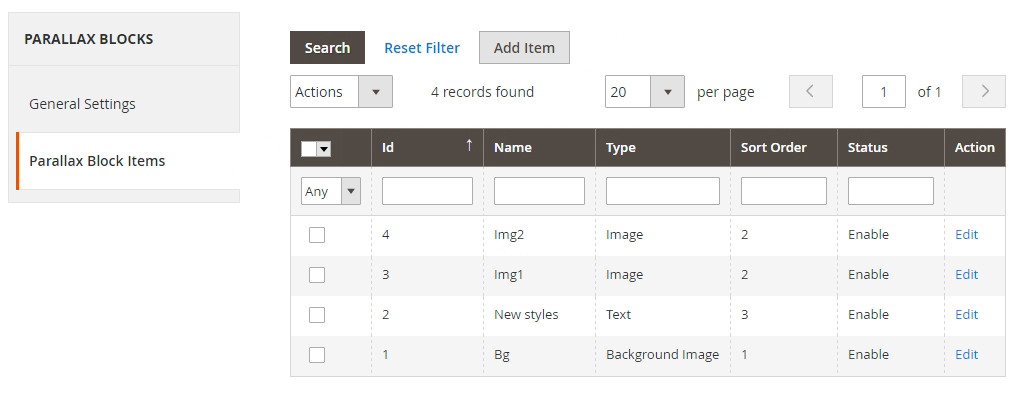
➤ While creating or editing a layer you might deal with the following settings:
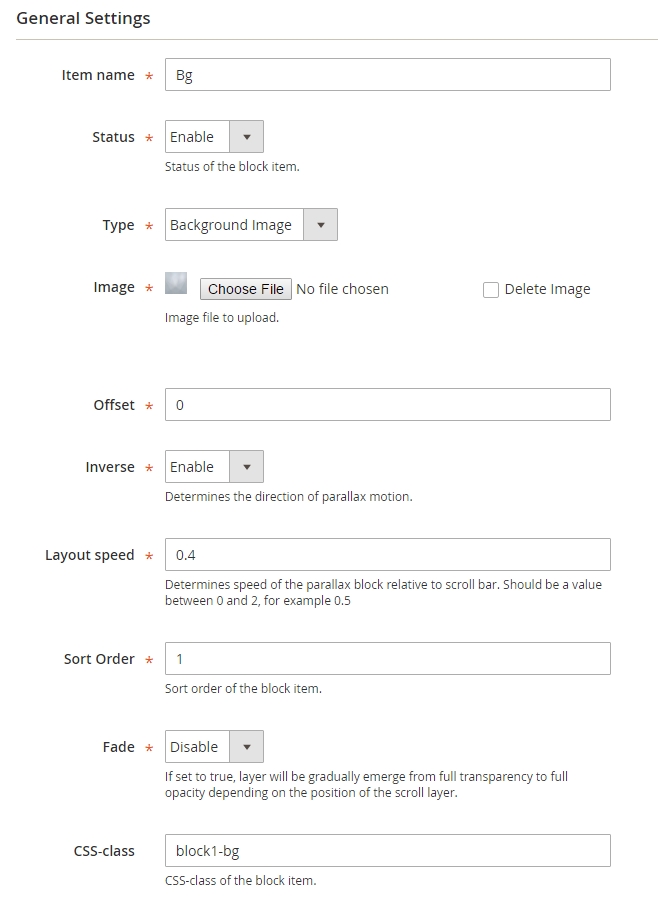
- Item name — in this field, you can set a name of a layer.
- Status — enables/disables a parallax block on your website.
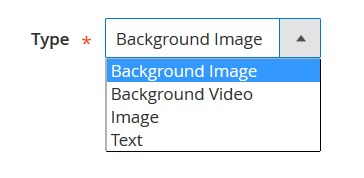
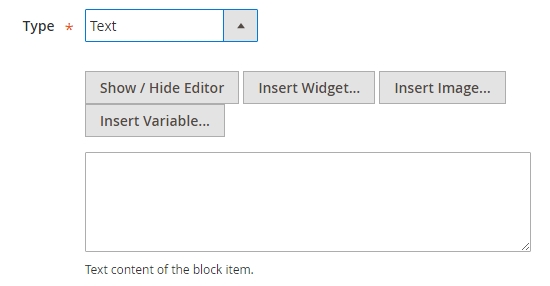
- Type — you are free to choose any of four type of layer: Background Image/Background Video/Image/Text (each type settings became available after the type choosing).
- Offset — set the layer vertical offset, in pixels only.
- Inverse — determine the direction of parallax motion. Enable — to the top, Disable — to the bottom.
- Layout speed — determines the speed of the layer relative to the scroll bar. The value should range from 0 to 2.
- Sort Order — sort order of the block item.
- Fade — if enabled, a layer will be gradually emerge from full transparency to full opacity depending on the position of the scroll layer.
- CSS-class — you can add CSS class to your layer.
Settings according to the layer type
If you choose Background image or Image type, you going to have another field with a button to upload an image file. You can delete an uploaded image ticking the “Delete Image” and saving the configurations.
➤ When choosing Background video, the additional options will appear:
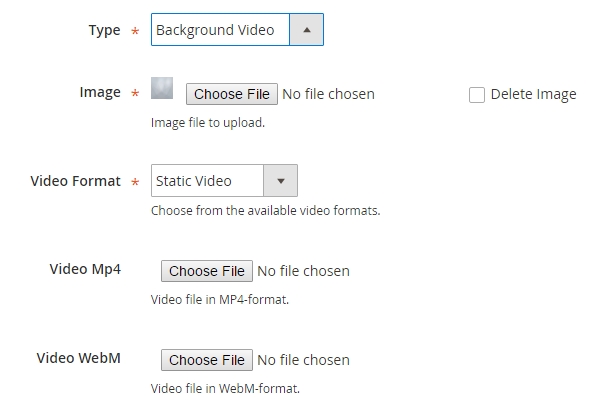
- Image — background image to be shown before video starts playing.
- Video format — you can choose Static video — in mp4/WebM format. YouTube Video — you need to insert the video ID in the field just became available. E.g. https://www.youtube.com/watch?v=ZIbfupoM3e4. You should insert that is marked in bold font.
If you choose the Text type, the field for you to input the text or HTML code, which ought to be displayed on your layer, will appear.
The output to Frontend
To display your parallax block on website you need to follow along with these several steps:
1. Go to Content > Widgets > Add Widget.
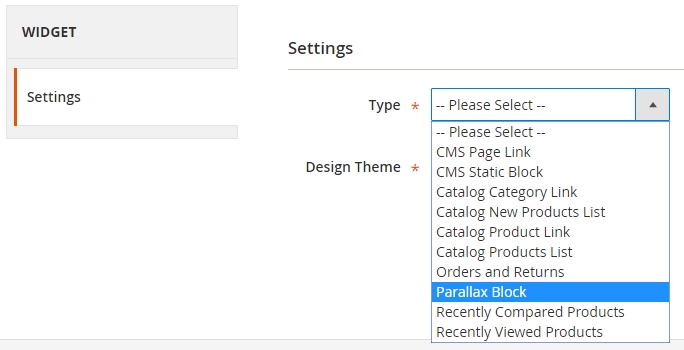
2. Select the Parallax block and your Design theme.
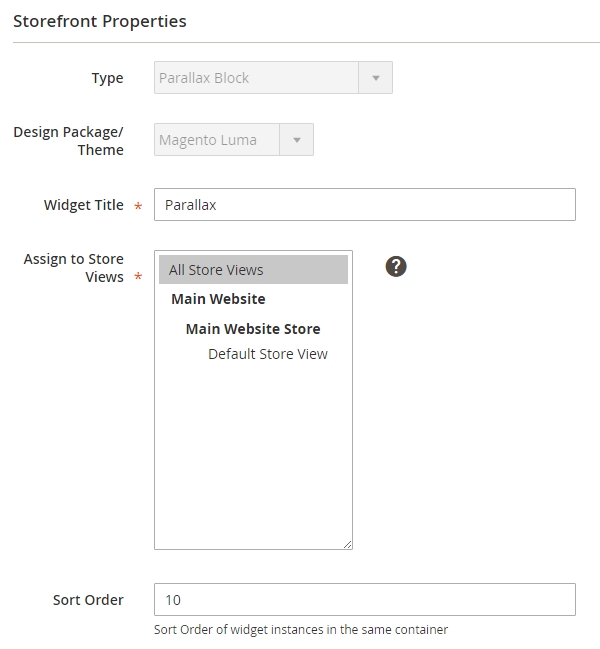
3. Click “Continue” button. Choose Store view in a Store front Properties tab, enter the Widget title and Order number.
5. Then you need to choose specific place to display the block.

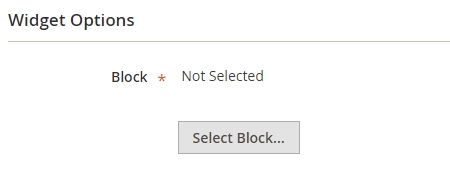
6. Go to Widget Options tab and select your parallax block.
