


A Slider is definitely the most attractive block in every website, it makes the pages look more accomplished and professional.
Power Builder Slider Module Settings
- Add New Slide — here you can add a new slide. Actually, you can add as many slides, as you’d like. Click on it to enter the single slide settings, which we’ll overview later in this post.

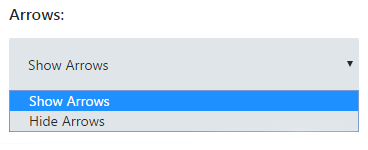
- Arrows — here you can enable or disable navigation arrows, which help visitors switch from slide to slide. As a result, the process of navigation will become much easier.
- Show controls — here you can enable or disable slides pagination. It is shown at the bottom of the slider in the form of colored circles.
- Slider fullheight — the option influences on how the slider will be displayed. It can be displayed in a full height mode if this option is enabled.
- Automatic animation — this option turns on automatic switching from slide to slide, so the visitors wouldn’t have to use navigation arrows to go through the slides.
- Automatic animation speed — here you can set the speed of sliding in ms. Define it to set the precise pace for a slider to go out and the other one to appear.
- Continue automatic slide on hover — this option turns on the sliding when the mouse is on hover.
- Use parallax effect — if you enable this option, your slider background will stay fixed while you scroll the page.
- Parallax method — here you can define the method used for parallax effect.
- Remove inner shadow — here you can turn on and off the inner shadow effect, that is used at the slides background.
Creating a Slide
Now let’s add a new slide and learn how to manage single slide settings.

- Click on Add New Slide and you’ll be redirected to the Slide settings window.
- In the heading text field specify the heading for the slide.
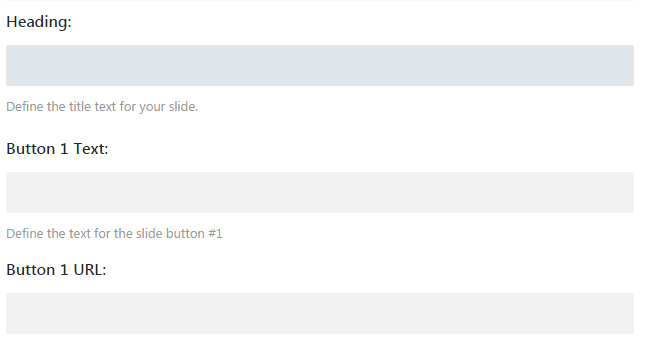
- Add buttons, and specify the links and button text for them in the matching fields. You can otherwise leave the button text and link fields blank if you don’t want to add any buttons.
- Set a background image if you need it, choosing it from a media library or uploading it from your hard drive. Click on Upload an image button and you’ll proceed to uploading window. You can also leave the block blank if you don’t want to use any image as a slide background.
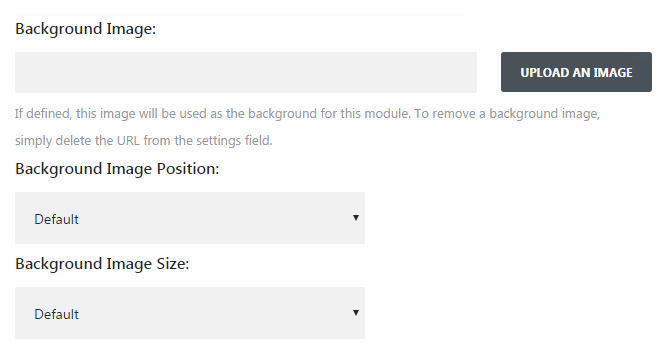 You can define background image position and set image size if you need to adjust it to your website’s page.
 - In the Background color field you can set a color to be used as a single slide background. Click on Select color and you’ll see a color picker instrument. Use it to define the color you need.
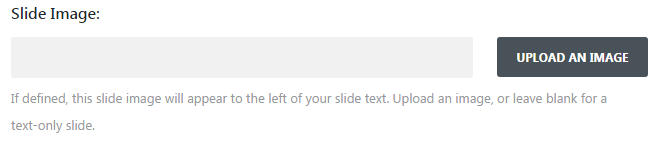
- In the Slide image field you’ll have to download an image to be shown on your slide. Click on Upload an image button to proceed to image uploading window. You’ll be also offered to choose an image from the existing media library. You can also leave the field empty to create a text-only slide.
- Use background overlay option adds a custom color overlay to your slide’s background, leaving the slide content itself free of any overlay. This setting is invaluable in styling up the slides.
- Text overlay option adds a custom color overlay to your slide’s background, as a result, making content more easy to read.
- Applying heading background image option fills the heading text with the custom image. When the option is turned on, you’ll be offered to choose the image.
- Slide image vertical alignment option helps you to choose your slide content alignment. It can be placed either in the center of a slide, or at its bottom.
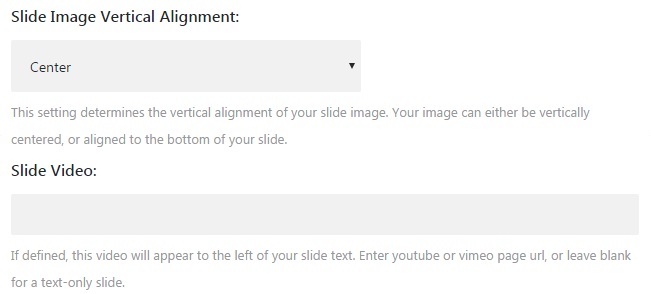
- Slide video option allows you to embed a video to your single slide with Power Builder Slider module. Just enter the link leading to your video (e. g. YouTube or Vimeo) to the field, or leave it empty if you don’t want to embed any videos. As a result, the option will add a video to the left of your slide’s text.
- Image alternative text option — here you can input alternative text for your image, if you use it in your slide. Thus, your image will be identified with the text.
- Background video MP4 option allows you either to upload a video to be shown as your slide’s background, or choose it from the media library. But you have to know, that background videos are disabled for mobile devices. This is why you’ll have to define both an image and a video background. Though, you can refuse from use a video as a background, if you don’t need it in this slide.
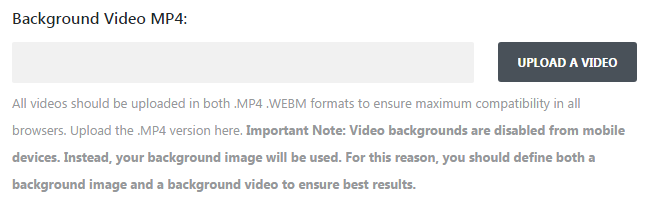
- In the background video width and height fields you can set the size of your custom video background.
- Pause video option — when turned on, the option sets background video to a stop when other media content on the page begins to play. This way the video won’t continue playing when you’re viewing other media content.
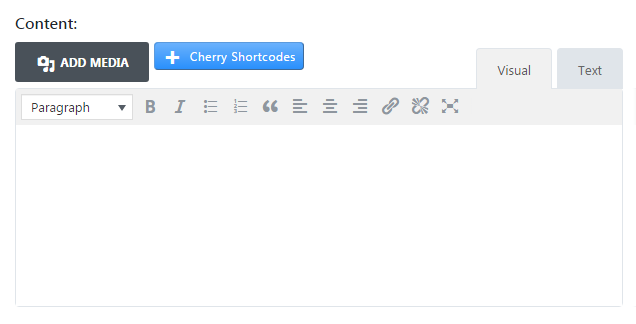
- Content — in this field you can add any content to be shown in your single slide. It can be text, images, audio, video. Thus, you’ll be able to display all kinds of content in the form of slides.
Success! Now you can add Power Builder Slider Module and create sliders on your website’s page with the help of it!

