


When you are adding a new page, and need visitors to see it clearly and have an easy access to it, you might need to add it to one of the menus.
From this tutorial you’ll learn how to work with the Menus section.
A menu is an element, that makes the information structure of your website clear to the visitors, and is extremely helpful in searching the necessary information.
It can include various elements and can be placed in different areas of your website.

Menu Locations
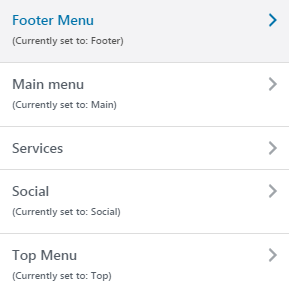
Different themes support various menu locations. Here is the list of the most common ones.
- Top — here you can place the selected menu type in your site’s top area.
- Main — here you can place the selected menu type in your site’s main area.
- Footer — here you can place the selected menu type in your site’s footer area.
Menus Customization
- You need to open one of the menus to make changes in menu elements, or change menu location on the webpage.
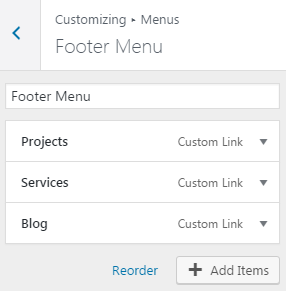
- Right then you’ll see the list of items from the selected menu.
- You can add the new items, or remove the existing ones.
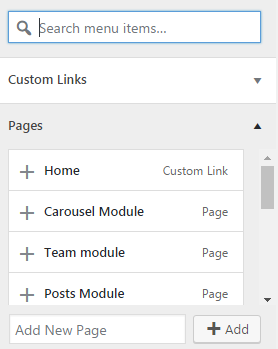
- Press the Add items button, when you want to add the new item to your existing menu. A new block of settings will appear on your page.
- Here you can search menu items if they already exist to add them to the specific menu you are customizing.
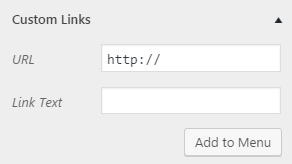
- Custom links option contains two fields, that you need to fill in to create a new link in your current menu.
- To do it you’ll need to set the URL and enter the Link text, which will become one of your menu’s items title.
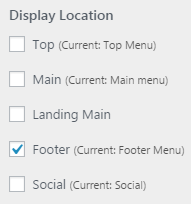
Display location — this option defines where your menu will be located.
This tutorial is based on TechnoFix Tech Repair Company Responsive WordPress theme.

