Sometimes you need your customers and visitors to know the terms and conditions before they make an online purchase. A perfect way to do it is to create a Terms and Conditions page and add a checkbox where the buyer will be able to proceed to reading the terms and agree to the terms by putting a check to the checkbox.
Terms and conditions is the form, which allows a visitor or a purchaser to learn all about the terms, on which he might make a purchase.
From this tutorial you’ll learn how to accomplish the task and make the buyers agree to the terms before purchasing. Here you’ll find out how to add Terms and Conditions checkbox to the Checkout page.

Adding Term and Conditions Checkbox
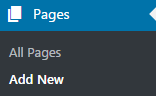
- First, log in to WordPress Dashboard, find Pages tab in the left column and click on Add new submenu. A page editing window will open, where you can use all the editors and modules to create a page containing the terms and conditions information. Enter the Terms and Conditions page title.
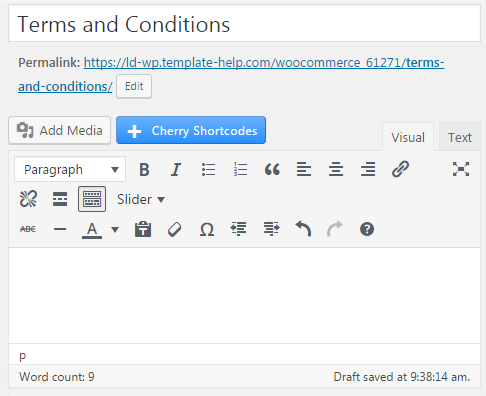
- Then place the terms and conditions text in the content field. Use Preview button to take a look what a page looks like.
Now you can publish the page, and we are ready to add it to the Checkout page.
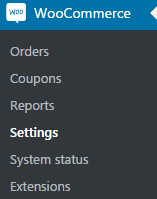
- Navigate to WooCommerce tab, which is located in the left column of the Dashboard. Click on Settings submenu (WooCommerce includes its own settings). Choose the Checkout tab in the top menu and open it.
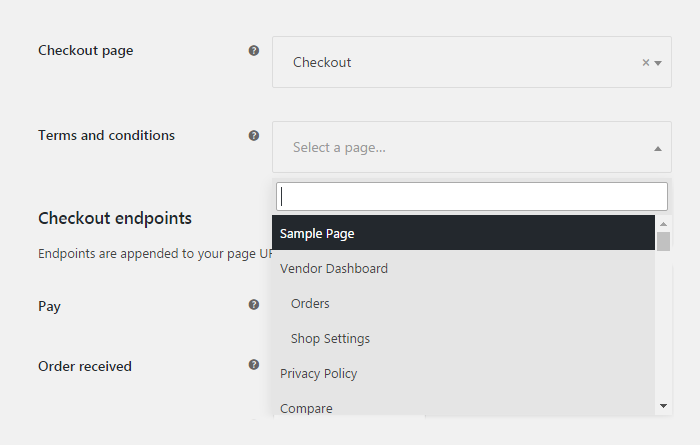
- Here you can see the Terms and Conditions field, to which you can assign the page you’ve created. Choose the page you’ve created from the dropdown list and save the changes.
- Everything’s correct! Now you can go to the Checkout page and view the Terms and conditions checkbox at the bottom of the page. There will also be a link leading to your Terms and Conditions page.