


You might need to create a new page for different purposes, but no matter what purpose you pursue, it is essential to know, how to create and manage page layouts, edit pages, as you might need to add a new structure element to your website.
From this tutorial you’ll learn how to add new page using Administration panel (Dashboard).
A page is one of the main elements of your website’s structure. Actually, it is the cornerstone of your content, which covers all kinds of functions. It can contain different information, from blog posts to information about your website, different galleries, your personal contacts, testimonials, etc.

Adding a Page
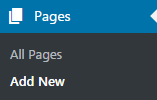
- Whenever you need to add a new page to your website, log in to your Administration panel (Dashboard). Then, navigate to Pages tab located on the left. Click on Add New.
- A form will open, allowing you to add a new page. Now let’s take a closer look at the new page’s settings.
- In the headline field you need to input the name of your future page (e. g. Services, Contacts, etc.)
- When you enter your page’s name, a permalink appears, showing your page’s actual address. You can edit it (to do it just click on Edit button and apply all the necessary changes).
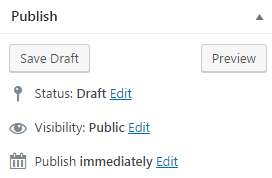
- In the top right corner you’ll also see Publish block, where you can:
- save a draft — save your page’s draft, if it is not ready to be published;
- preview – open a new preview window in your browser to view how your page looks right now;
- status — change your page’s status;
- visibility — change your page’s visibility from public to password protected, or private;
- publish — here you can edit the time of publishing, set the exact time, when you want a page to appear;
- Publish button — click on it to publish a fully fledged page.
Page Attributes Form
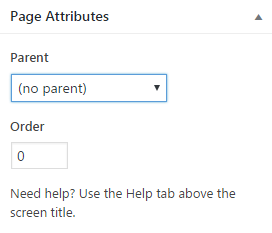
This form helps you to edit your page’s structure. You can add your new page as a child page for the existing parent one. In order to do so choose a parent page from the list of pages, and change page’s order number (just input the number into the required field).
Post Sidebars Form
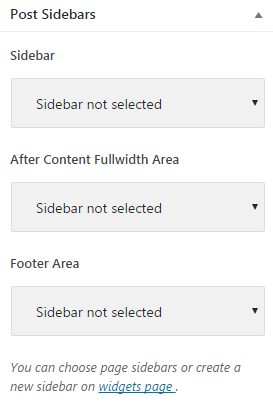
Here you can add available widget areas to the new page.
To do this in the required field choose one of the widget areas, that you want to display. It will appear immediately.
Page Settings Block
This block allows selecting specific page layout and styles options. It consists of several menus.
- Layout options — here you can customize layout options for the page.
- Header style — here you can customize your page’s header style.
- Header elements — in this menu you can add different header elements to your page.
- Breadcrumbs — this block shows or hides breadcrumbs from your website’s page.
- Footer settings — here you can customize the footer settings.
Let’s overview these menus to know more about the options available for each tab of this block.
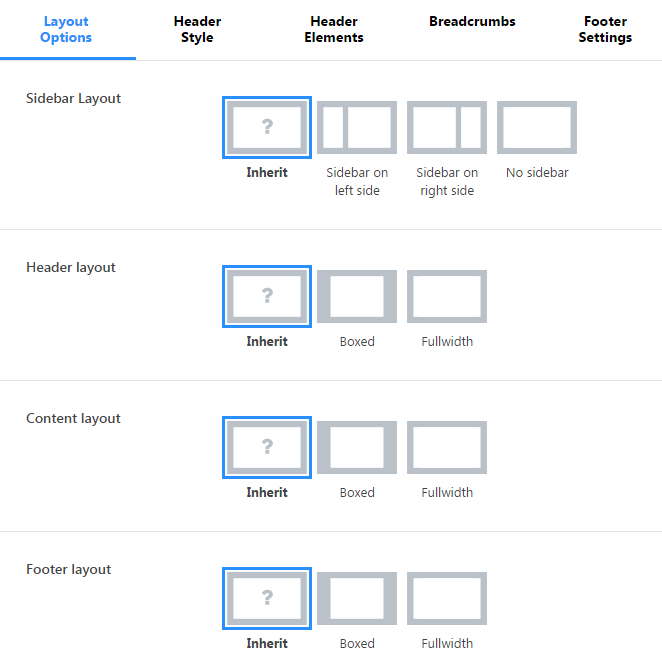
- Layout Options tab allows changing sidebar layout (or completely hide it from the page), change header, content and footer layouts from boxed to fullwidth. Just select the picture of your desired layout by clicking on it in the layout options block, and then preview the page to make sure that everything is done correctly.
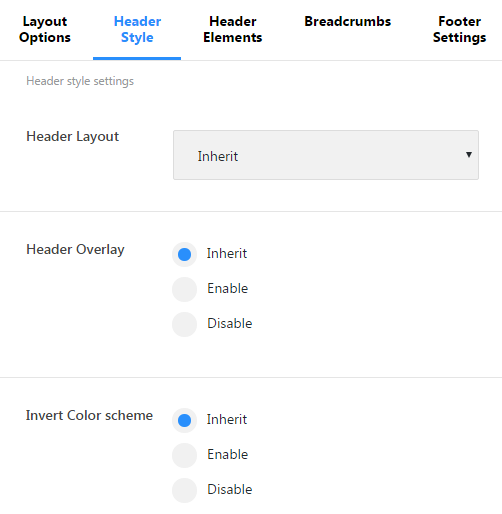
- Header Style tab enables you to change header layouts (you need to choose one of the layouts from the drop-down list to set it to the page), header overlay (you can enable or disable this option), and set a regular or an inverted color scheme for a header.
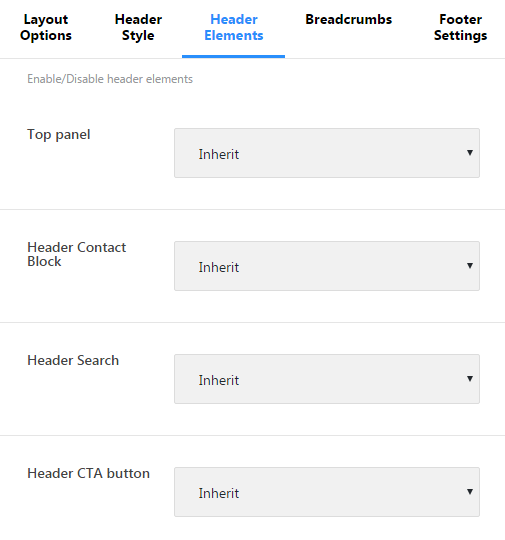
- Header Elements tab allows to enable a top panel, header contact block, header search and header Call to Action button. You can also disable any of the listed elements at will.
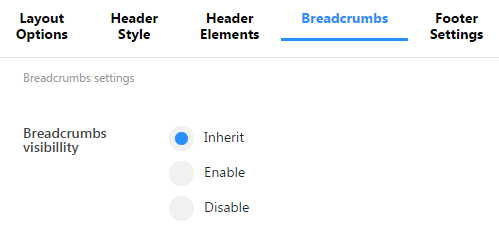
- Breadcrumbs tab sets breadcrumbs visibility, so you can enable or disable breadcrumbs for the particular page, when you need it.
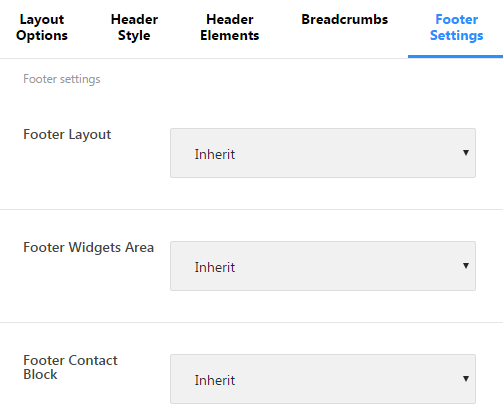
- Footer Settings tab enables you to change footer layout (to do it you’ll need to set one of the layout styles listed in the drop-down list), and here you can show or hide footer widget area and footer contact block.
Add as many pages as you need to, and create different types of content, customizing page layouts and elements!
