


Custom menus are must-have for any type of website. They simplify the navigation process and allow users to find the necessary page in a few clicks. A lot of site owners put menus on the page header to be shown on every page of your website. Add menu in Elementor is a simple process. Especially if you use our tips.
From this tutorial, you’ll learn how to how to edit menu in Elementor with JetMenu. There are only 10 easy steps to a unique menu!

Step #1: Add New Menu in Elementor
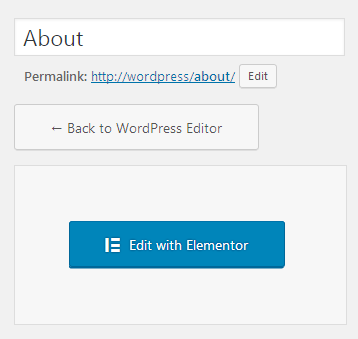
- First, you need to open the page for editing with Elementor. Navigate to Pages > Add New tab on the left of the Dashboard.

- Click Edit with Elementor button.
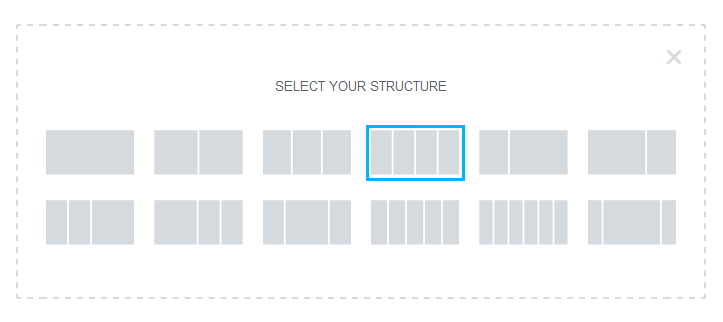
- Click Add new section and define its structure in order to place a menu there.
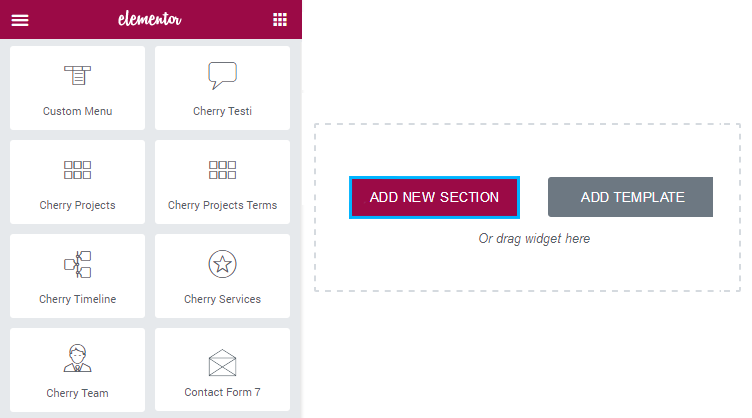
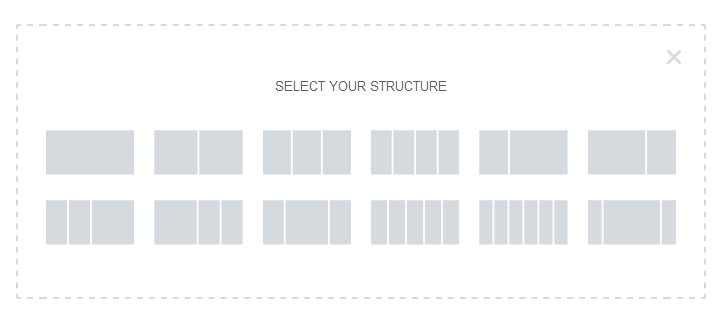
- Select the necessary section structure.
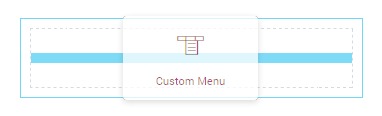
- Locate Custom Menu content module.
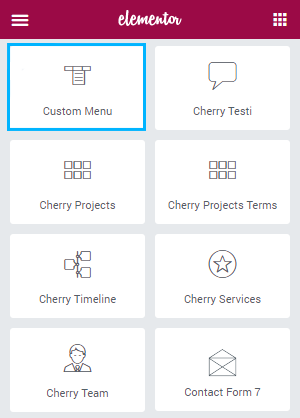
- Drag and drop it to the area where you want to add it. You’ll see the Edit Custom Menu block on the left.
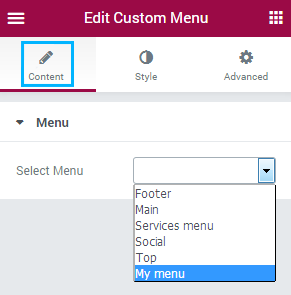
- In the Content block you need to specify the menu you want to display with Custom Menu module. Select the menu you want to add from the drop-down list of your existing menus.
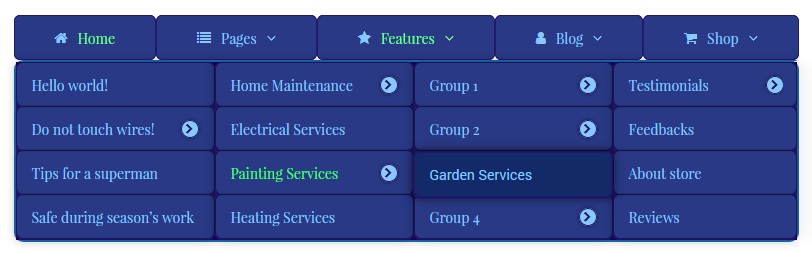
- Switch to Style tab to change the module style. You can see the detalied description of the Custom Menu module style settings in the JetMenu Custom menu Module documentation block.Keep reading this tutorial if you want to learn how to create a menu similar to the one shown below.
Step #2: Customize Menu in Elementor
- Add a new section where you want to place a menu. Select the section structure (in our case, there will be 4 columns).
- Locate Custom Menu module and drop it to the column where you want to place it.
- In the Content block select the menu you want to use for this column.
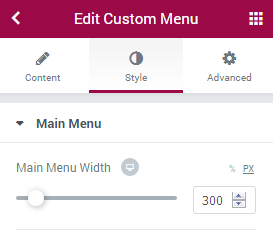
- Let’s style this menu up! Switch to Style block to view all the available style settings. You can find the example of styling up a menu in the block below.
- Input the preferable main menu width in the Main Menu Width block (in px). We’ve set 300 px.
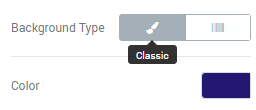
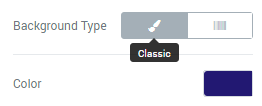
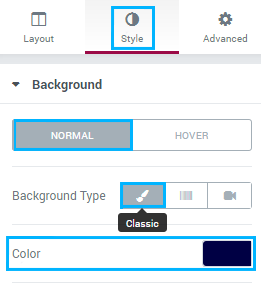
- Select Classic background type.
- Set the background color using Color picker tool (we’ve set #221872 HEX value).
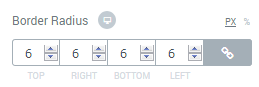
- Input the border radius value in the Border Radius block to make the menu angles more rounded (in our example it is 6 px).
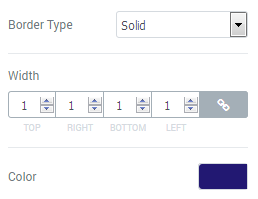
- Select Solid in the Border Type (you can select any other border if you think it more suitable).
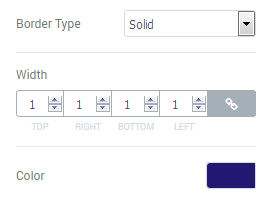
- Input the border width value in the Width field (we set 1 px border width).
- Set the preferable border color (we use #221872 HEX color).
- Enable Box Shadow option.
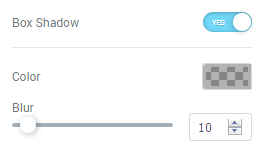
- Specify the shadow color (we used rgba(0,0,0,0.3) color and transparency settings).
- Set 10 blur value using the corresponding controls for the shadow options.

Step #3: Discover More Submenu Style Settings
- Open Sub Menu settings. Here you can manage the submenu background, width, etc.
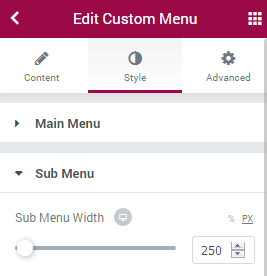
- Specify the submenu width in the corresponding field (in our case, it is 250 px).
- Select Classic background type and set the necessary background color (e.g., #221872 HEX value).
- Define the preferable border radius (we used 6 px).
- Set the needed border type (we used Solid border type).
- In the Width field you need to input the border width value (in our case, it is 1 px).
- Specify the border color (we used #221872 HEX color value).
- Enable Box Shadow option to apply the shadow to the submenu blocks.
- In the Color block specify the shadow color and opacity (we used rgba(0,0,0,0.5)).
- Set Blur to 10.
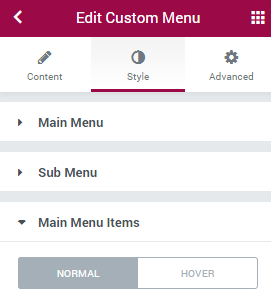
Step #4: Set Main Menu Items Style
- Let’s proceed to Main Menu Items style settings. First, we need to customize them in the normal mode.
- Specify the necessary background color (in our case it is rgba(60,137,178,0.29)).
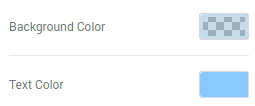
- Use the needed text color (in our example it is #89c8ff).
- Enable Typography settings to apply the font settings for the menu items.
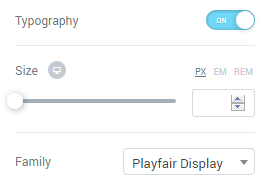
- We used Playfair Display font family.
- Specify the border radius value in the Border radius block (we used 6 px).
- Enable Box Shadow option. Set the shadow color (we used rgba(0,0,0,0.5)).
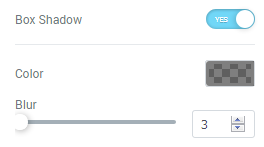
- Reduce the Blur value to 3.
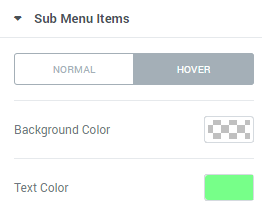
- Now let’s switch to Hover mode.
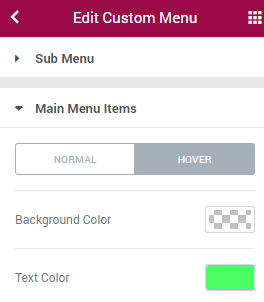
- Here let’s specify the Text Color value (we used #4cff64). All the other options will remain the same.
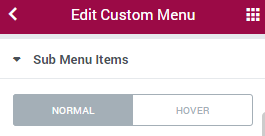
Step #5: Adjust Submenu Items Style
- Open Submenu Items style settings (scroll down to access them). First, we’ll customize the Normal mode.
- Select the background color to use it as a submenu item background (we selected rgba(18,43,104,0.98) color value).
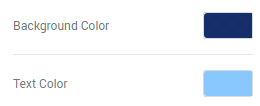
- Specify the Text Color (in our case, it is #89c8ff).
- Let’s apply the border to the submenu items. We used Solid border type, 1 px width value.
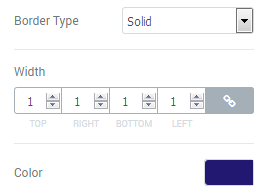
- Select the border color (in our case, it is #221872).
- Enable Box Shadow option.
- We’ve selected rgba(0,0,0,0.5) shadow color and opacity, but you can use the one that suits your website appearance the most.
- Reduce the Blur value to 3.
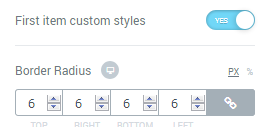
- Enable First item custom styles option and specify the Border Radius value (in our example it is 6 px). Apply the same settings to the Last item custom styles.
- Now let’s switch to Hover mode and set the Text Color to be shown on hover (e. g., #77ff89).
 We haven’t used badges and icons for the menu items, but you can set and customize them using the same colors to create your unique menu style.
Step #6: Edit Drop-Down Icons
- Let’s navigate to Drop-down icon style settings, which is located at the bottom of Edit Custom Menu Style block.
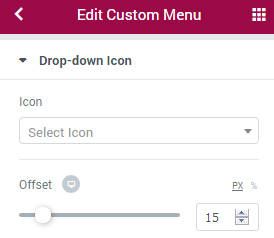
- Specify the size of the icon position in the Offset block (we used 15 px).
- Set the necessary Icon Color (in our case, it is #221872).
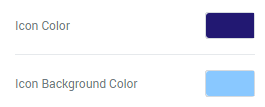
- Set the needed Icon Background Color (we used #89c8ff).
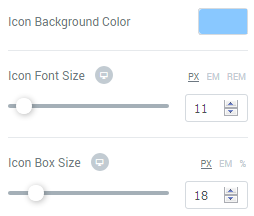
- Our Icon Font Size is 11 px.
- The Icon Box Size is 18 px. But you can set the one that suits the most for your website.
- In the Border Type you need to select the type of the border to apply for the icon (we used Solid border type).
- Input the border width value in the corresponding field (we applied 1 px).
- In the Color field you need to set the border color (in our example it is #221872).
- We also enabled Box Shadow option and applied rgba(0,0,0,0.5) shadow color in the Shadow Color block.
- The shadow blur is 3, but you can apply the one that you find suitable for your menu style to match your website looks.
- Now that we’ve styled up one menu block, you can apply this style to any other menu you want to add to the section.
Step #7: Applying the Same Style to Several Menu Columns
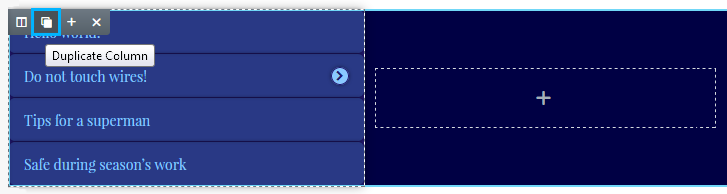
- In our example, we decided to create the section, which consists of 4 columns, each containing the separate menu. So we hovered on the Edit Column icon (it is on the top left corner of the column) and clicked Duplicate Column option. We duplicated this menu 3 times, and now we’ve got 4 similar columns.
- Let’s specify the menus we need to show in each one of them. Put the mouse cursor to the top right corner of the column where you need to place another menu and click Edit icon.
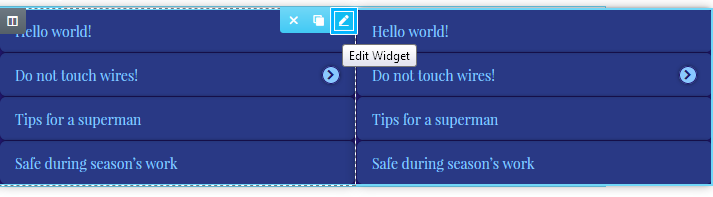
- You’ll see Edit Custom Menu block. Here locate Content and in the Select Menu select the one that you need to add to the column.
Step #8: Styling Up the Section
- Now let’s edit the whole section to make our mega menu look more stylish. Hover on the Edit Section block and click Edit Section icon to navigate to Section Layout and Style settings.

- In the Layout block disable Stretch Section option.
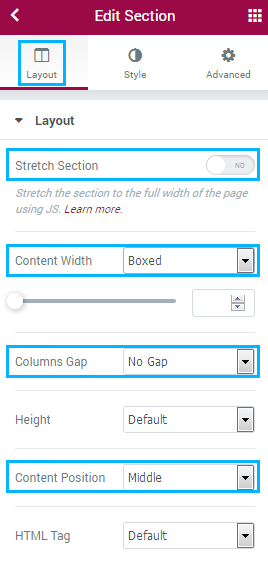
- In the Content Width select Boxed type.
- Apply No Gap in the Columns Gap block.
- Select Middle Content Position.
- Now navigate to Style settings and select Classic background type. Here you need to specify the needed section background color (we used #000044).
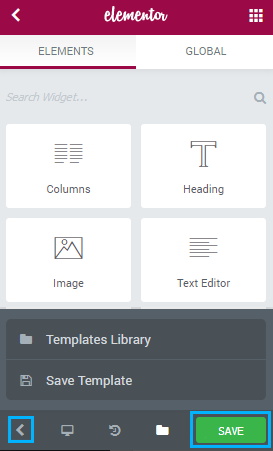
Step #9: Saving Section as Template
- Click on Templates icon and then navigate to Save Template option.
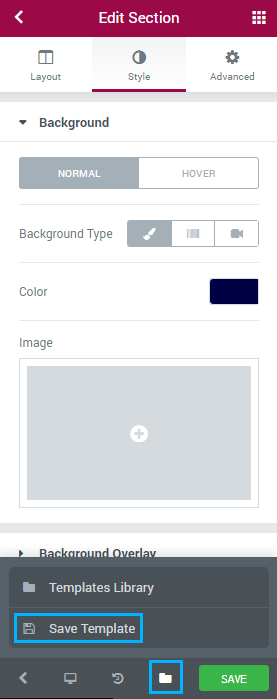
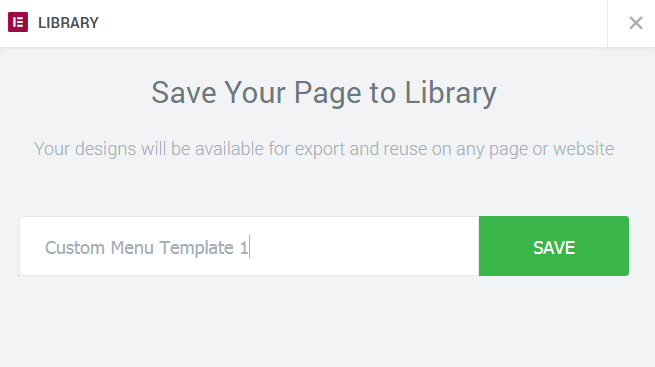
- Type in the template title and click Save to save it.
Step #10: Adding Section to Main Menu Item
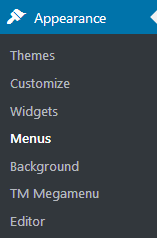
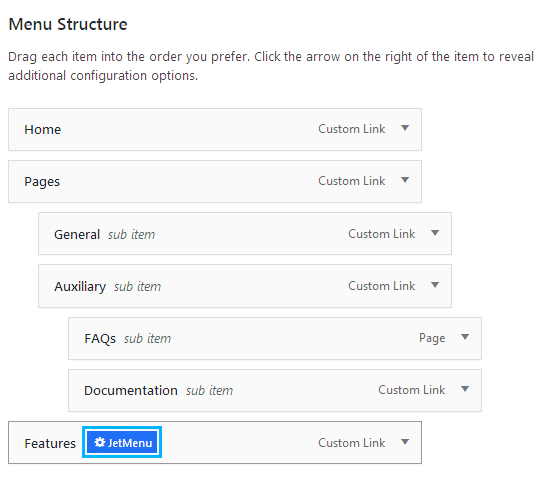
- Once the template is saved, you can add this menu section to one of the menu items (e.g., Main Menu item). To do it navigate to Appearance > Menus tab on the left of the Dashboard.
- Select Main menu for editing. Click Select button.

- Hover on one of the Main menu items and click JetMenu option to edit the item with JetMenu.
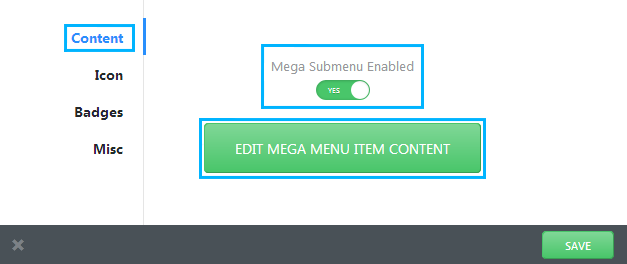
- Enable Mega Submenu Enabled option and click Edit Mega Menu Item Content button.
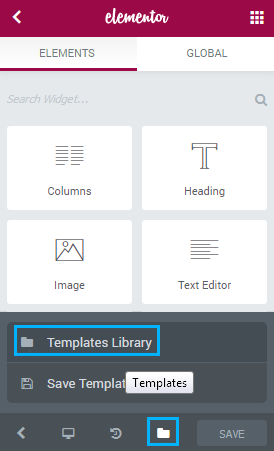
- Here click Templates > Templates Library.
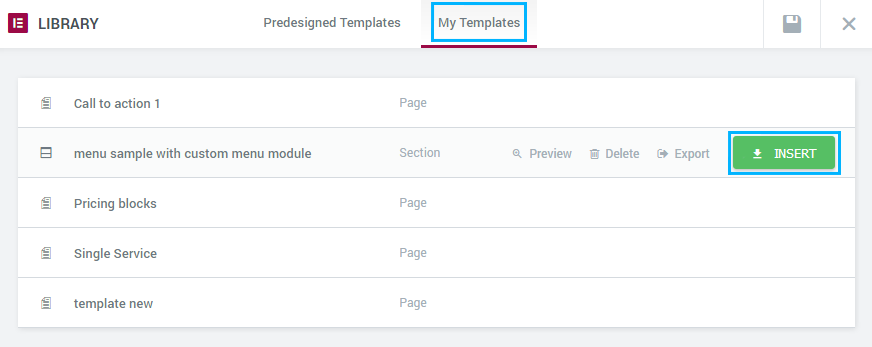
- Switch to My Templates block. Select the previously saved template. It will appear on the page.
- Then click Save button and click Back to return to the Content block.
- Click Save button in order to save the changes.

At last, check your menu! Don’t forget to change the Main menu style to make it match your Custom Menu style! You can learn how to do it from How to Change JetMenu Style tutorial.
