


Dummy data is a file that contains the necessary settings to help one add content similar to the one shown on live demo. If one has troubles with adding content and changing its appearance settings or responsiveness, he can use dummy data files to export the needed settings.
From this tutorial you’ll earn how to import and export mega menu using JetMenu plugin.

Adding Dummy Data
Step 1. Creating a Menu
- To create a menu similar to the one you see on JetMenu live demo, you’ll need to create a custom menu with the same menu items.
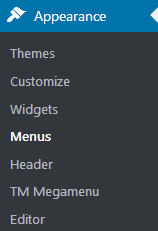
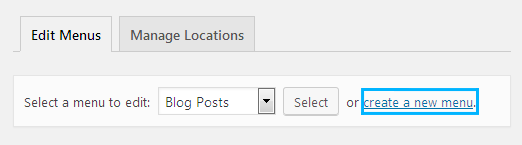
- To do it navigate to Appearance > Menus tab on the left of the Dashboard and click Create a new menu option.
- Enter the menu name (e.g., New) and click Create Menu button.

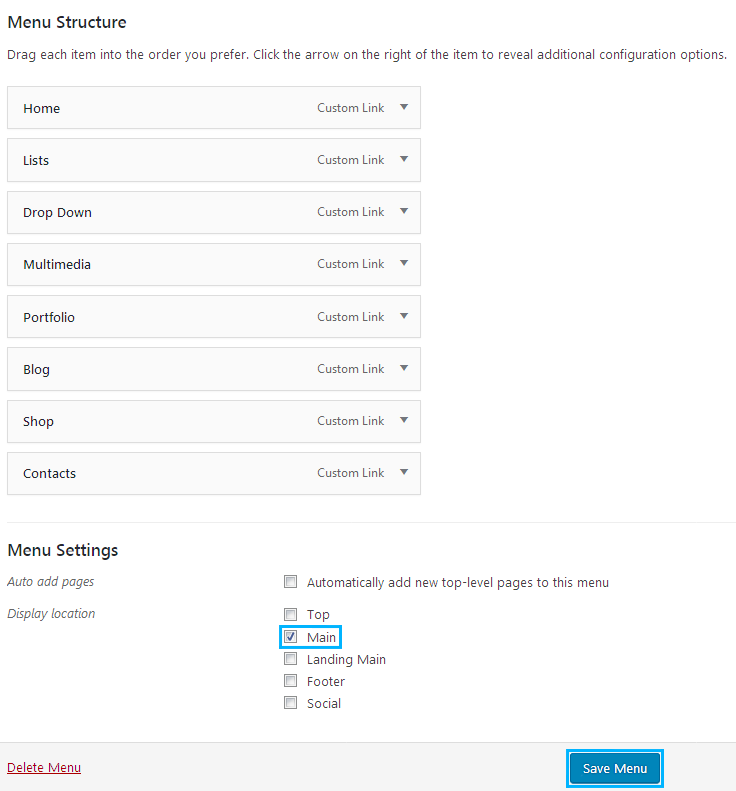
- Let’s create menu items for our new menu. To do it open Custom links tab and add the following menu items: Home, Lists, Drop-down, Multimedia, Portfolio, Blog, Shop and Contacts.

- Assign the new menu to the needed location (in our case it will be Main) and click Save Menu button to save the changes.
- After that, you need to enable using JetMenu for this menu. Turn on Enable JetMenu for current location option and click Save button to save the changes.
Step 2. Importing Menu Appearance Settings
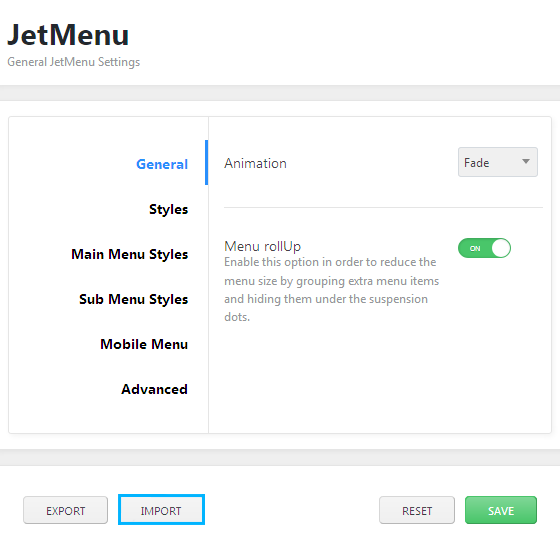
- Now let’s import the general menu style settings. To do it navigate to JetMenu tab on the left of the Dashboard and click Import button.
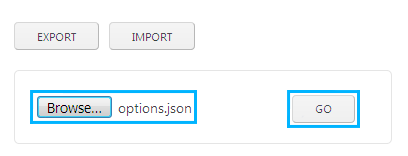
- Browse options.json file and click Go button.
- After the import is finished click Save button to save the changes.
Step 3. Importing Dummy Data
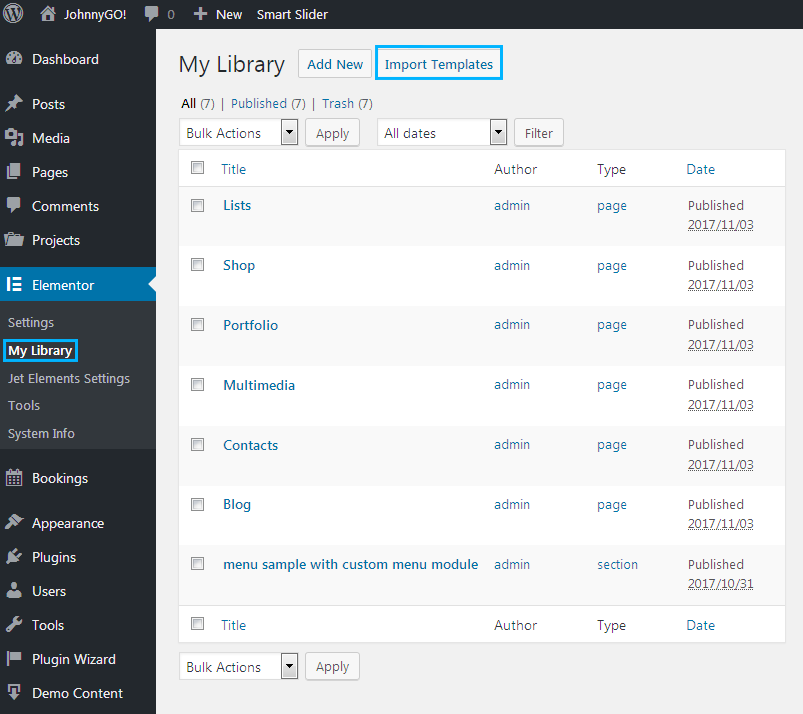
- First, you need to upload the dummy data templates to Elementor templates library. To do it navigate to Elementor > My Library and click Import Templates button.
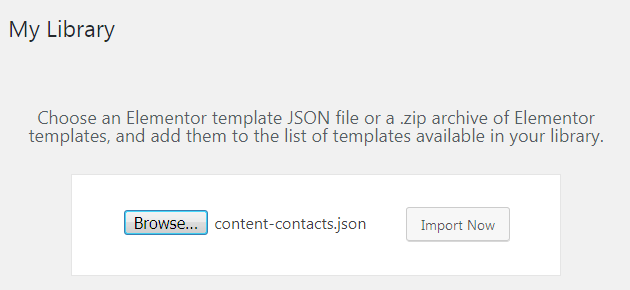
- Browse the dummy data file (it is located in jet-menu/dummy-data directory).
- After that click Import Now button.
- Repeat the actions described above to import all dummy data files to Elementor templates.
Step 4. Applying Dummy Data to Menu Items
- Navigate to Appearance > Menus on the Dashboard.
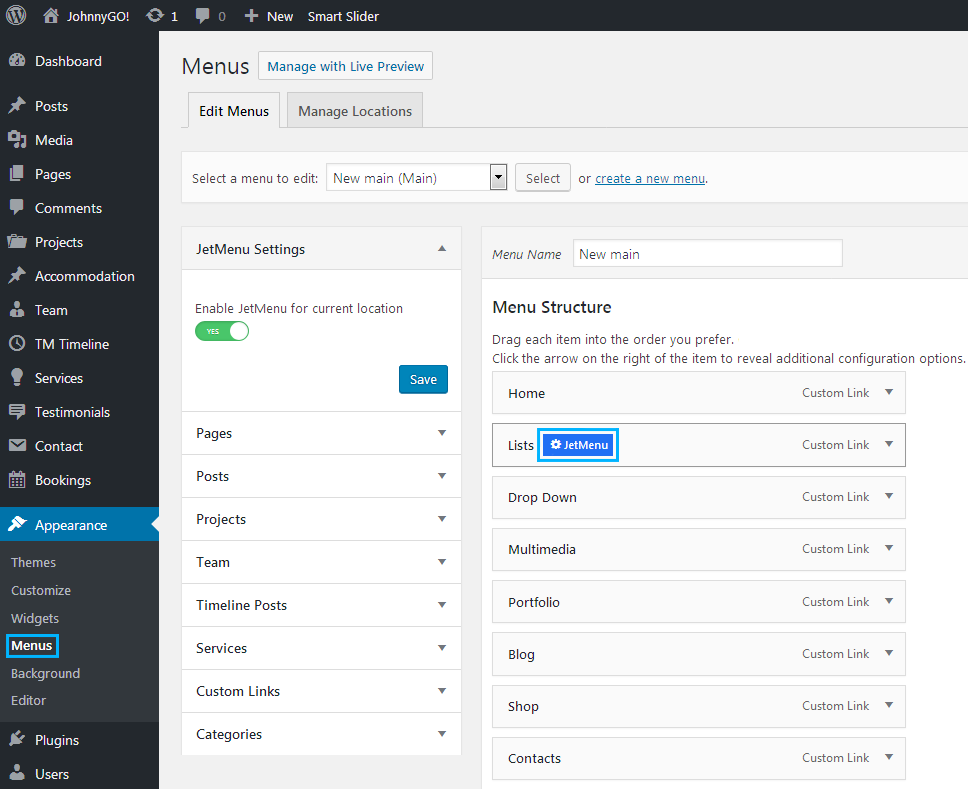
- Hover on Lists menu item and click JetMenu option.
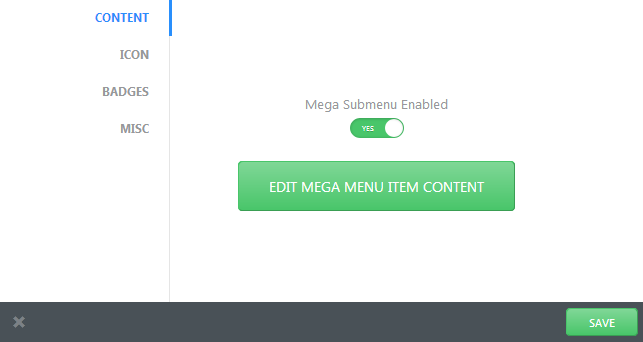
- A popup window will open. You need to switch on Mega Submenu Enabled option and click Edit Mega Menu Item Content button.
- When menu content editor will open, click Add Template button to view the templates.

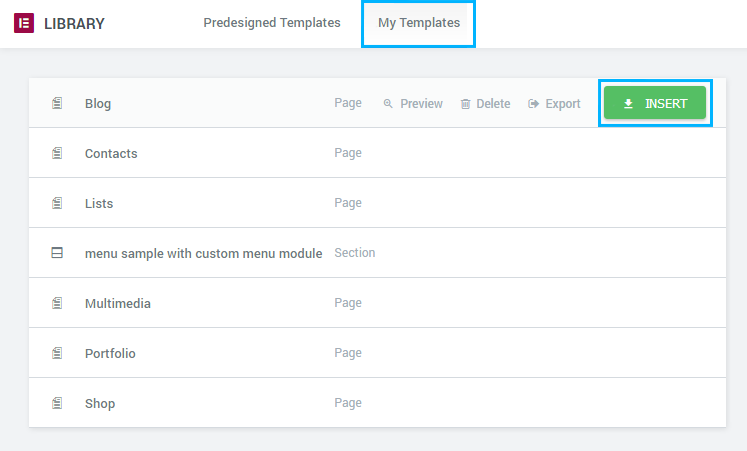
- Then switch to My Templates tab on the top of the newly opened popup window. Here select Lists template and click Insert button.
- Click Save button to save the changes.

