


From this tutorial you’ll learn how to add badges and menu icons to menu items using JetMenu plugin.

Adding Icons to Menu Items
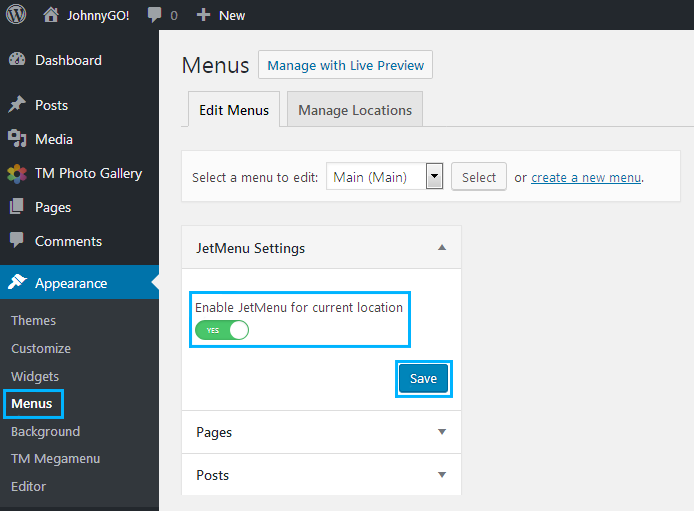
- First, let’s navigate to Appearance > Menus tab on the left of the Dashboard.
- Select the menu to which you want to add an icon or a badge.

- Locate JetMenu Settings block and turn on Enable JetMenu for current location option.
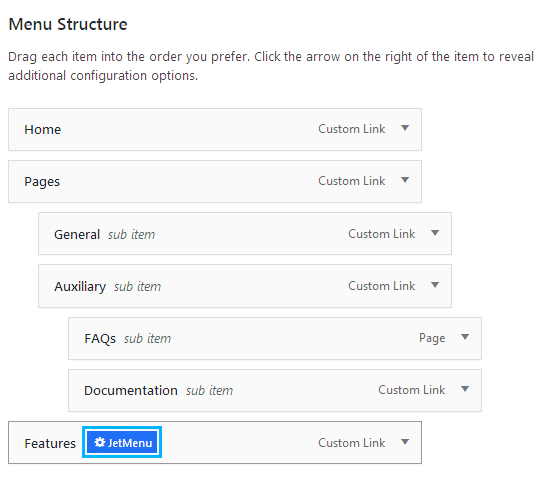
- Next, hover on one of the items and click JetMenu button.
- In the newly opened popup window switch to Icon tab and select the Menu Icon from the icons library.
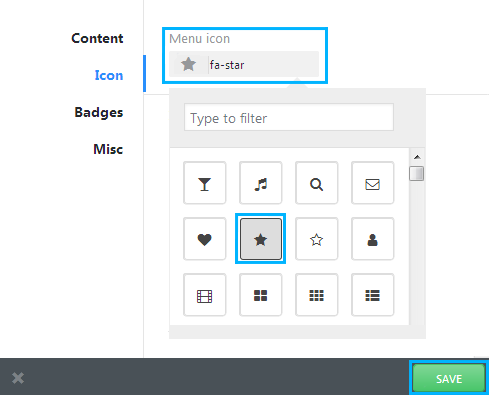
- In the Icon Color block you can apply the color you want to use for the icon.
- For more detailed icon customization you need to navigate to JetMenu tab on the left of the Dashboard and open Advanced JetMenu settings.
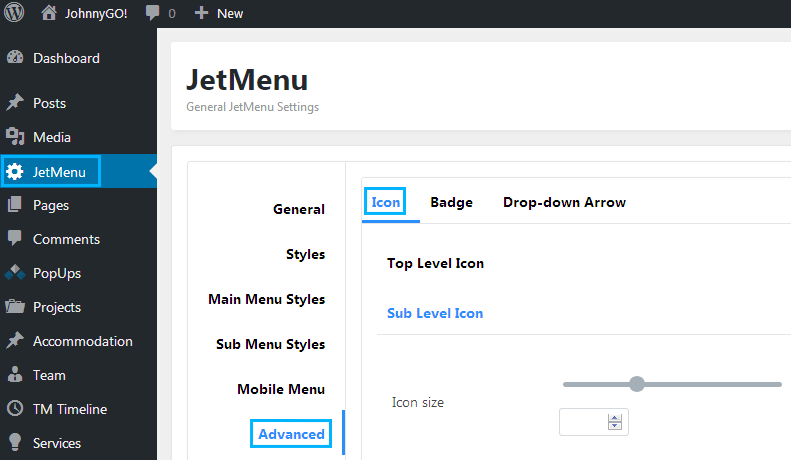
- Switch to Icon block. Here you can manage Top Level Icon style to apply it to the icons for the Main Menu items, and Sub Level Icon to manage the icons for the submenu items.
- Use Icon Size controls to change the size of the icon, or define its size in px in the corresponding window.
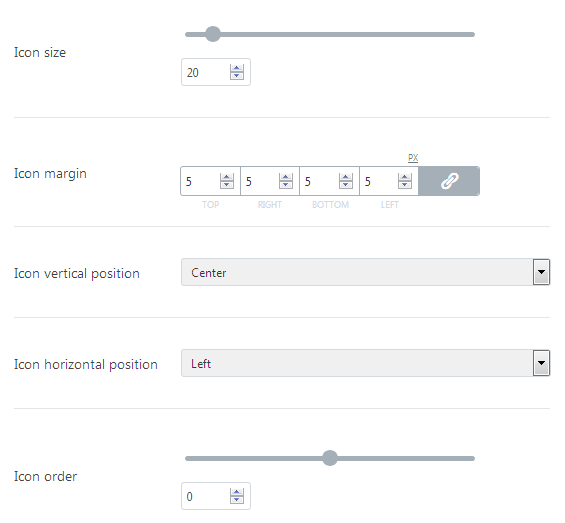
- In the Icon margin you can input the value to apply for the icon margins in px.
- In the Icon vertical position and Icon horizontal position blocks you can set its position in relation to the menu item.
- Click Save button to save the changes.
Adding Badges to Menu Items
- In order to add a badge to one of the menu items or subitems hover on it and click JetMenu button to open JetMenu popup window.
- Switch to Badge tab and input the text you want to use as the badge title (e.g., New!).
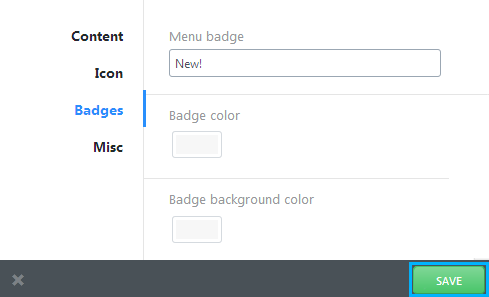
- Specify the badge text color and badge background color.
- Let’s proceed to JetMenu tab on the left of the Dashboard to continue the badge style customization.
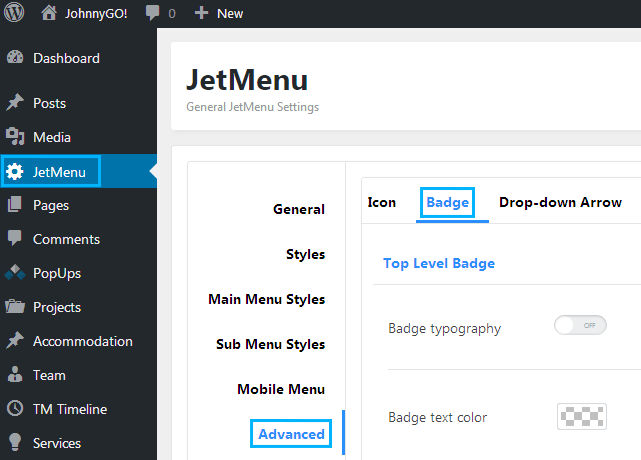
- Open Advanced tab to access Advanced style settings. Then navigate to Badge settings menu.
- If you’re customizing the Main Menu item badge, then go to Top Level Badge. In the case the badge is next to one of the submenu items, open Sub Level Badge settings.
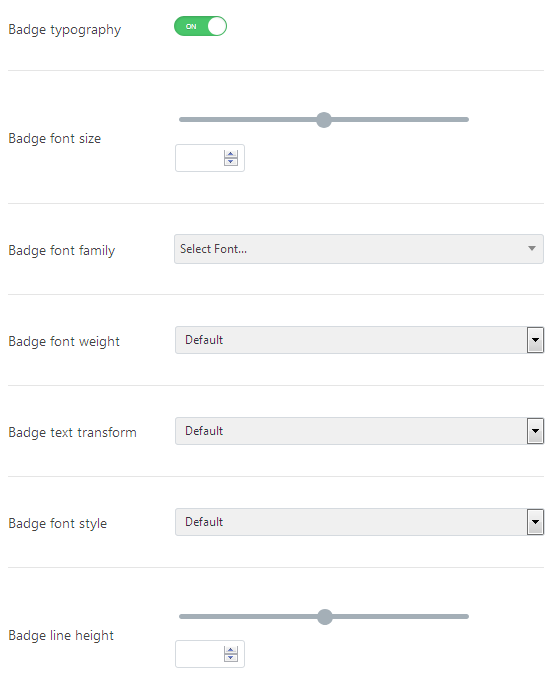
- Enable Badge typography option to set the font and customize font size, weight and style settings for the badge.
- Specify the badge text color and background color.
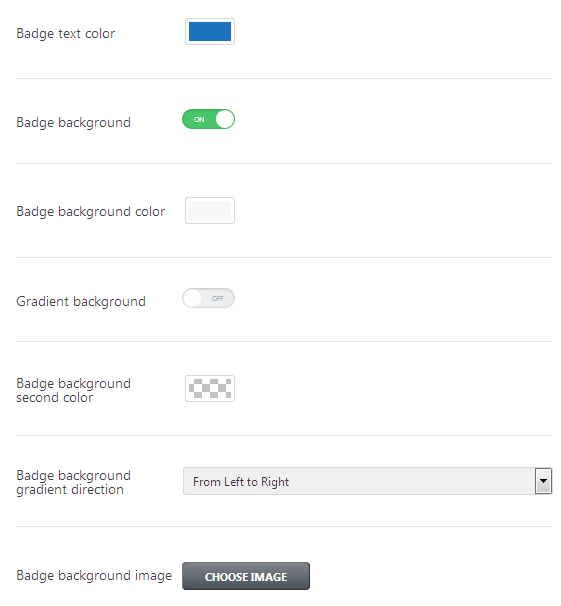
- Note, that the colors won’t override the ones you’ve selected in the Appearance > Menus > JetMenu > Badge. So you’ll need to disable the colors you’ve applied first in order to use the ones you set in JetMenu > Advanced > Badge style settings.
- You can also add the badge border, specify its width, color, and apply the necessary border radius.

- Use Box Shadow option to add a shadow to the badge.
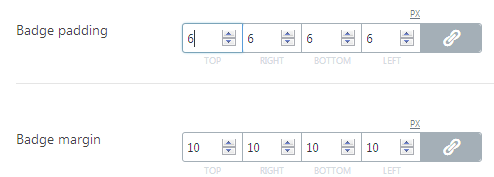
- You can as well specify your custom margins and paddings to make the badge look more stylish and place it according to your needs.
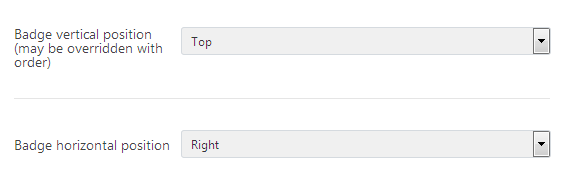
- In the Badge vertical position and Badge horizontal position you can change its position in relation to the menu item.
- Click Save button to save the changes.

