From this tutorial you’ll learn how to create On Sale Products page in WooCommerce.

Creating On Sale Products Page
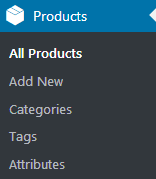
- First, let’s log in to WordPress Dashboard. Locate Products tab in the left column and open it. Here you can view the list of products that are on sale in the general products list.
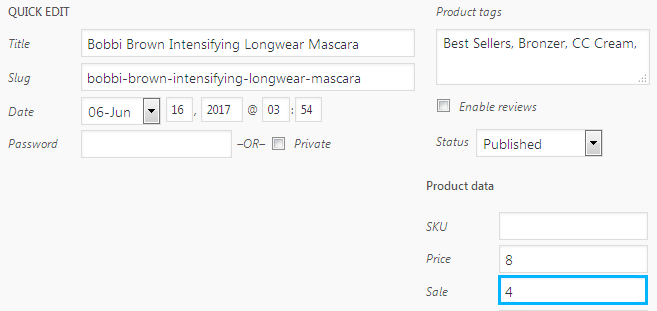
- If you don’t have the products on sale, let’s create them. Hover on one of the products and click on Quick edit option.

- Fill in the sale price in the Sale field. Then click on Update button to save the changes.
- Now let’s create the page with on sale products. Navigate to Pages > Add new tab on the left of the Dashboard. Fill in the title of the page and paste this shortcode to the content field (make sure you’ve switched from Visual to Text mode).
[sale_products per_page="12"]

- You can as well use these arguments in order to display the certain number of products per page, arrange them in columns, order products by title, date, or add ascending/descending order.
array(
     'per_page' => '12',
     'columns' => '4',
     'orderby' => 'title',
     'order' => 'asc'
 )
Here is the example how you can use these arguments in the shortcode.
[sale_products per_page="12" columns="2" orderby="title" order="desc"]
- Click on Save Draft to save the changes and navigate to preview page to view the page. If you’re satisfied with the page’s appearance, click on Publish button.
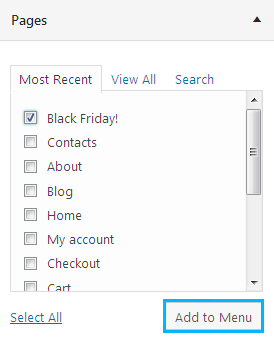
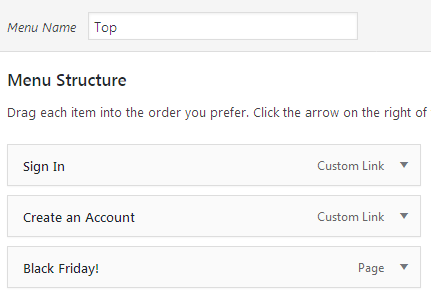
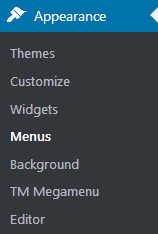
- Let’s add the page to the header menu to provide the visitors with the easy access to the sales page. Navigate to Appearance > Menus tab on the left of the Dashboard and select Top menu.

- Here you need to add the new On Sale page to the menu and position it to the preferable location (you can drag and drop elements to position them in the necessary order).