From this tutorial you’ll learn how to change JetMenu style using plugin settings.

Changing Menu Style with JetMenu Plugin
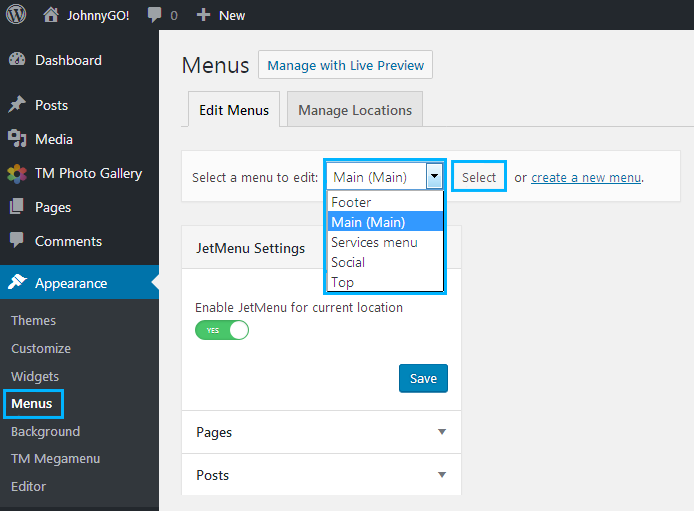
- Let’s change the menu container background with JetMenu. To do it, first, open Appearance > Menus tab on the left of the Dashboard.
- Here select a menu to edit from the list of menus and click Select button. If you still don’t have a menu, please, feel free to read How to Create a Menu tutorial to learn how to create one.
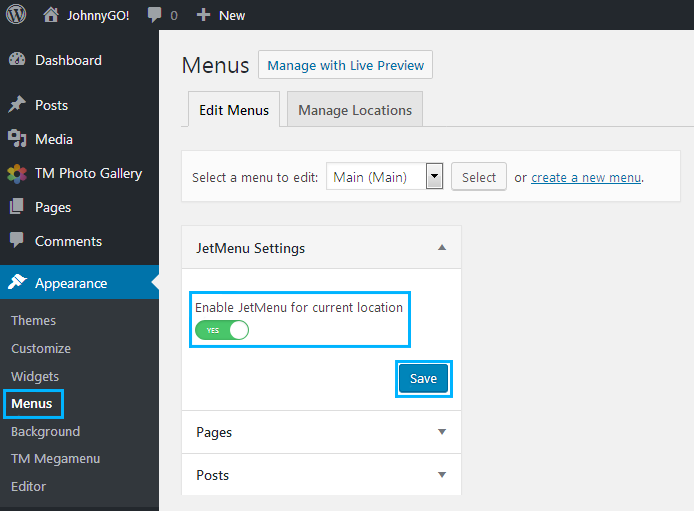
- In the JetMenu Settings block switch Enable JetMenu for current location option and click Save button.
- Now let’s navigate to JetMenu tab in the left column of the Dashboard.
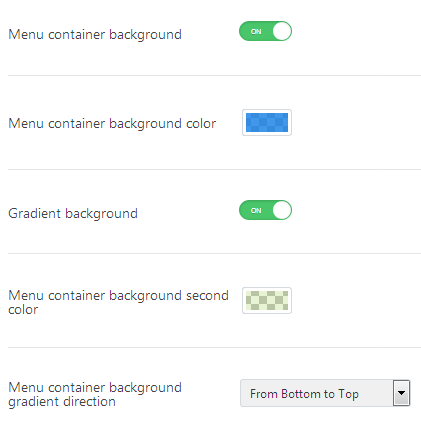
Click Styles tab and enable Menu Container Background option.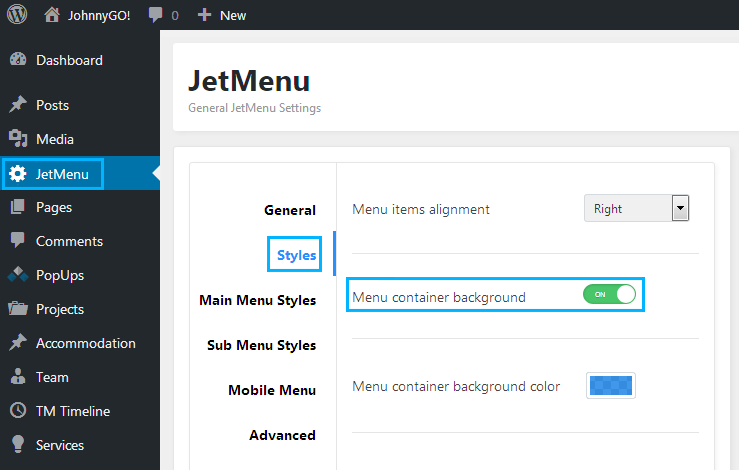
- After that you’ll see additional options allowing to change menu container background color, enable gradient background, set the second color and change gradient direction.
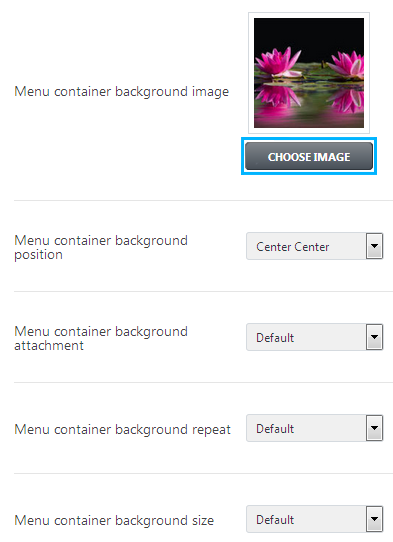
- In the case you want to use a background image as a menu container background, click Choose Image button and select the image you want to apply from the Media library or upload it from your hard drive.
- To make the menu container background style more sophisticated you can add a border or a shadow to it using the corresponding options in the Style block.
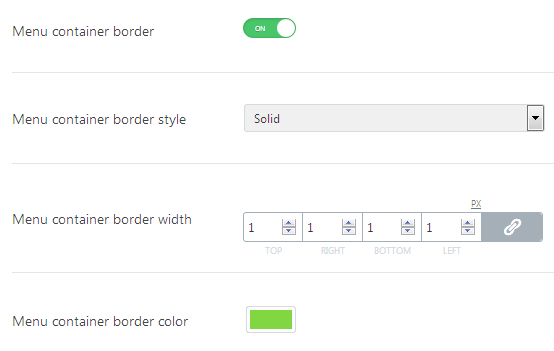
- To make the menu container angles more smooth and round define the Menu container border radius value (e.g., 10px).

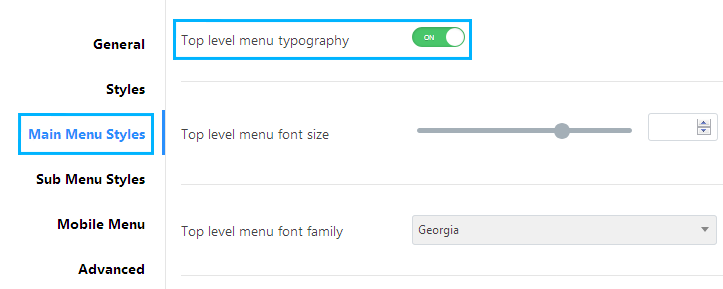
- Now that we’ve changed the menu container background, we need to change the menu typography. To do it navigate to Main Menu Styles tab and set the suitable font, customize font settings, such as font size, weight, style, etc.
- Let’s change the menu items text color. You can make it change on hover or when active. To do it switch between Normal, Hover and Active modes and change the Item Text Color to the one that you want.
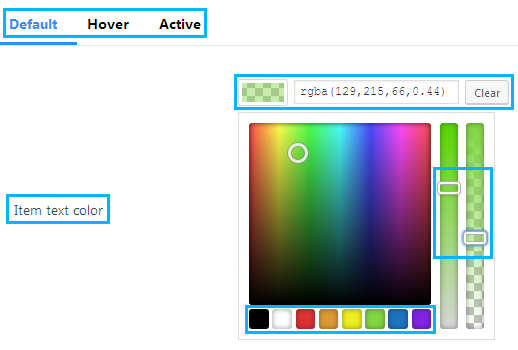
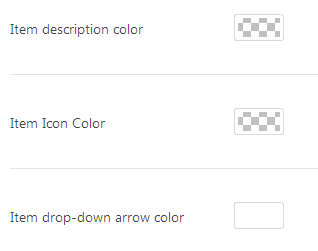
- You can also change the menu icon and menu arrow button color the same way in the Main Menu Styles block.
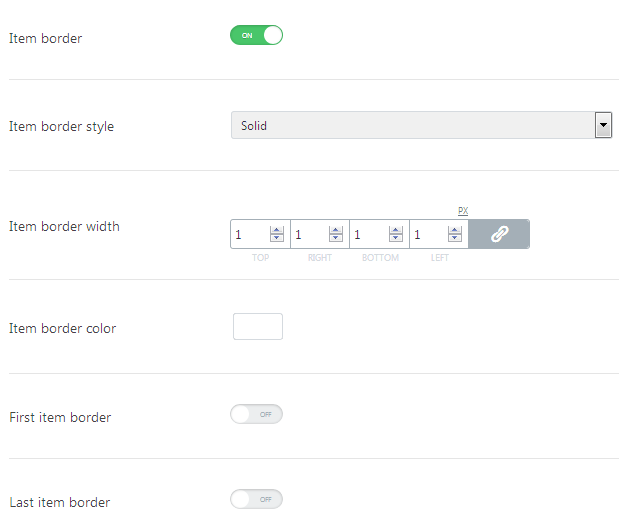
- Apply the item border and change its color and radius in the case you need to.

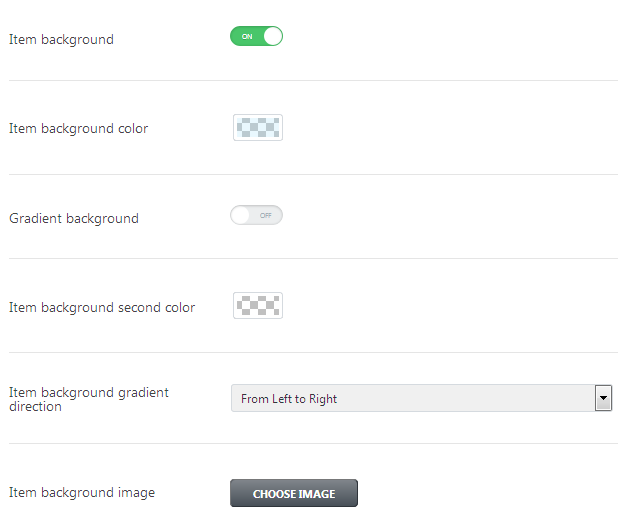
- There is also Item background option. Here you can specify the background color or image for the menu items. The background color or image will be shown on the top of the general menu container background color or image.
- You can as well use color transparency option to make the menu item background transparent. In this case the menu container background color will be seen through the layer of item background color.
- You can do the same for the submenu and submenu items. Navigate to Submenu Styles tab and select Simple Submenu Panel or Mega Submenu Panel. Then enable Panel background option and customize the submenu background.
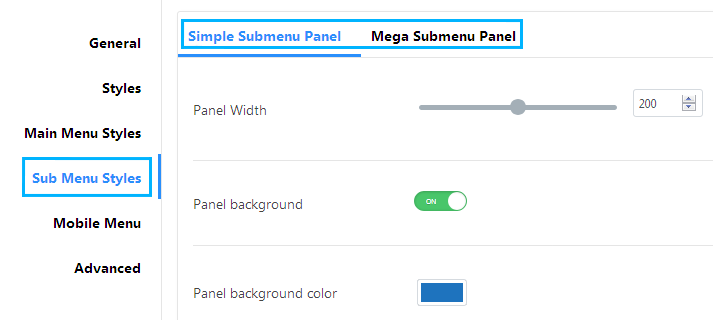
- Set the border for the submenu, change the border width and color, enable Box Shadow, etc.

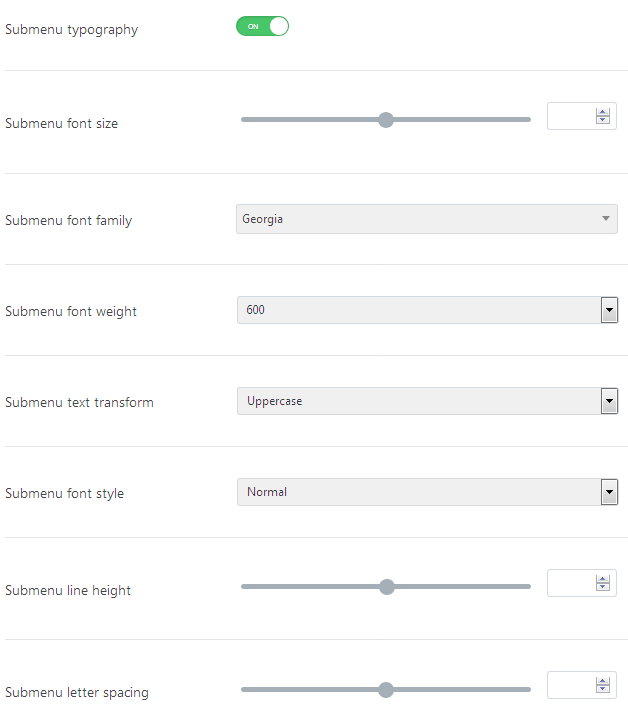
- Change the submenu items typography (set the suitable font and change the font style, weight, size, etc.).
- Scroll the page down to see the block where you can change the submenu item styles in Normal, Hover and Active mode.
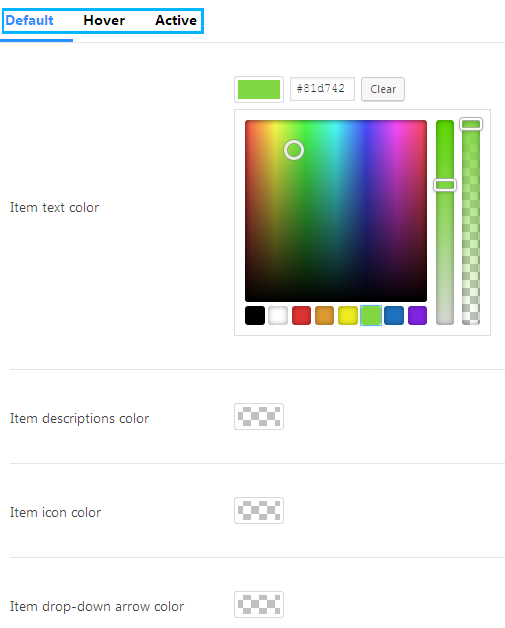
- Apply different colors for the menu items, enable Item background option and set the background to use it for the submenu items, change the menu dropdown arrow colors, etc.
As you can see, there are plenty of menu style settings, and you can change your menu style easily with JetMenu even without any coding skills!
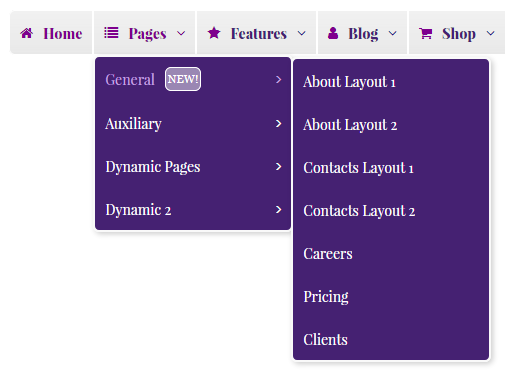
On the picture below You can see the example of the simple menu style that can be created using the style settings described above.