Once you’ve set your website’s appearance, it is high time to add different kinds of content in the form of posts.
A blog page is a page of your website, which contains different posts with textual and visual content. You might need it if you want to see all of your posts at one page. You may also set the blog page as the front page of your website. Let’s find out about creating a blog page.
Creating a Blog Page
- Log in to Administration panel and choose Pages tab in the left column of the Dashboard.

- Click on Add New sub menu to open a page editor.
- Type in Blog in the Title field. Choose a template you want to use as a blog page in the right block called Page Attributes.


- Click on Publish button. Now your page is ready, but we still have to add it to the menu.
Adding a Blog Page to Menu
- To add a new blog page to menu navigate to Appearance tab, which is located in the left column of Administration panel. Click on Menus sub menu and choose a header menu.

- Select the Blog page you’ve created. Then click on the Save to Menu button.

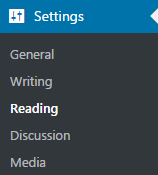
- Now let’s define the Blog page as a page where all the recent entries are being published. For that navigate to Settings tab in the left column of the Dashboard. Click on the Reading sub menu.

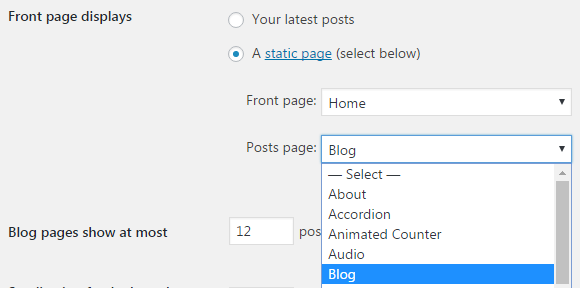
- Here you can choose the new page called Blog as a posts page. Don’t forget to save the changes.

- Congratulations! Everything is done! Refresh your website’s page to view your new Blog page!
By the way, it’s hard to imagine how you can run a successful blog without having a proper social sharing always at hand. If you’re looking to improve the experience the visitor has on your blog, make sure to check this list of top social sharing plugins that might help you add this useful tool to your site!
Let your blog be successful and feel the power of content enrich your website with more potential!


