


From this tutorial you’ll learn how to move WordPress website from localhost server to live server using FTP client.

Moving a WordPress Site From Staging to Live
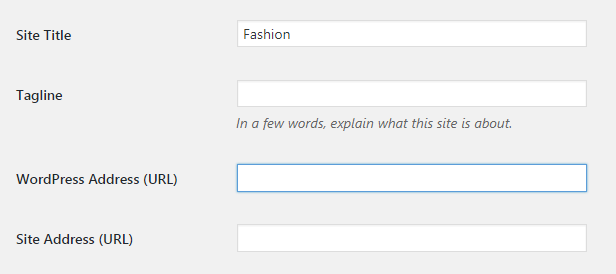
- First, let’s access WordPress Dashboard (Administration panel) using your login credentials. Navigate to Settings > General tab on the left of the Dashboard and locate WordPress Address URL and Site Address (URL) fields. Here you need to input your website’s new location. Then save the changes.

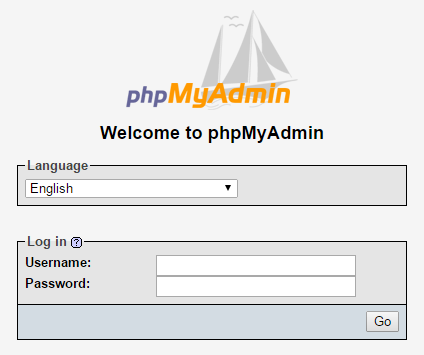
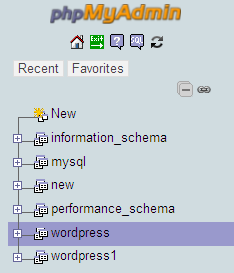
- Let’s navigate to phpMyAdmin tool on your localhost server. Select the database you want to export and click on Export tab on the top panel.
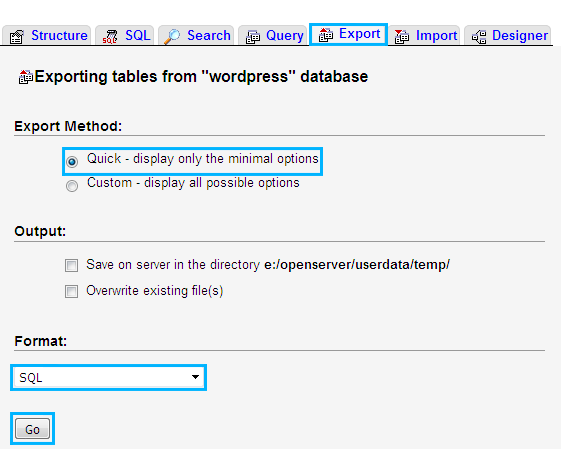
- Select Quick export, choose SQL format and click on Go button to start export.
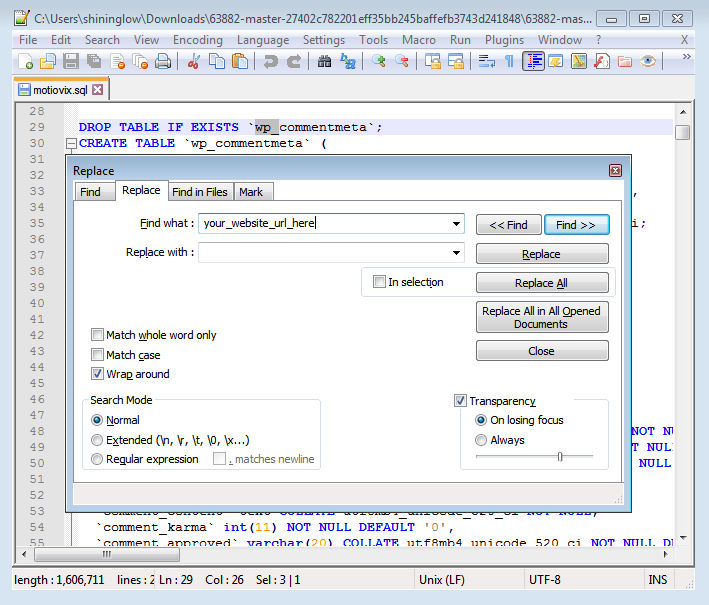
- Open the SQL file in any code editor that is convenient for you (Notepad++, Sublime, etc). Hit Ctrl+F hotkeys and input the local site address in the search field. You need to replace all the instances where it is used by your new URL website address, that will become accessible after publishing WordPress site. Then save the applied changes.
- Now you have to move the website files to the new location (you have to move the files from the root folder – usually it is wordpress folder). Compress the files into the archive. If you don’t know how to use FTP to upload WordPress files to server, please, navigate to Uploading Files to a Server Using FTP tutorial. In the case, that you want to upload the files using your hosting server cPanel, read Uploading Files to a Server With cPanel tutorial. Don’t forget to unpack the files on server after uploading.
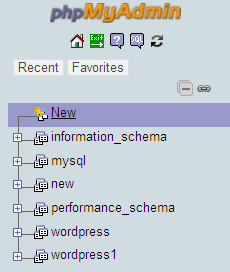
- Let’s create a new database on server. To do it navigate to phpMyAdmin tool and click New in the left column.
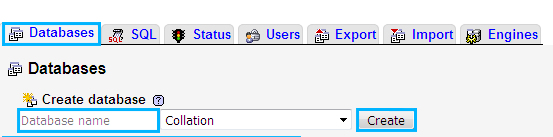
- Fill in your new database name and click Create button.
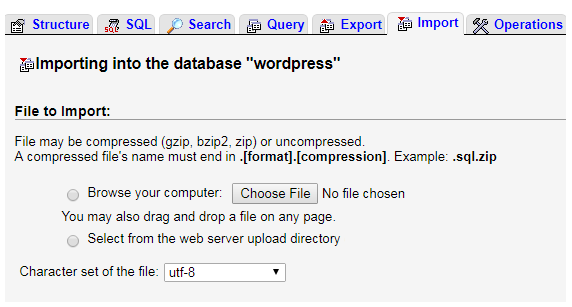
- Click on Import tab at the top of the page and browse the SQL file you need to upload. Then click Go button to start uploading. If you don’t know how to import the database, please, read How to Change Database Prefixes and Import SQL File tutorial.
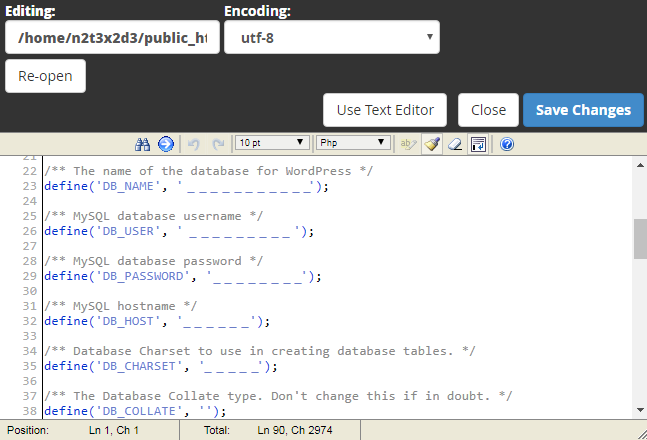
- Now you need to navigate to wp-config.php file (open your cPanel file manager and locate WordPress root folder). Open it for editing and update the information about your database name, username, and password.
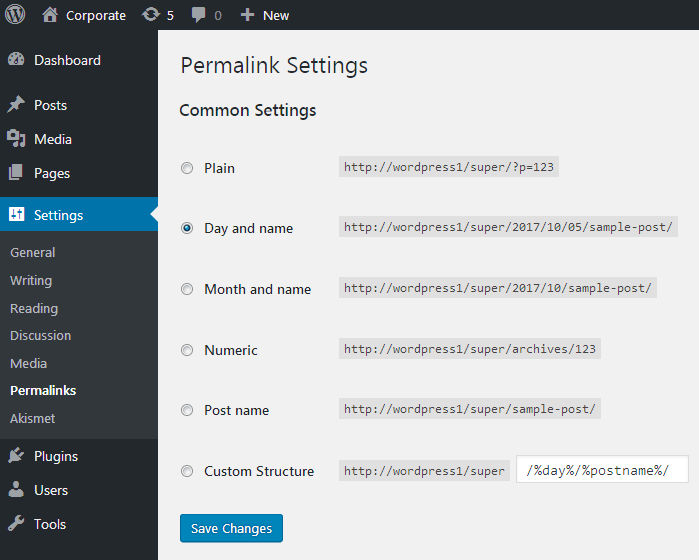
- Navigate to Settings > Permalinks and click on Save Changes button to refresh permalinks.
- As a result, now you can fill in your new website’s address in the browser’s address bar and the site will open.

