From this tutorial you’ll learn how to manage WooCommerce settings.

Managing WooCommerce Settings
To access WooCommerce settings navigate to WooCommerce > Settings tab in the left column of the Dashboard.
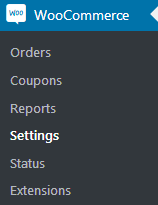
At the top of the page, you’ll see several tabs which contain different WooCommerce settings. We’ll overview all of them in this tutorial.

General Settings
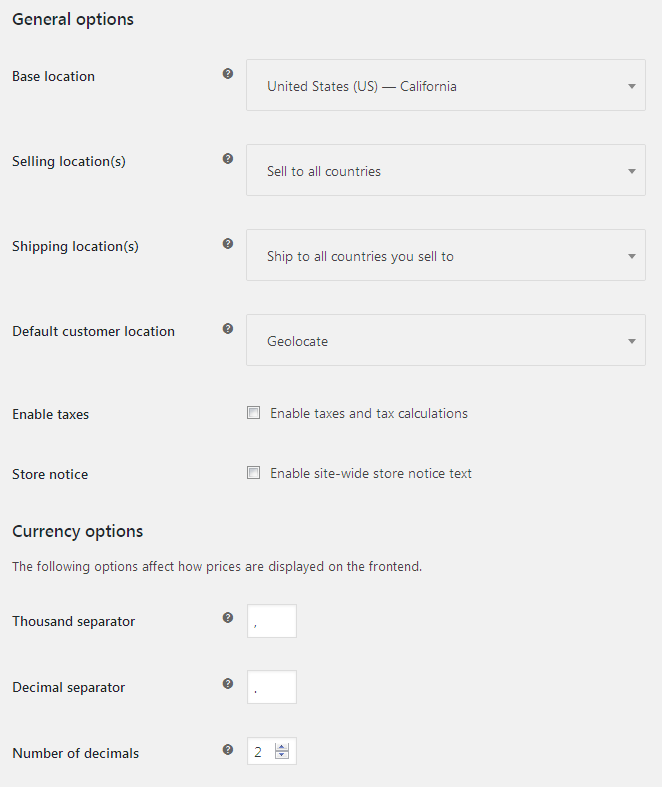
- Base location — here you need to select the location of your business.
- Sell locations — here you can set in which countries you want to sell your products.
- Shipping Locations — here you can choose to what countries you’re going to ship to.
- Default customer location — this option determines your customer default geolocation.
- Enable taxes — check this option if you want to enable taxes and tax calculation.
- Store notice — here you can enable a site-wide store notice text. In the field below you can paste your custom notice text.
- Currency — here you can select the currency of the prices listed in the catalog.
- Currency position — here you can set where the currency symbol will be displayed.
- Thousand separator — input the separator that will help separate price digits.
- Decimal separator — input the separator to use it when displaying decimals.
- Number of decimals — here you can set how many decimal points are to be shown in the displayed prices.
Products
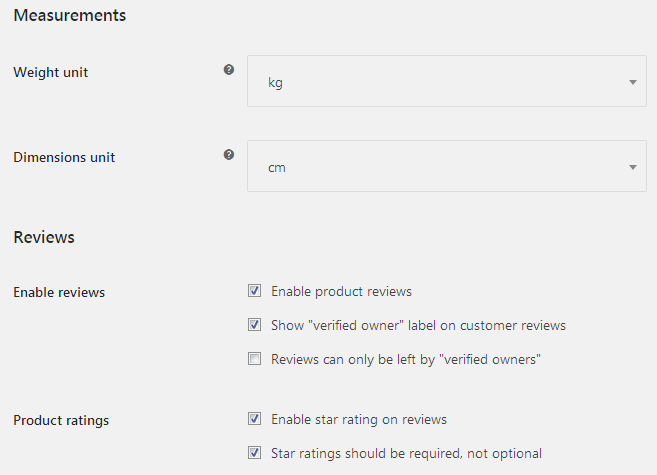
- Weight unit — here you can set the unit to define the weight of the product (kg, lbs, oz).
- Dimensions unit — here you can set the unit in which you’ll display the sizes of the product (m, in, yd).
- Enable reviews — in this block you can enable product reviews, and show “verified owner” label on customer reviews.
- Product ratings — here you can enable star rating on reviews, or set the star ratings as required ones.
- Enable advanced thumbnails — here you can enable thumbnbails switch on hover.
- Thumbnails switch navigation — here you can set the effect of switch navigation (slide, rotate or fade).
You can also add thumbnails to featured products, recent products, sale products, or products carousel.
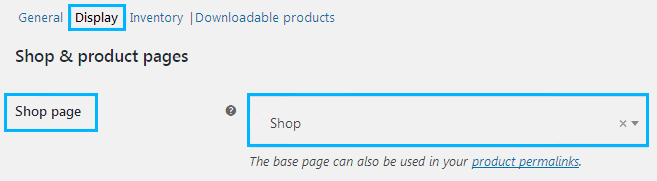
In this section, one can as well manage display settings (define the shop page, and the categories and product sorting, set the dimensions for the product images, etc.), and inventory (enable stock management, notifications, etc.).
In order to select one of your website’s pages for a shop page, please, navigate to Display tab and select the shop page from the dropdown menu in the Shop page field.
Shipping
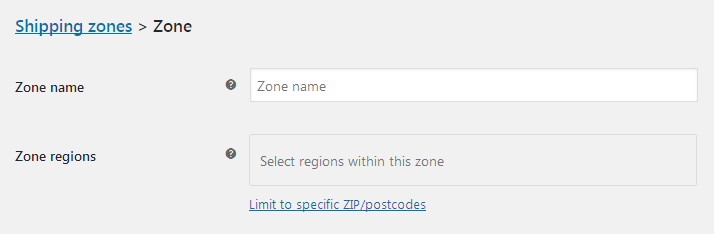
Click on the Add shipping zone button to add a new shipping zone.
- Zone name — here you need to fill in the name of the new shipping zone.
- Zone regions — here you need to select the regions within the zone.
- Shipping methods — here you can select the shipping method for the zone (flat rate, free shipping or local pickup).
Switch to Shipping option tab to manage calculations, shipping destination and debug mode.
Checkout
In Checkout block one can access payment modules.
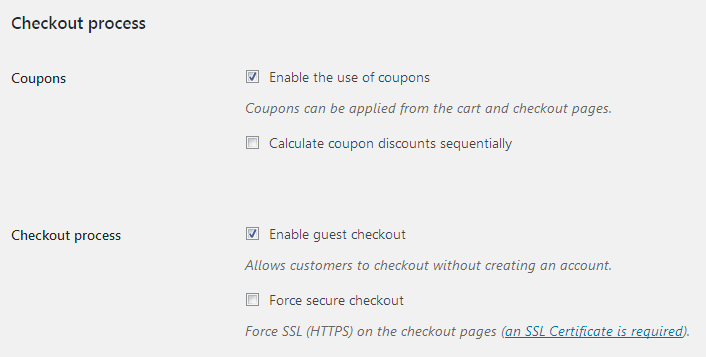
Let’s learn more about the checkout options.
- Coupons — here you can enable the use of coupons and calculating coupon discounts when there are several of them.
- Checkout process — in this block you can enable guest checkout and force secure checkout.
In the block below one can set the specific pages as the checkout ones (this concerns the cart page, checkout page, terms and conditions page).
In the Checkout endpoints block you can specify the endpoints to append them to your page URL. Keep in mind, that they should be unique.
Payment gateways block provides you with an opportunity to change the order of the payment gateways. Drag and drop them to change the order in which they will be displayed.
Click on one of the payment gateways to open BACS (direct bank/wire transfer) settings.
- Enable/Disable – check this option in order to enable bank transfer.
- Title – here you can provide the title for the bank transfer (the user will see it during checkout).
- Description – you can add the payment description here.
- Instructions – if you need to provide the customer with the instructions on payment, add them here. The user will see them on the Thank you page and in email.
- Account details – here you can add the account and provide its name, number, bank name and other details.
Switch to Check payments block to allow checking payments (it will come in handy when making text purchases, testing order emails and success pages).
Enable/Disable – check this option to enable check payments.
You can also add the title, description, and instructions to see them when making check payments.
Proceed to Cash on delivery settings to enable this kind of payment for the clients.
Enable/Disable – here you can enable the payment by cash when the product is delivered.
Here you can as well add the title, description, instructions for this kind of payment, enable the shipping methods, and enable this kind of payment for the virtual orders.
Switch to PayPal block to enable PayPal payment standard. Here you can also enable PayPal sandbox, logging, and even use advanced options.
Accounts
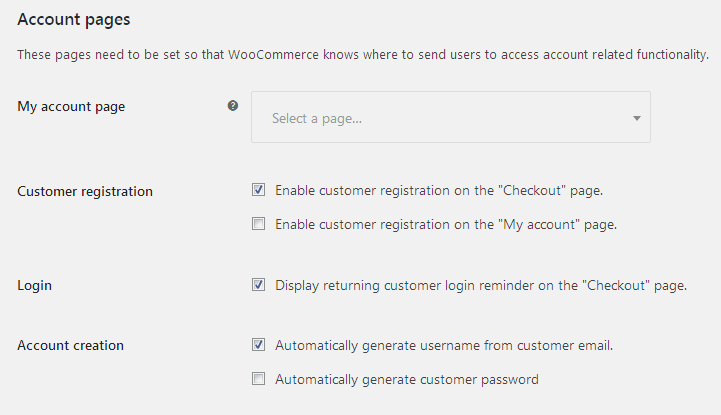
In this block, one can change the following settings.
- My account page — here you can select the page to become your account page from the dropdown list.
- Customer registration — here one can enable customer registration on the “Checkout” page or “My account” page.
- Login — here you can set the login reminder for the returning customers on the “Checkout” page.
- Account creation — here you can select if you want to automatically generate username and password for the customer.
In the Account endpoints block, you can select the endpoints to append them to the page’s URL. Leave the fields blank to disable the endpoint.
Emails
In this block, you can define the email sender options, such as from name and from address. There is also a variety of options to change email template appearance. To learn more about email templates, please, navigate to How to Edit Order Emails tutorial.
API
This block provides you access to API settings, API keys, and webhooks.
In Settings block you can enable the REST API option.
In the Keys/Apps tab you can add a new key and provide its details, such as key description, permissions, etc.
Use Webhooks tab to create and manage webhooks, and provide webhook data (such as webhook name, status, topic, delivery URL, etc.).
Currency
In this block, you can manage WooCommerce currency switcher. Here you can access such options, as currency settings, GeoIP rules, etc. Feel free to read How to Manage Currency Switcher tutorial to learn more about it.
TM Ajax
Here you can view the list of options available for AJAX filter.
- Enable grid-list — here you can turn on grid-list layout toggle button.
- Ordering — here you can turn on AJAX functionality on ordering.
- Pagination — here you can switch on AJAX functionality on pagination.
- Load More button — here you can turn on Load More button, and change its label.
After making changes in each of the blocks you need to save the changes in order to keep them.
Don’t hesitate to read TM WooCommerce Ajax Filters Settings Overview tutorial to learn more about this filter settings.
TM Compare & Wishlist
Here you can view the list of options available for TM Compare List and TM Wishlist blocks. Feel free to navigate to TM WooCommerce Compare & Wishlist Settings Overview tutorial to learn more about these settings.