


From this tutorial you’ll learn how to customize blog meta information. You’ll also find out how to manage posts settings easily.

Blog Settings Location
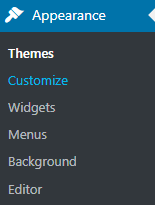
- First of all, log in to WordPress Dashboard (Administration panel). Here locate Appearance > Customize tab in the left column of the Dashboard.
- Navigate to Blog Settings tab on the left of Customizer page. Let’s view Blog settings.
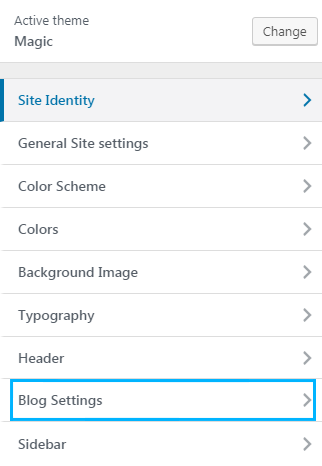 Keep in mind, that to edit blog settings you have to proceed to customizing blog page. Click on the page containing your recent posts in the Live Customizer area to see Blog settings in the left column.
Layout Types
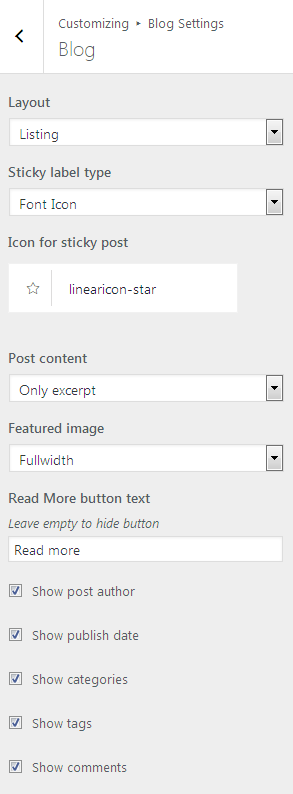
To change blog layout click on Layout dropdown menu and select the layout that suits for blogging page the most.
There are several types of blog layouts. Here we’ll overview each one of them.
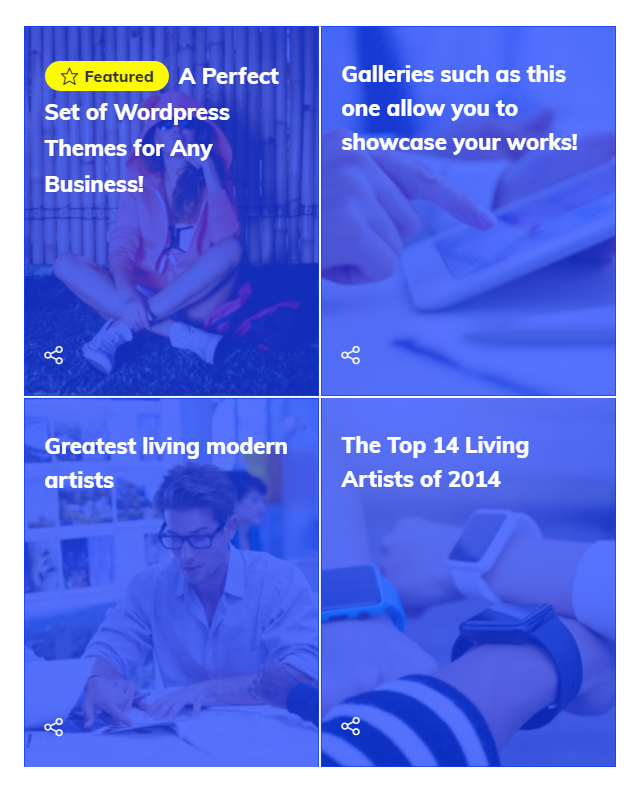
- Grid — arrange the posts in twos, threes or fours (depending on the columns number) and display them in the form of the seamless grid without space between grid items.
- Masonry — arrange the posts into two, three or four columns with gutter space between items.
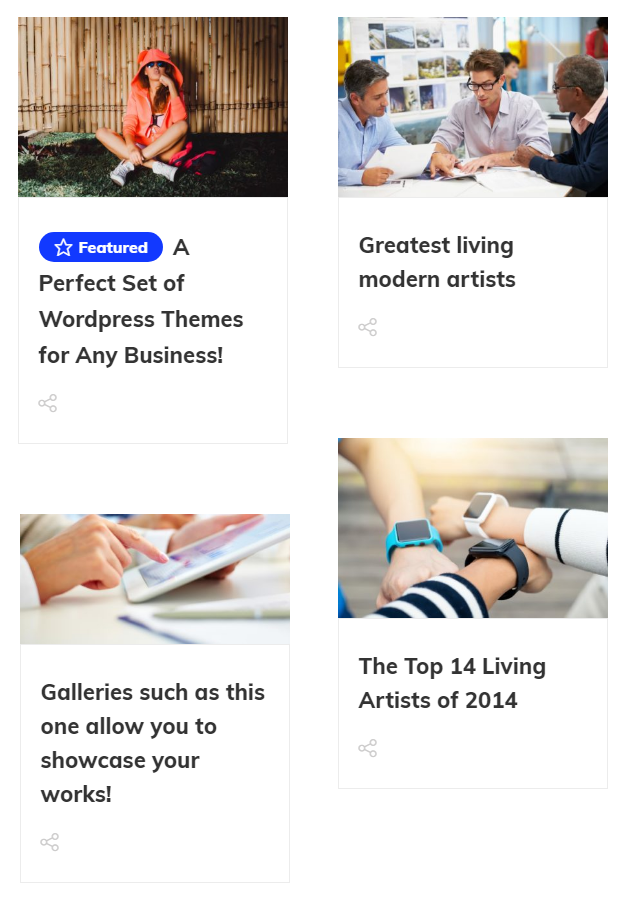
- Vertical Justify — apply vertical alignment for the posts. As a result, the content items will be arranged neatly.
- Listing — the posts are displayed in the form of a list. As a result, a vertical content organization will take place.
- Modern Listing — the posts are displayed similar to Listing alignment, with minor differences in layout design.
Blog Post Content Settings
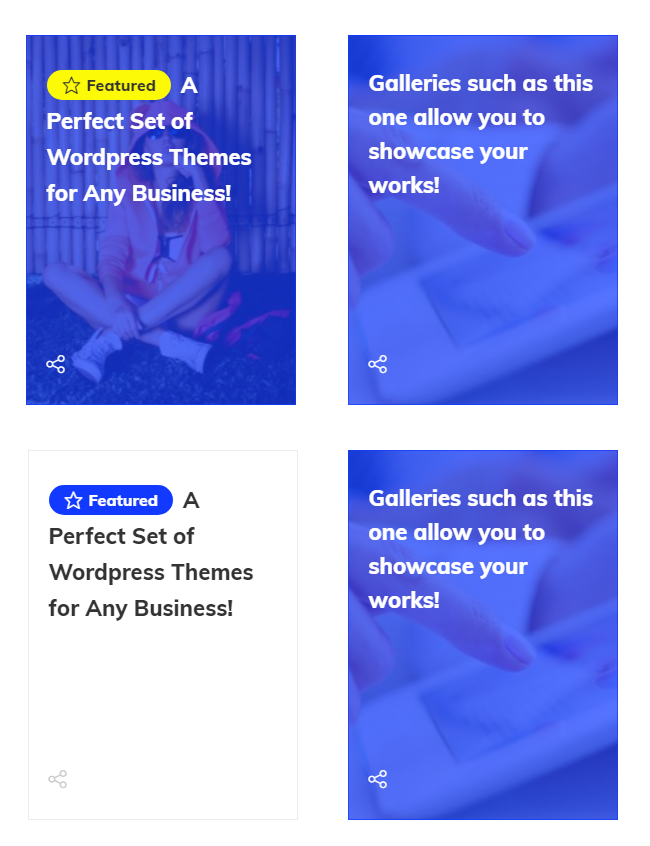
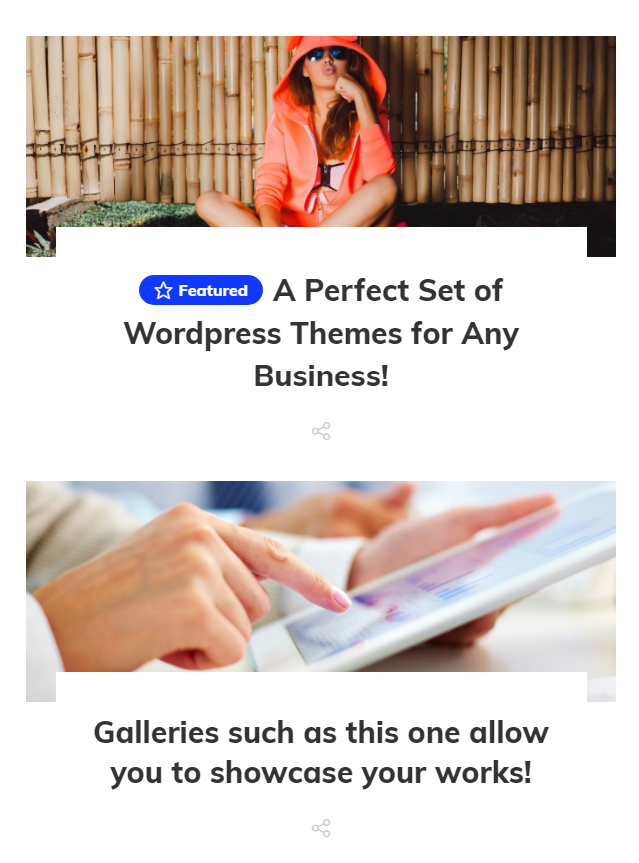
- Sticky Label Type — this option allows you to select the preferable label type for the posts. The label can be textual (Text Label), an icon (Font Icon), or include both text and icon (Text with icon). Choose the label type that fits your blog page appearance. As a result, additional Sticky Label Type options will appear.
- Icon for Sticky Post — here you can select the icon to use it for the sticky label (the option is available if you use Font Icon or Text with Icon label type).
- Featured Post Label — here you can input the label title (the option is available if you use Text Label or Text with Icon label types only).
The next step is to specify how post content is displayed. In the Post Content dropdown menu you need to select one of the available options:
- Only Excerpt — enable this option if you need to display a short excerpt from the post content.
- Full Content — turn on this option if you want to display full post content on the Blog page.
- Hide — turn the option on if you don’t want to display post content at all.
Customizing Meta information and “Read More” Button
There are also additional options to help you enable or disable different elements for blog the page. Here is the options overview.
- Show Read More Button — enable this option if you need to show Read More button (this might be necessary if you don’t want to display the post’s full content). Turn the option on, and you’ll be able to define the custom name for the Read More button.
- Post Author — turn this option on if you want to provide the visitors with information about the post author.
- Publish Date — switch this option on if you need to display the date when the post was published.
- Categories — enable this option if you need to display post categories (to provide easier access to categories navigation).
- Tags — enable this option if you need to display post tags (to provide easier access to tags navigation and post sorting).
- Comments — here you can turn on displaying comments for the posts.
Click on Save&Publish button to apply all the changes.
This tutorial is based on Magic Multipurpose WordPress theme.
