This guide will help you to install the new OpenCart 3.x templates using the ‘fullpackage’ zip archive.
The procedure doesn’t really differ from the installation of the previous versions and is a pretty straightforward process.
- After you downloaded the template, unzip it and find the ‘themeXXX’ folder where ‘XXX’ is your theme number.
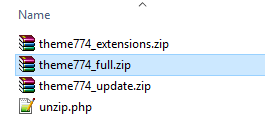
- Upload the ‘fullpackage’ archive to your server using the hosting cPanel FileManager or any FTP manager (TotalCommander, FileZilla etc).
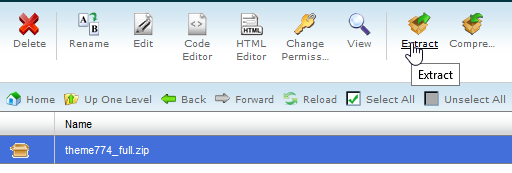
- Unzip the archive either some PHP script (unzip.php) or use the ‘Extract’ button in your hosting panel FileManager.
- Create a user and database on MySQL server. Make sure to add the user to the database and give him all the necessary permissions. Save these details along with the password for the user as you will need them later during the installation.
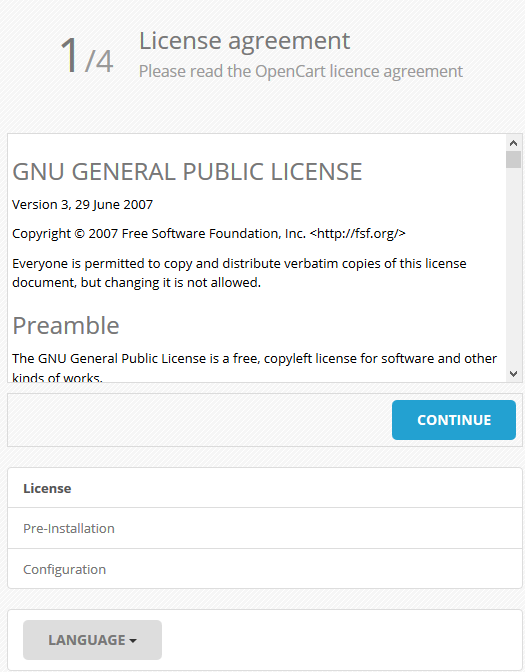
- Open your web address in any browser. Make sure you specify the correct directory where the files are uploaded. You should see the OpenCart auto-installer with Licence agreement on the first page. You may read the terms of the agreement and click the ’Continue’ buttonto proceed.
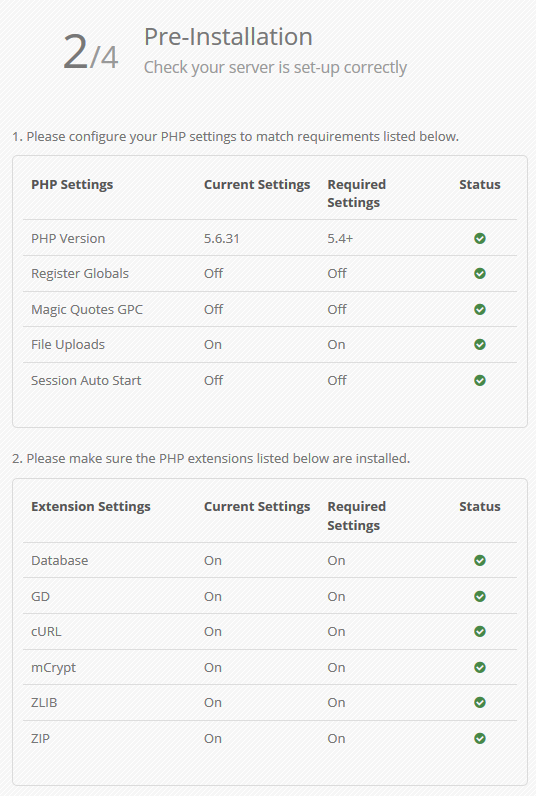
- On the next step of Pre-Installation, you can see whether your server setting meet all the requirements for successful OpenCart set-up (PHP settings, server extensions and permissions). In case all the components have green marks in the ‘Status’ field, you can press ‘Continue’ button to move to the Configuration step. But if you see any red marks in any of the requirements, you should contact your hosting provider for checking the server issues and correcting them.
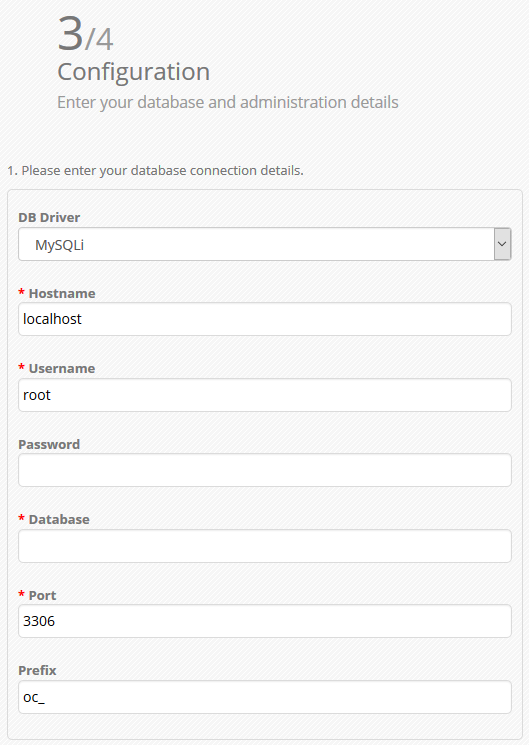
- On the Configuration step, you need to fill in the fields with your database and the administration details. Use the database details you just created before, make to keep ‘oc_’ as a database prefix for a successful sample data installation (the site will not look same as the live demo if you use another prefix). Type the desired username, password and email in administration section, and click ‘Continue’.
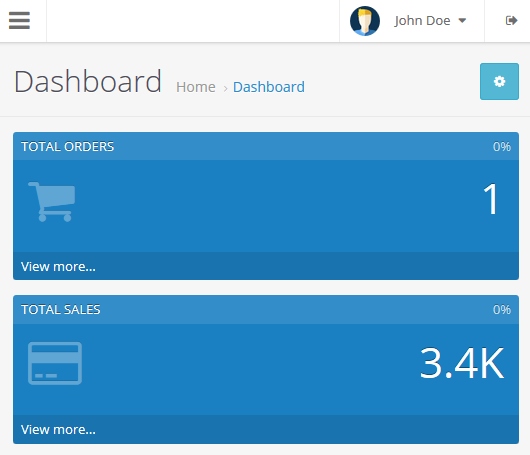
- Now that the installation is complete, remove or rename the ‘install’ folder as you will no longer need it, besides it is necessary for security purposes. Feel free to explore your frontend or check the administration panel.
This is the whole procedure. We hope this guide was helpful and easy to follow.
Feel free to contact us in case you have any questions.


