


One of the best things about OpenCart templates is that they can really be installed in a few clicks. With the ‘fullpackage’ archive that includes engine files, the template itself, all the required extensions and sample data creating a website that looks and functions the same as our live demo is as easy as ABC!

While ‘fullpackage’ is a great helper for installing a template from a scratch, installation over an existing website can be a piece of cake due to an ‘update’ package. ‘Update’ archive is mainly used in cases when one already has a running website and would like to implement a new design without losing the products or custom settings.
The procedure is quite easy and consists of a few quick steps. Before performing any changes it is preferable to make a full website backup in case of some unforeseen effects. All files that will be needed for installation are in the ‘theme’ folder of your template package.
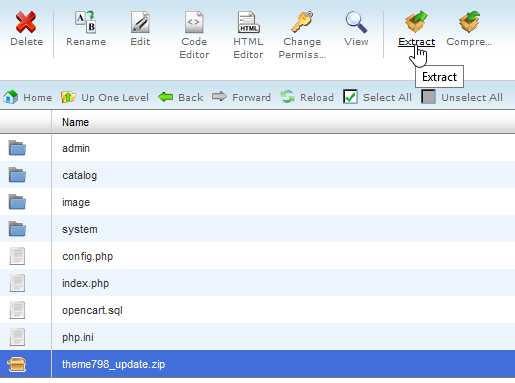
- The first step is uploading the theme update package itself. Open your website files via FTP or your hosting Filemanager, upload themeXXX(update).zip to the OpenCart root directory and unzip it there.
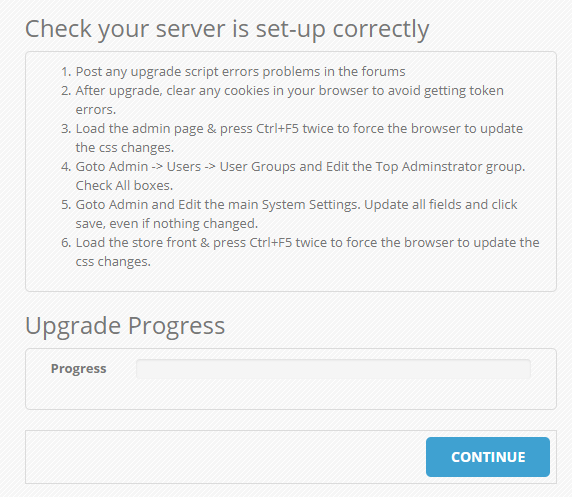
- In order to open update interface, add /install to your website URL and click Continue button at the bottom of the page.
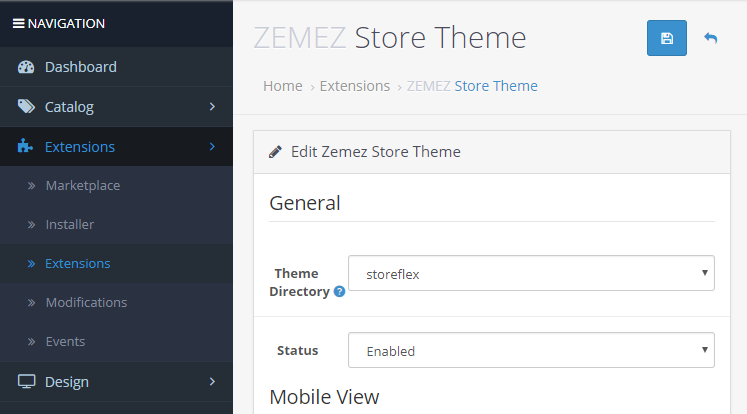
- Then, in the OpenCart admin panel, go to Extensions -> Extensions -> select Themes in the dropdown. Edit your current store and choose the path to the new theme directory.
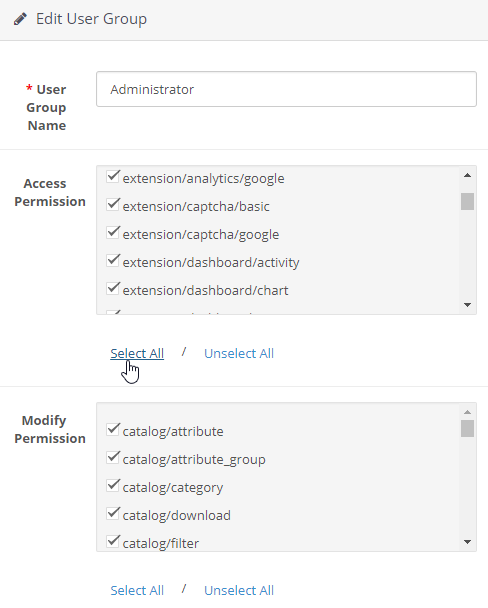
- Navigate to System -> Users -> User Groups -> edit your main admin group. Select all checkboxes in the permissions settings and click “Save“.
- The next step is extensions installation. All extensions required for a proper work of the template are located in themeXXX(extensions).zip archive of your template package, unzip it before you proceed to work with extensions. Just like with any other OpenCart extensions, you need to upload each of the extracted files from this archive under Extensions -> Installer tab of your admin panel one by one.

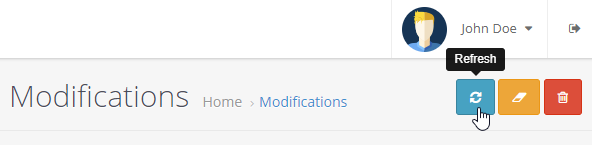
- Once all the extensions are uploaded do not forget to activate them under Extensions -> Modifications tab, and click the Refresh button in the top right corner.
Done, the template is installed! Refresh the page to see the changes on your website. A new design is implemented with all your products saved!
