


This tutorial shows how to manage TM Mega Menu module in OpenCart templates.
This module allows you to create complex menus. The module provides the ability to display a single item (without submenus), an item with a submenu and an item with the multi-row and multi-column submenu block. This module can be displayed in the various positions, but with the same content.

In order to enable TM Mega Menu module, you should navigate to the Extensions > Extensions, choose Modules in a drop-down and open TM Megamenu page (it can be also named as Jetimpex Megamenu). Press Add New button to add the new menu or Edit button to edit the existing menu. You may find such options as “Module Name” and “Status”. If you create a new menu you need to add module name and set status as Enabled. The existing menu has these fields filled in already.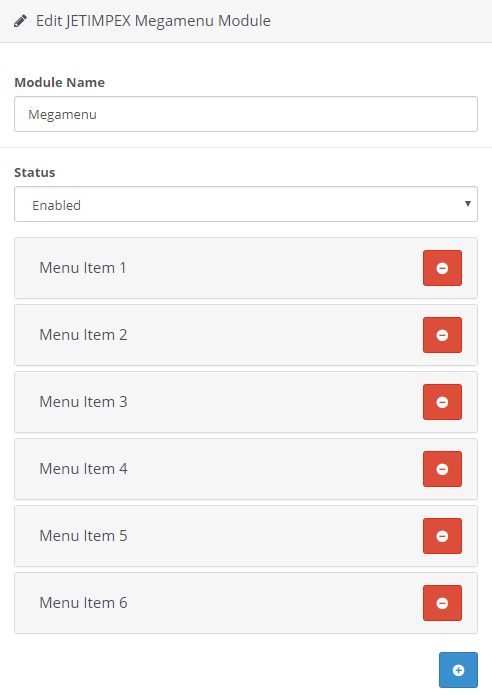
[notice type=”warning”]Attention: This module supports multilanguage, so you can configure it for each shop language separately.
- Click on the “plus” icon at the lower right to have the new menu item options interface appear or click on one of the menu items to start editing. Fill in the following fields.
Menu Item type — type of the menu (regular/megamenu);
For ‘Custom’ option:
Menu title — menu item label;
Menu link — menu item link;
Show megamenu — megamenu display;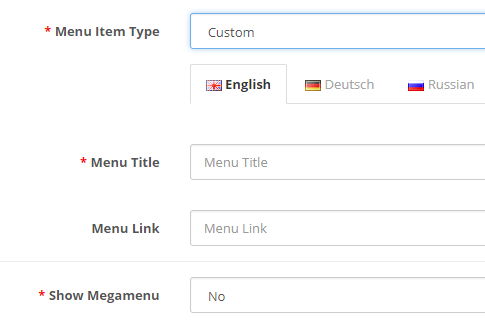 1.1 If the “Show megamenu” option is set to “Yes”, the following additional fields appear. Fill in these fields:
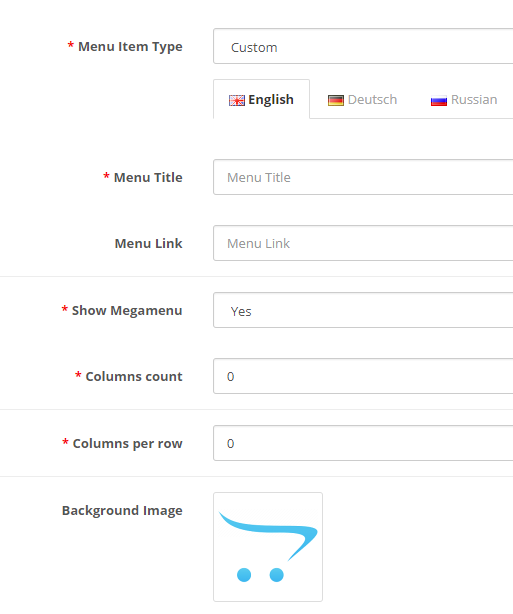 Columns count — number of columns;
Columns per row — number of columns per row;
Background image — background image;
Background image width — width of the background image;
Background image height — height of the background image;1.1.1 After filling in the “Columns count” field, the following options become available: “Column N”. Fill in the tabs:
Column width — width of the column;
Columns content — content of the column;
Categories(Products) limit — maximum number of categories or products to display in the column;
Module — name of the module to display;
Category name — name of the category;
Show Category name — category name display;
For ‘Category’ option:
Menu item submenu type — submenu type; - After selecting the “Megamenu” type in the “Menu Item type” field, the following additional megamenu settings become available:
Columns count — number of columns;
Columns per row — number of columns per row;
Background image — background image;
Background image width — width of the background image;
Background image height — height of the background image;2.1 After filling in the “Columns count” field, the following options become available: “Column N”. Fill in the tabs:
Column width — width of the column;
Columns content — content of the column;
Categories(Products) limit — maximum number of categories or products to display in the column;
Module — name of the module to display; - Scroll up and click the “save” icon at the upper right of the screen.
- Navigate to your store front-end and refresh the page to see the new menu item appeared in the categories menu. You may also choose other options for each column as well as set the “Menu Item Type” option to Custom to include any external/internal link and any desired label.
This is the end of the tutorial. You have learned how to manage TM Mega Menu in your OpenCart template.
