The following tutorial will guide you on how to install OpenCart 3 engine to your server.
Let’s get started!
- Download OpenCart 3.x version from the official OpenCart website.
This will download the compressed archive of that version of OpenCart (a .zip file). - Unzip your OpenCart engine files and upload the content of the uploads folder to the root directory of your hosting server.
The “uploads” folder contains all the files needed to install the engine to a web server.
You can compress the content of the uploads folder before uploading to the server and then unzip it using File Manager tool. - After this you will need to rename the admin/config-dist.php file to admin/config.php.
- The next step is to create a new database and assign a user to it.
- You will create a new database, you can continue the installation.
- In order to start the installation of OpenCart to your server, you should enter your domain name into the browser address bar.
Please, follow these steps to complete complete the installation process.
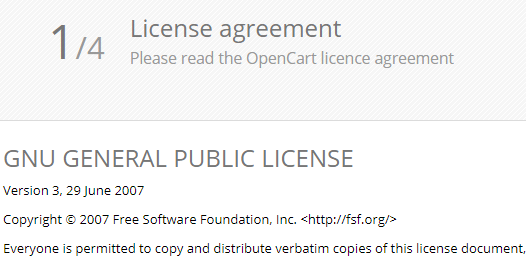
License
You should confirm license agreement by checking “I agree to the license” checkbox, and press “Continue”.

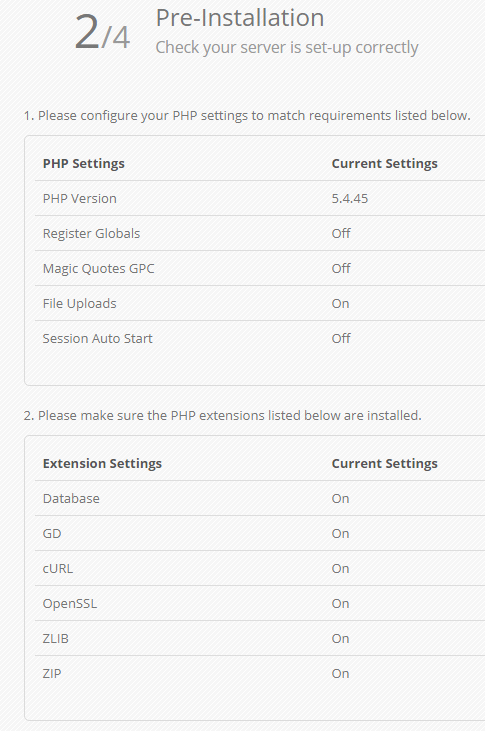
Pre-Installation
Pre-installation step checks if your server meets all the requirements and has correct permissions.
If everything is configured properly, you may press “Continue“.

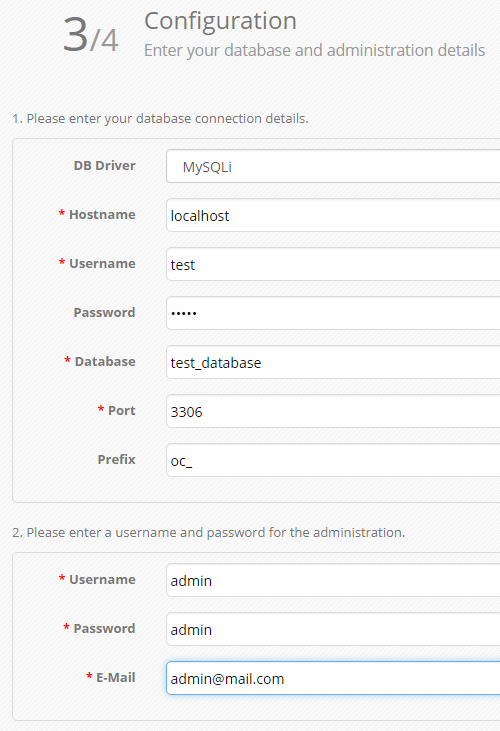
Configuration
On the next step, you need to fill in your database connection details (username/password, database name).
Next, you should include a new username and password for administrator access to your site admin panel.
Once all the information is filled in, click on continue button.

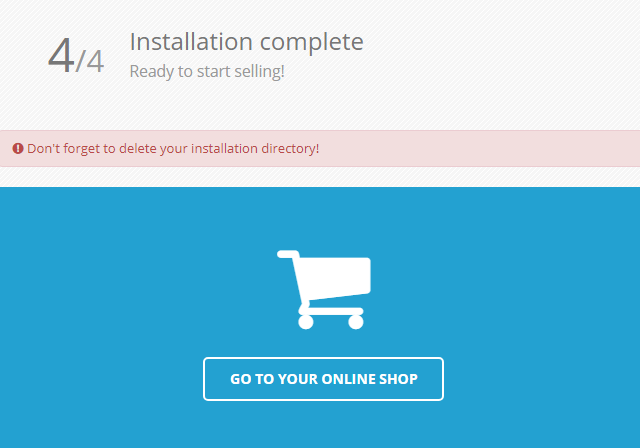
Finished
Once installation is completed, you should delete the “install” folder from your server for security reasons.
Then you will be able to browse the frontend of your shop or log into your site admin panel.

That is the end of the tutorial, now you know how to install OpenCart 3 engine.


