Here you can find the instructions on how to manage Blog extension.
In order to configure the module, navigate to Stores > Settings > Configuration section.
General

Let’s review the options available:
- Enable/Disable — enable/disable the module.
- Show in TopLinks — enable/disable ‘Blog’ link for the header toplinks section.
- Show in Menu — enable/disable ‘Blog’ link in the Main Menu.
- Title — specify the link title.
- Meta Keywords — add meta keywords.
- Meta Description — add meta description.
- Route – specify the route (URL of main blog page) to the blog, if “blog” will be like website.my/blog/.
- Posts per view — indicate how many posts will be displayed per view. Format “3/6/9”.
- Post List Page Layout — choose a proper layout type for the post list.
- Post Page Layout — choose a proper layout type for the post page.
- ReCAPTCHA Enable/Disable — to activate ReCAPTCHA you need to get Captcha API key and Captcha API secret.
- Data Format — you can change date format: Y – year, M – month, d – day. You can use any symbol between this letters like: M/d/Y, Y:M:d, etc
Post View
In this section you can customize the appearance of related posts and products section.
Related posts
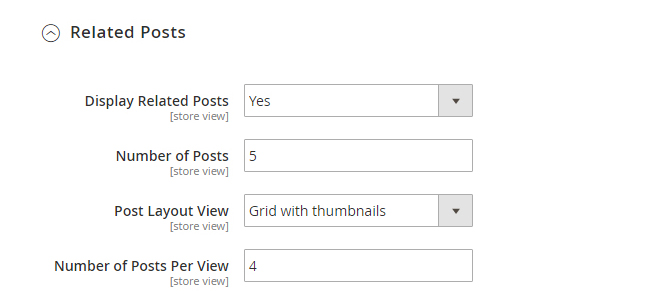
- Display Related Posts — show/hide related posts.
- Number of Posts — specify the number of related posts.
- Post Layout View — you can change view of related posts: Thumbnail+title or Post title only.
- Number of Posts Per View — if this number higher than Number of Posts the Related Posts Carousel will be activated automatically.
Related Products
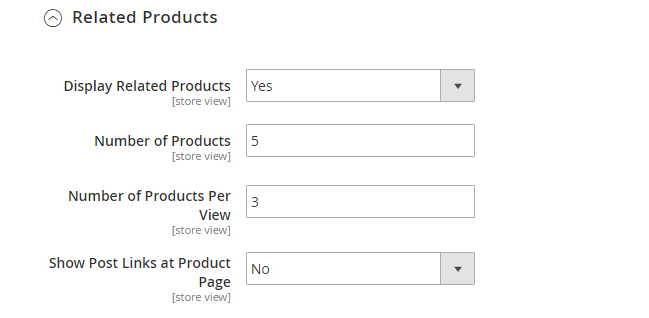
- Display Related Products — show/hide related products.
- Number of Products — specify the number of related products.
- Number of Products Per View — if this number higher than Number of Products the Related Products Carousel will be activated automatically.
- Show Post Links at Product Page — choose if you want to show the Related Post link on the Product Page.
Sidebar
In this section, you can add some blocks to display in the sidebar on a blog page, in case you use the 2 columns layout.
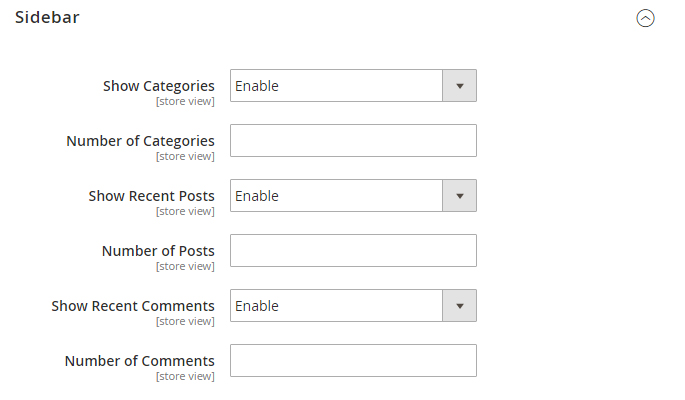
- Show Categories — show/hide box with categories.
- Number of Categories — number of recent categories
- Show Recent Posts — show/hide box with last posts.
- Number of Posts — number of recent posts to show.
- Show Recent Comments — show/hide box with last comments.
- Number of Comments — number of recent comments to show in the block.
Social Sharing tab
General

- Enabled — enable/disable the module.
- Profile id — enter your Profile ID that you can get after registering and creating an account at the following page: https://www.addthis.com.
You need to insert it to the Profile ID field in Blog module settings window to make Share Buttons appear on your site.
Look & Feel
In this section, you can set up the appearance of the icons. You can choose one of the predefined presets, or you can add your own icons.
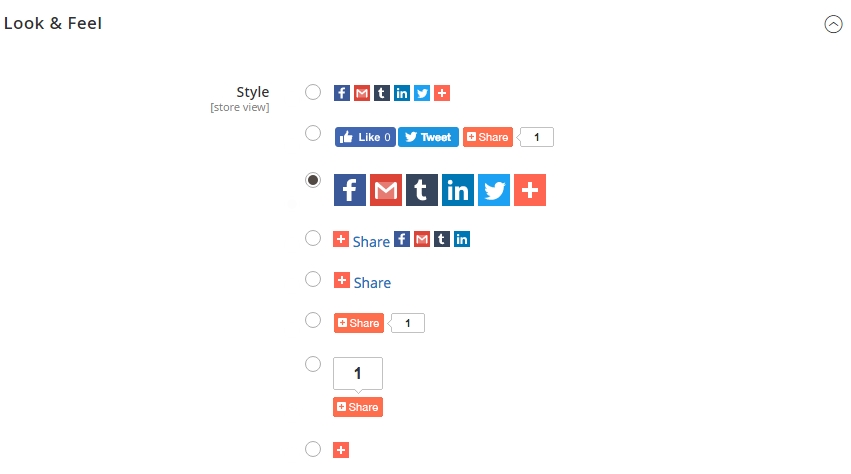
Add your own icons. There are 2 options in this section:
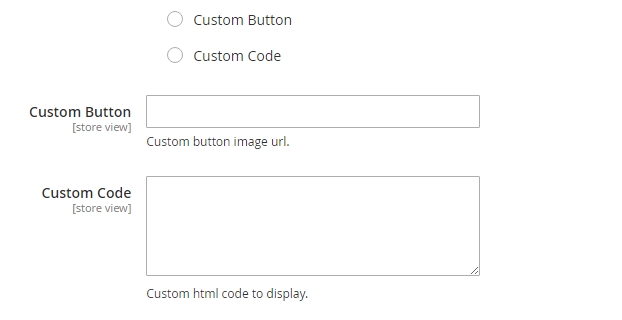
- Custom button – select this option and specify the link to your image in the input field. When clicking the link, you’ll see a popup for selecting a sharing service.
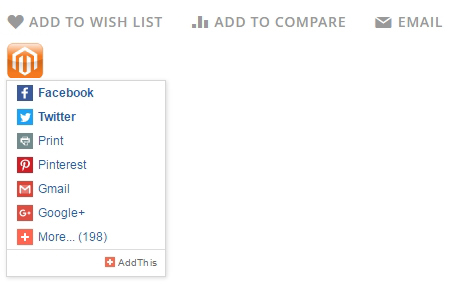
- Custom code – if you select this option, you can fully replace the icons with a custom ones. The field can take html and css code. If you need to add a custom Facebook, Twitter or other service’s icon, and want to make it work, you need to add a corresponding class to the link. For Facebook, this will be class=”addthis_button_facebook”, for Twitter – class=”addthis_button_twitter”, for a popup with selection of social networks – class=”addthis_button_more”.
Custom Metadata
In this section, you can set up sharing for a custom page.
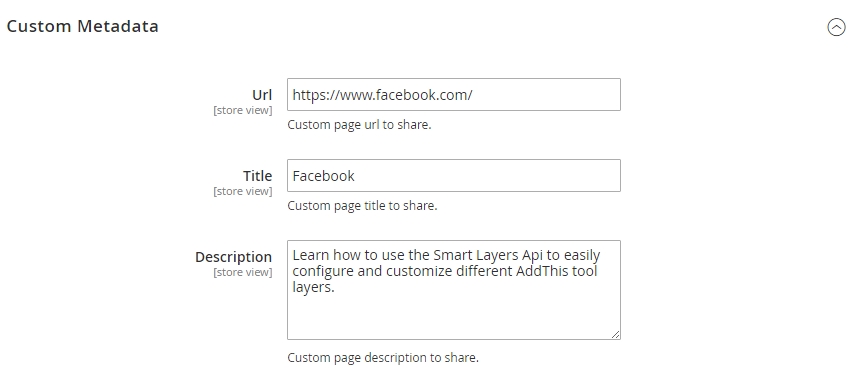
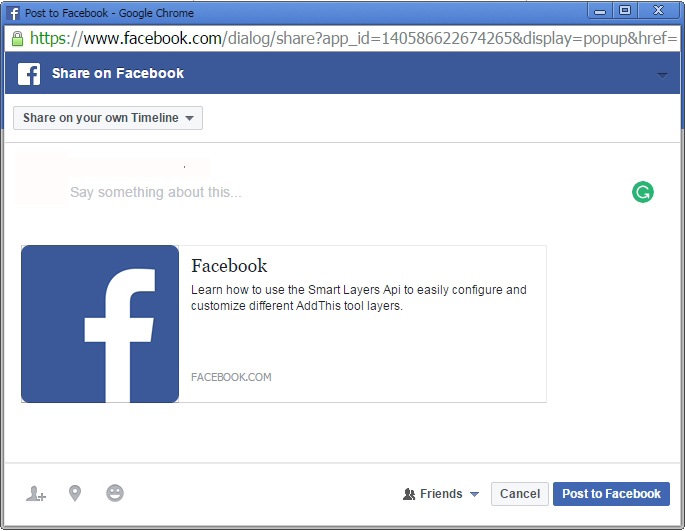
Having specified all the data, you’ll see their output in the sharing dialogue window. You’ll see the specified data there.
Custom Sharing Service
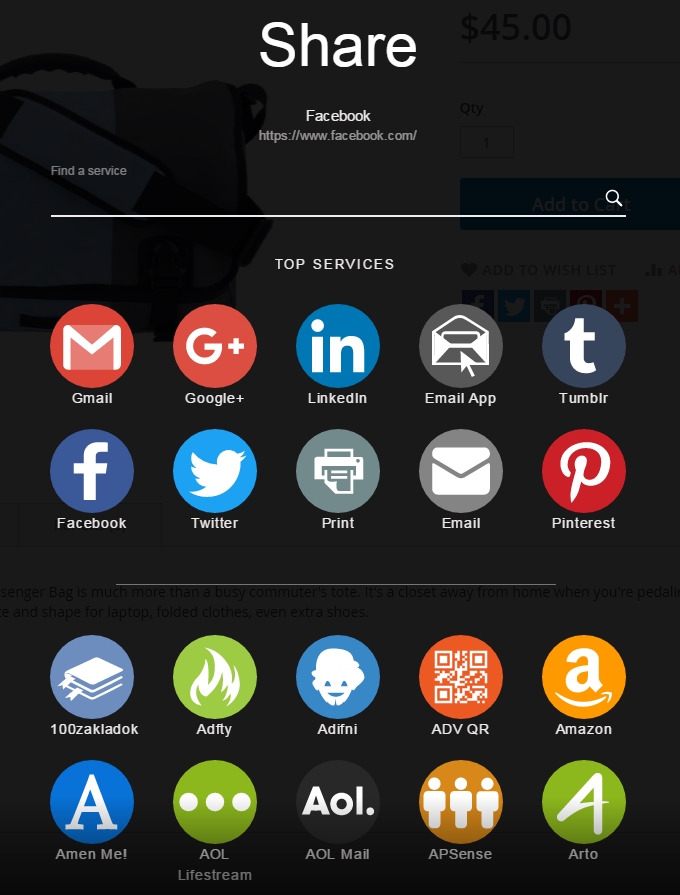
In this section, you can add an icon of your social network, and users will be able to share, using your service.
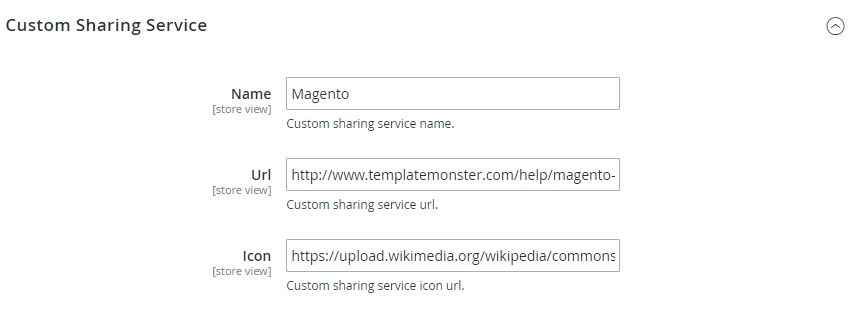
- Name – custom sharing service name.
- Url – sharing service link url.
- Icon – sharing service icon url.
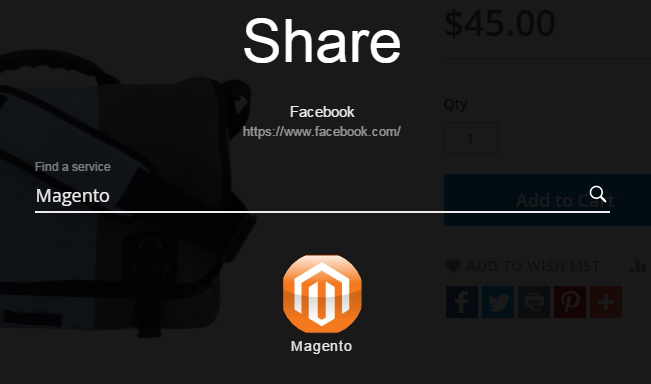
Your module will be changed accordingly.
API Configuration Options
This section contains the API settings of the Addthis service.
Let’s review the available options:
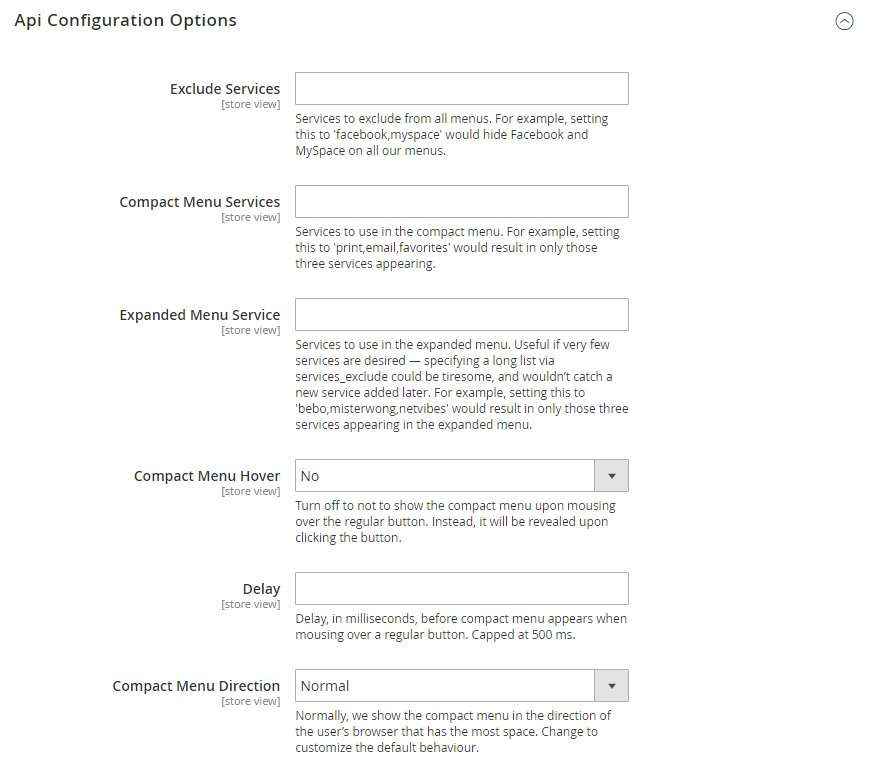
- Exclude Services — services to exclude from all menus. For example, setting this to ‘facebook,myspace’ would hide Facebook and MySpace on all our menus.
- Compact Menu Services — services to use in the compact menu. For example, setting this to ‘print,email,favorites’ would result in only those three services appearing.
- Expanded Menu Service — services to use in the expanded menu. Useful if very few services are desired – specifying a long list via services_exclude could be tiresome, and wouldn’t catch a new service added later. For example, setting this to ‘bebo,misterwong,netvibes’ would result in only those three services appearing in the expanded menu.
- Compact Menu Hover — turn off to not to show the compact menu upon mousing over the regular button. Instead, it will be revealed upon clicking the button.
- Delay — delay, in milliseconds, before compact menu appears when mousing over a regular button. Capped at 500 ms.
- Compact Menu Direction — normally, we show the compact menu in the direction of the user’s browser that has the most space. Change to customize the default behaviour.
- New Window — If true, clicking the AddThis button will open a new window to a page supporting sharing without JavaScript.
- Menu Language — force the menu to use a particular language.
- Offset Top — number of pixels to offset the top of the compact menu from its parent element.
- Offset Left — number of pixels to offset the left of the compact menu from its parent element.
- Load AddThis CSS — turn off to not load our standard CSS file, allowing you to style everything yourself.
- Track Clickbacks — turn on to allow to append a variable to your URLs upon sharing. We’ll use this to track how many people come back to your content via links shared with AddThis.
- Google Analytics Id — turn on to enable the module.
Blog Category
Navigate to the TEMPLATEMONSTER section in the left sidebar. Find Blog and click Categories.
Here you will see the list of categories.
You can either delete or edit the category by clicking the Select button in the Action column.
Adding post
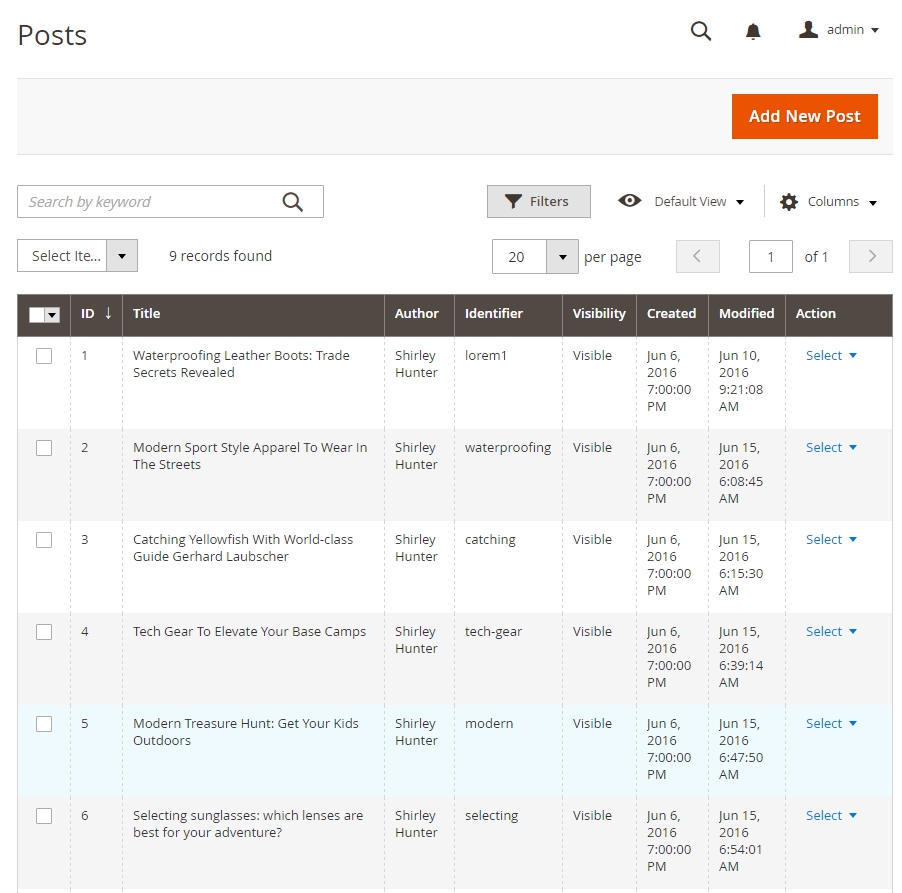
Navigate to the TEMPLATEMONSTER section in the left sidebar. Find Blog and click Posts. Here you will see the list of all posts available on your website. You can either delete or edit the posts by clicking the Select button in the Action column.
Frontend (based on the Magetique Lingerie theme):

- Show in Menu — enable;
- Title — Blog.
Post List Page:
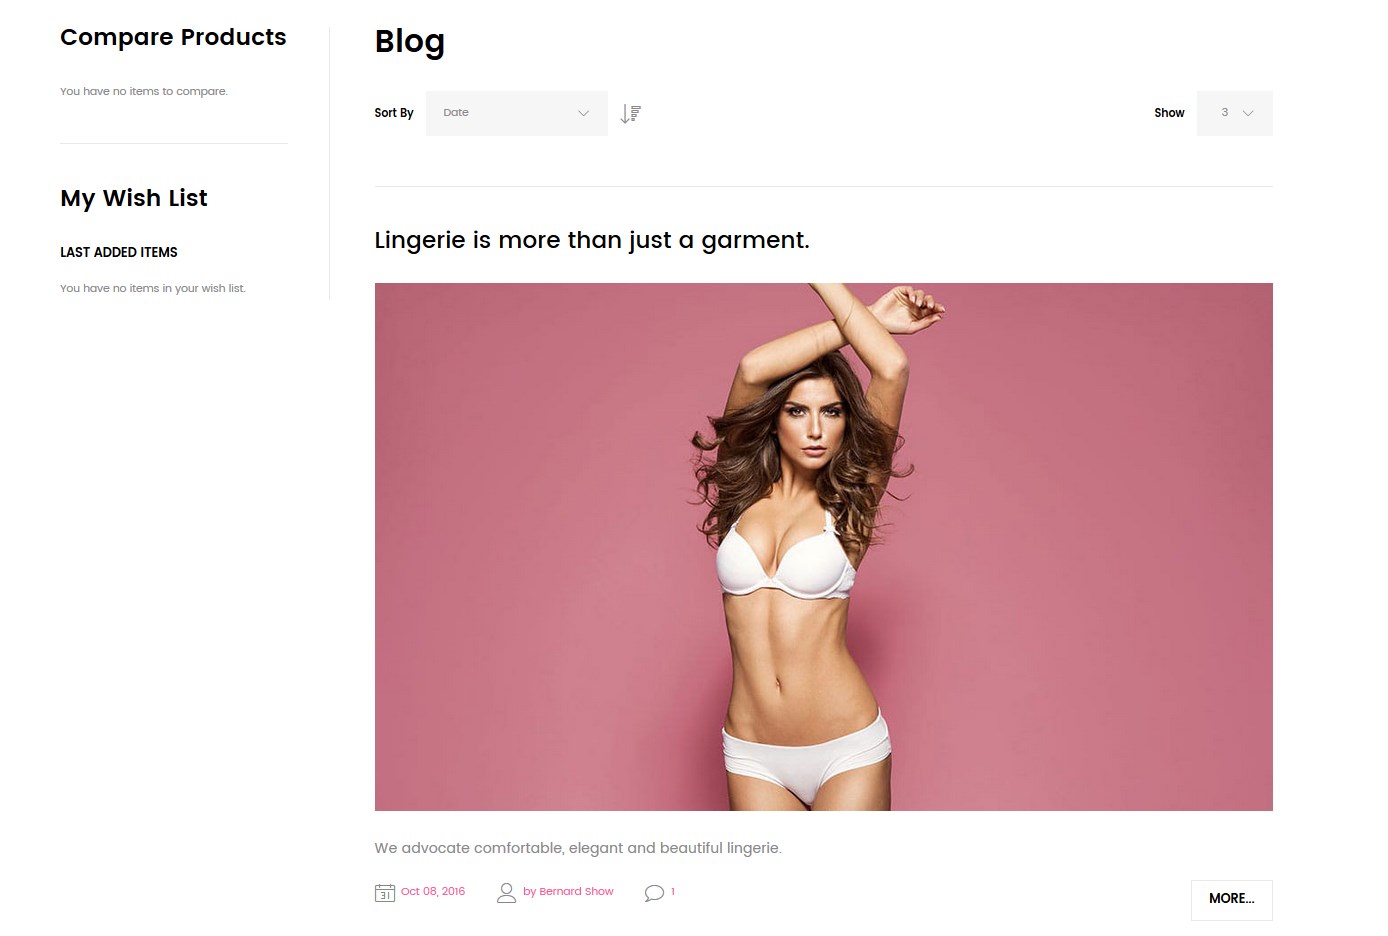
- Title — Blog;
- Posts per view — 3/6/9.
Post Page:
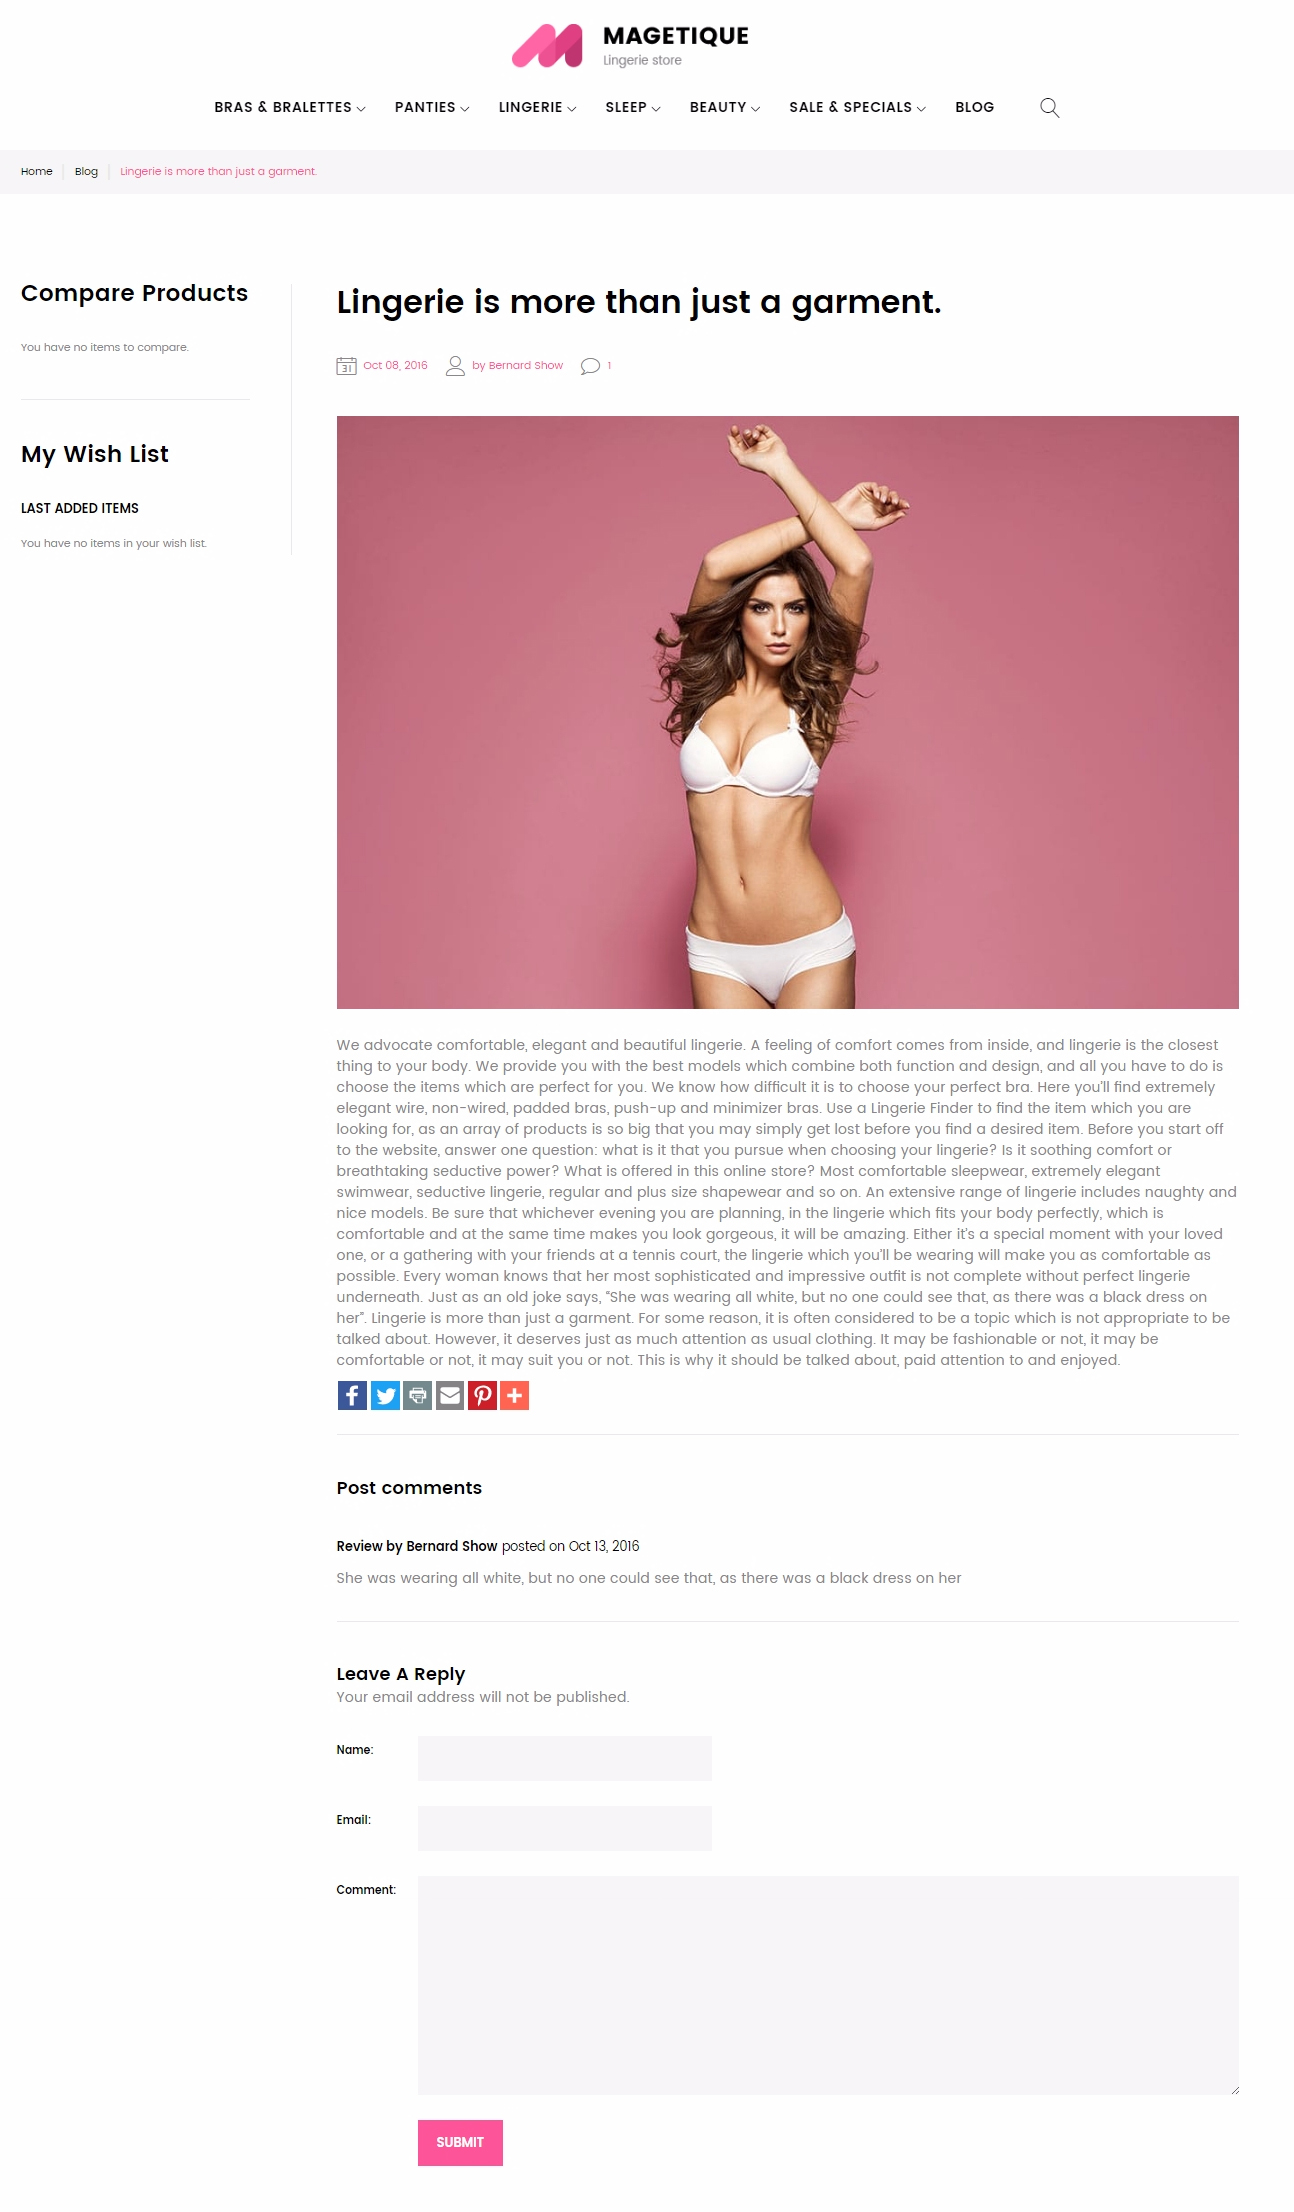
- Title — Blog;
- Post Page Layout — 2 columns with left bar.
Related Posts
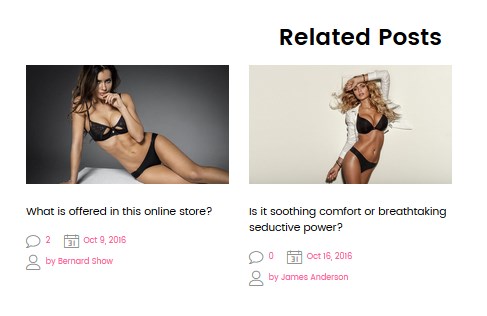
- Display Related Posts — enable;
- Post Layout View — grid with thumbnails;
- Number of Posts Per View — 4;
Related Products
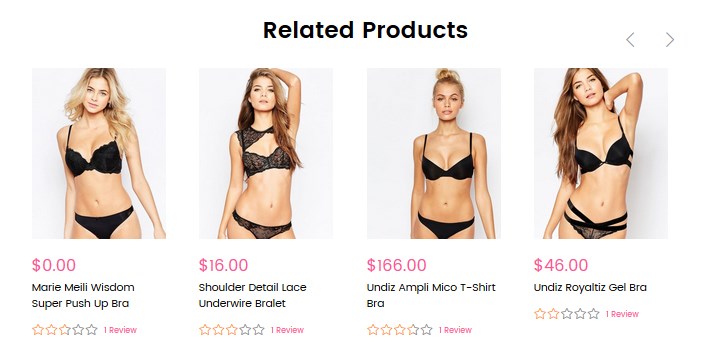
- Display Related Products — enable;
- Number of Products Per View — 3.
Blog: Latest Posts Widget
To add a Blog widget to the homepage, you need to navigate to Content > Widgets tab. You can change settings of any Blog Widget here.
Tip:
if you want to find all Blog Widgets, use the filters to simplify the process. Select the “Blog Latest Posts” type in the “- Type -” filter dropdown list [Type column]. To open any edit required widget, click on its title.
Storefront Properties
Here you can find a list of options that allow customizing the widget and making it match the corporate style of your business.
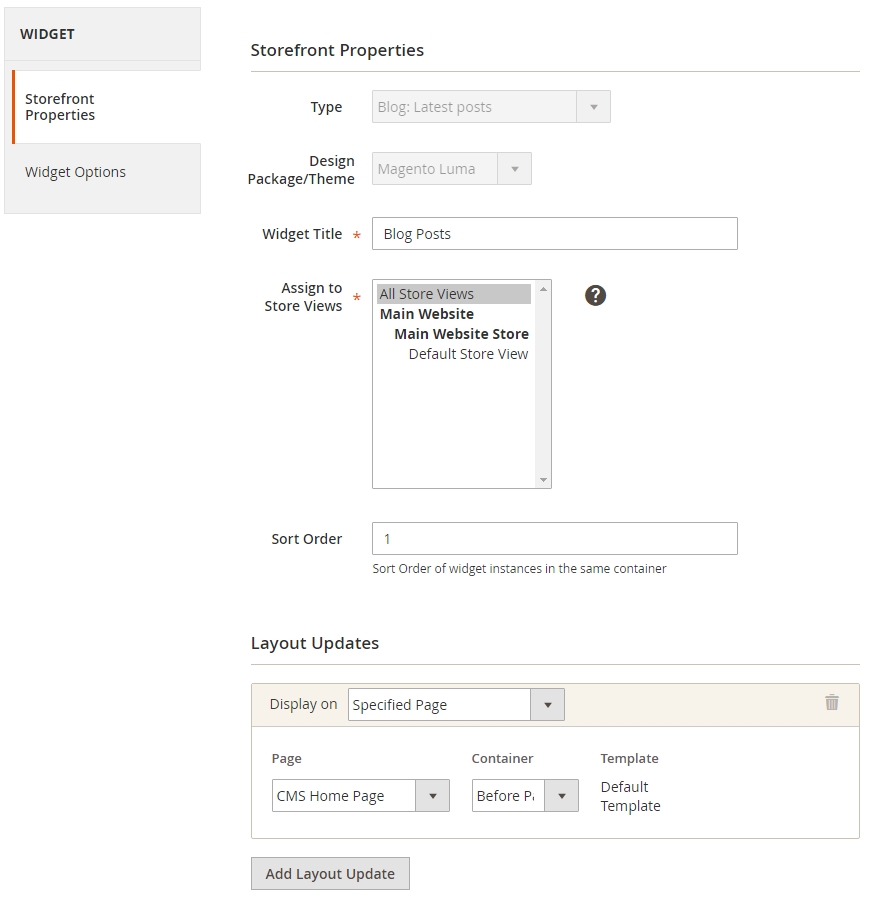
- Type – choose a proper widget type. This option is available only when you add a new widget.
- Design Package/Theme – choose a theme. This option is available only when you add a new widget.
- Widget Title – specify the widget title.
- Assign to Store Views – assign the widget to a particular store view.
- Sort Order – sort order of widget instances.
Widget Options
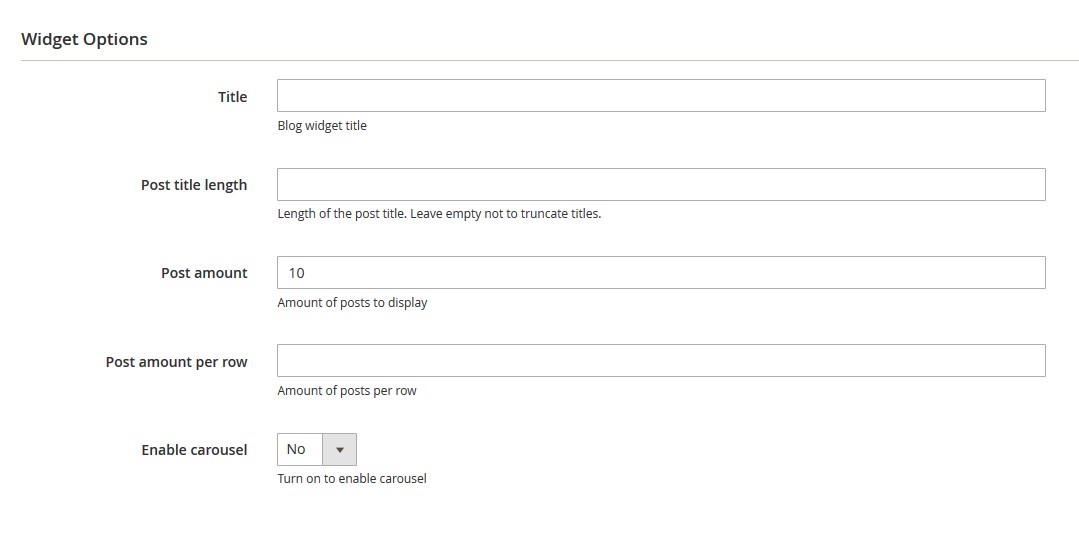
- Title — blog widget title.
- Post title length — length of the post title. Leave empty not to truncate titles.
- Post amount — number of posts displayed on the page.
- Post amount per row — amount of posts per row.
- Enable carousel — turn on to enable carousel.


