Here you can find the instructions on how to manage Shop by Brand module.
Help customers quickly find out the brands and products they consider, thus saving them much more time by using the Shop By Brand module. Sort products by brand, color, style, size, material, pattern, and climate. The extension is equipped with many interesting features.
In order to customize the module, click the Stores > Settings > Configuration.
Then choose TEMPLATEMONSTER > Shop by Brand in the left side menu and you’ll move to the module settings interface.
➤ Here you can configure the general information of the module.
General
- Enable. Enable the module. Choose “Enable” to allow customers shop by brand.

- Display Top Link. This option allows to display Brands top link.

Customers can go to the Brand Listing Page clicking on the Brands top link.
❑ Frontend (based on the default Magento store):

- Number of Brands to Show. Here you can set number of brands to show in top menu. [You can define any number of brands shown in top menu.]

❑ The view of Top Link (frontend). With the Brands tab on the menu bar, Customers can access the Brand Listing Page as well as any Brand Detailed Page on your website (based on the default Magento store).

Brand page
- Layout. Select Layout for Brand page.

You can choose the empty, 1 column, 2 columns with left or right bar, and 3 columns layout.
- Display Brand Banner. A Brand Banner can be shown on each Brand Page.

- Display Brand Logo. A Brand Logo will be shown on each Brand Page.

- Display Brand Description. Turn on to display brand description on the Brand Page.

❑ If you choose the 2 column with left bar layout, enable Brand Banner, Brand Logo, and Brand Description you’ll see the next thing on the frontend of your shop (based on the default Magento store):
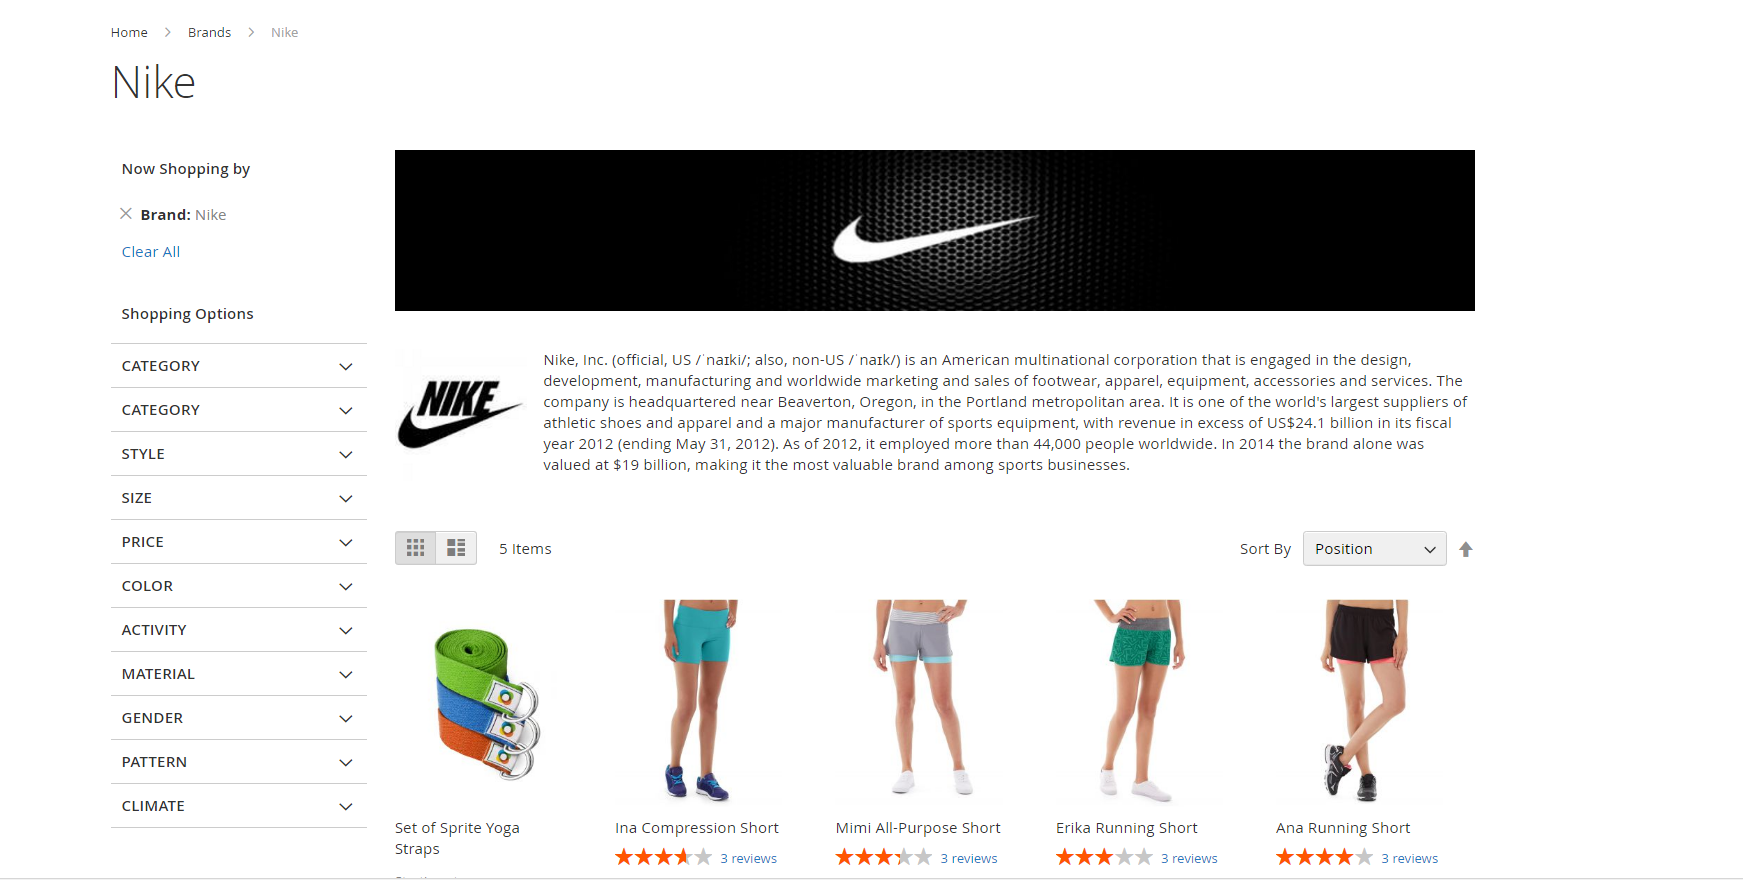
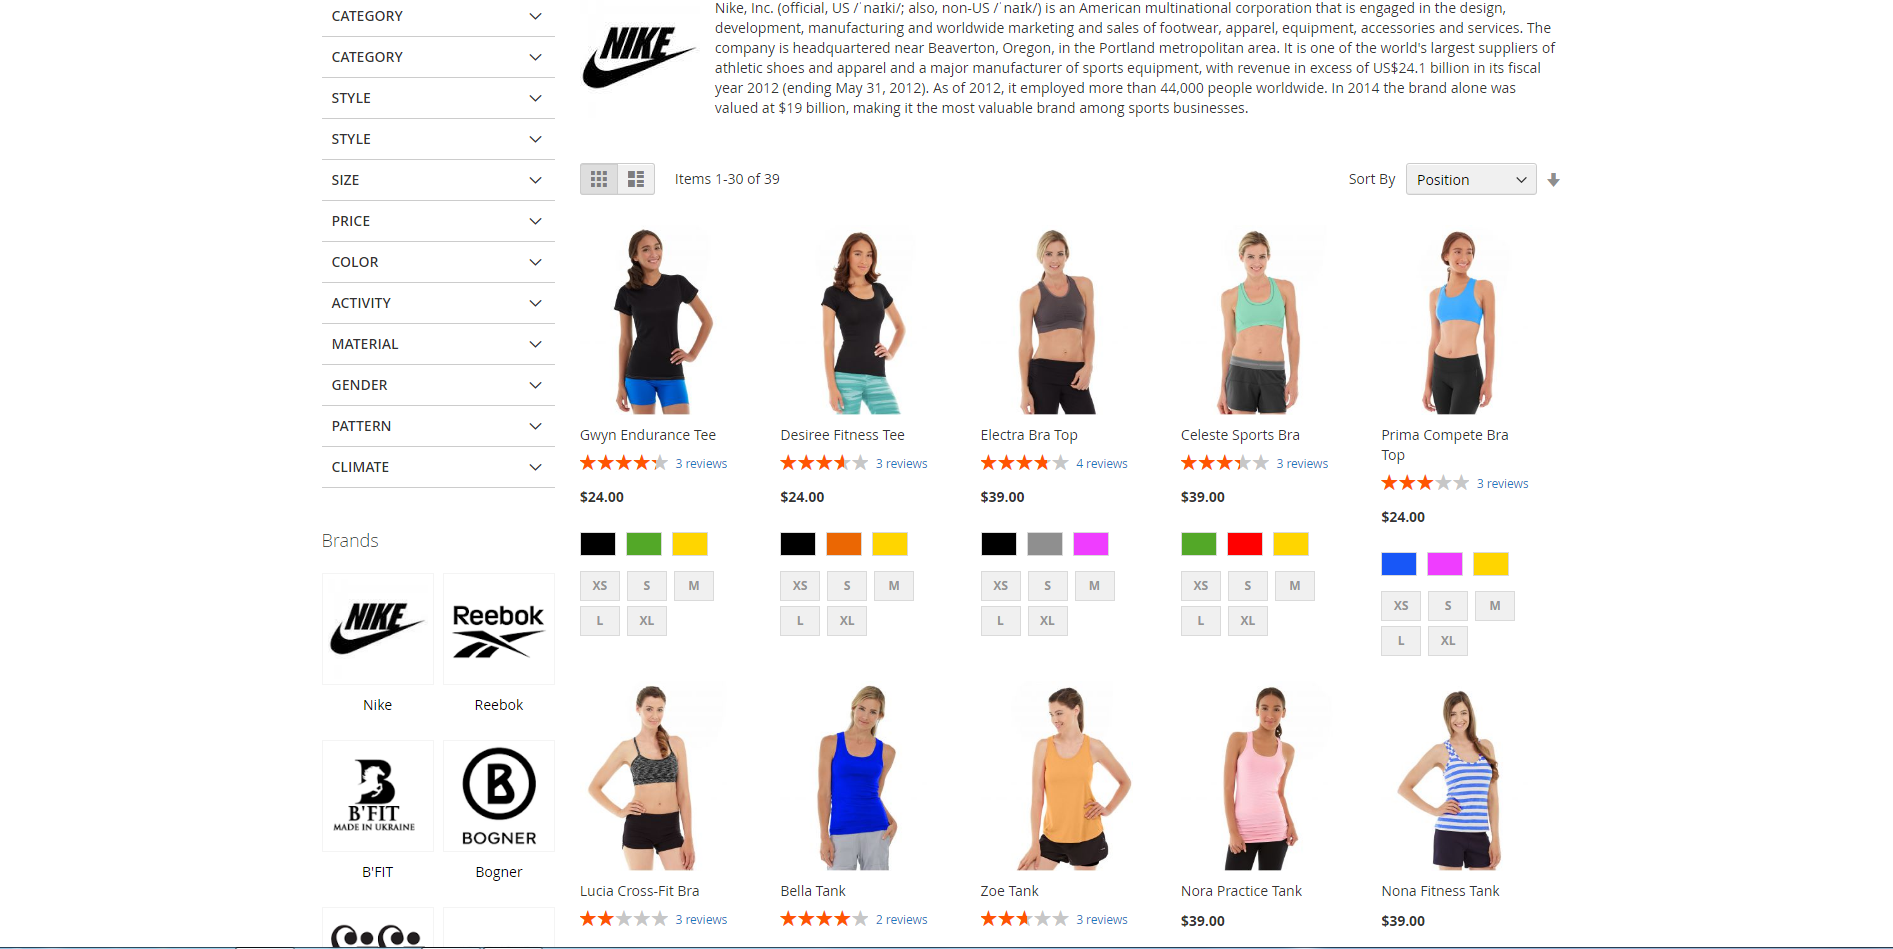
The Brand Detailed Page contains three main parts: Brand Information, All Product list (grid) and Sidebar.
- A Brand’s General Information includes banner, logo, description and clickable brand name. This is the overview of that brand.
- All Product list [grid]. In this section, Customers can see all the products of that brand. Customers have an option to sort products by Position, Product Name and Price.
- Sidebar allows you to shop by options. This section helps Customers filter and find products more easily by product-related attributes.
Options of the Sidebar will be described later in Brand sidebar section.
Product page
- Display Brand Name. Turn on to display name on the Product Page.

- Display Brand Logo. Turn on to display logo on the Product Page.

- Brand logo Width. Brand logo width on the Product Page. [You needn’t logo height parameter to be set, since the logo image can be scaled automatically in proportional way.]

- Selector. Choose selector on the Product Page after which to insert logo. [This parameter has pre-stated selector. Using this selector is better for your online-shop design. Nevertheless, you can choose any place on the product page to put the Logo in.]

❑ In case of setting the same parameters as above, you’ll see the page as follows (based on the default Magento store):
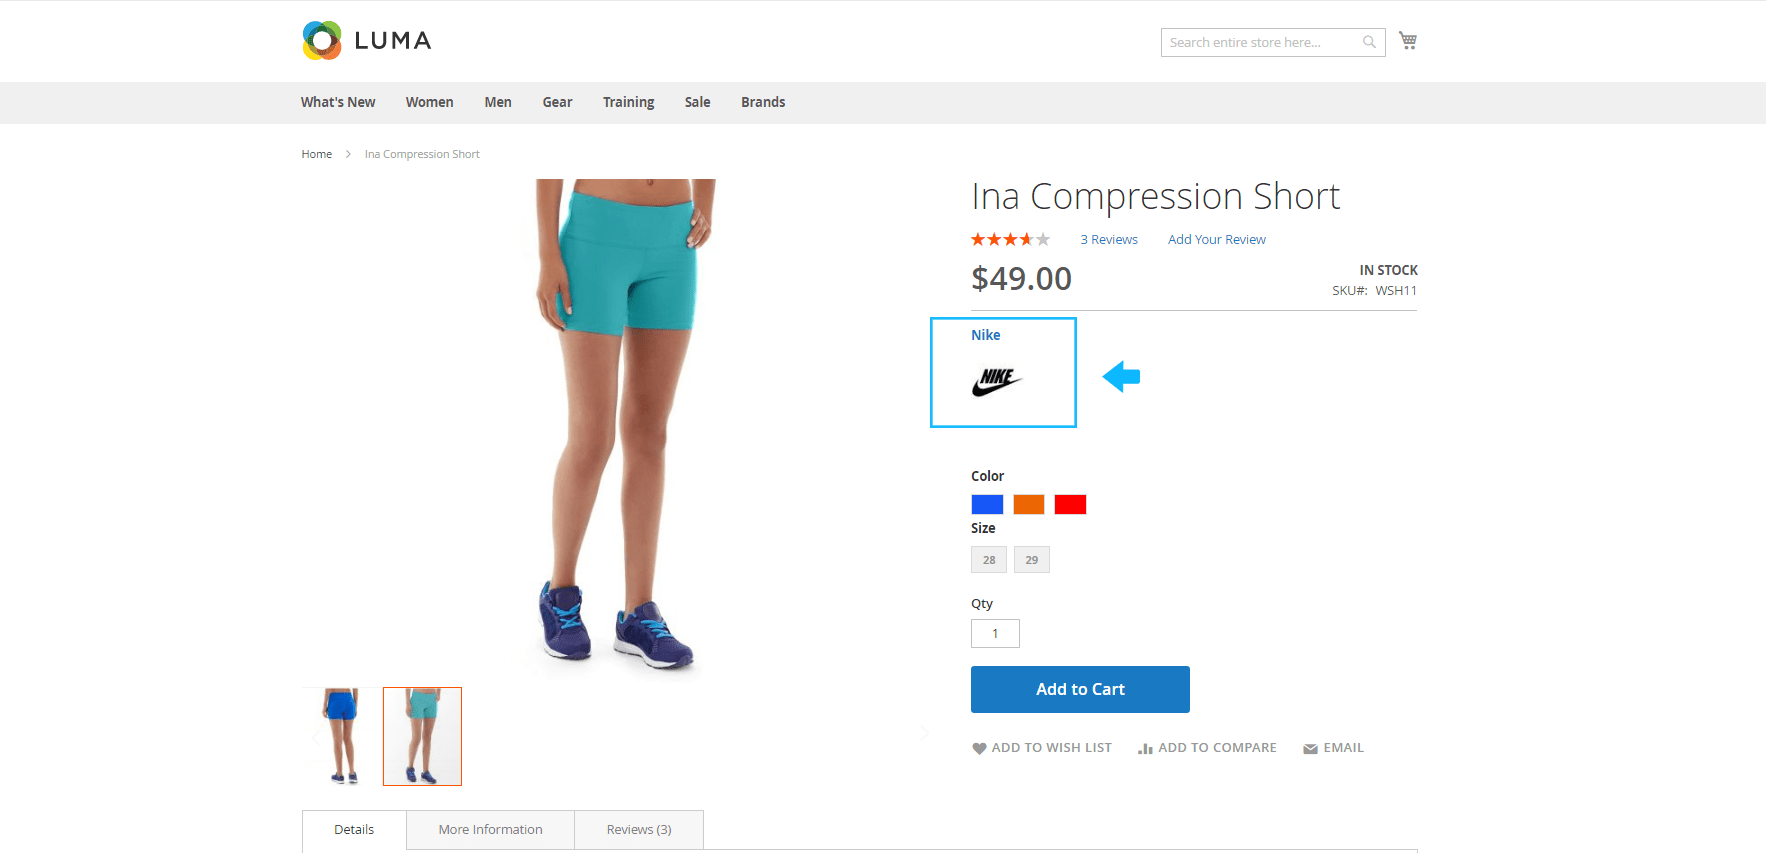 On a Product Detailed Page, Customers can see a logo and name of a brand that product belongs to.
While Customers click on the Brand Logo they’ll go directly on the Brand Description Page.
Brand Listing Page
- Display Brand Name. Turn on to display name on the Brand Listing Page.

- Display Brand Logo. Turn on to display logo on the Brand Listing Page.

- Display Short Description. Turn on to display short description on the Brand Listing Page.

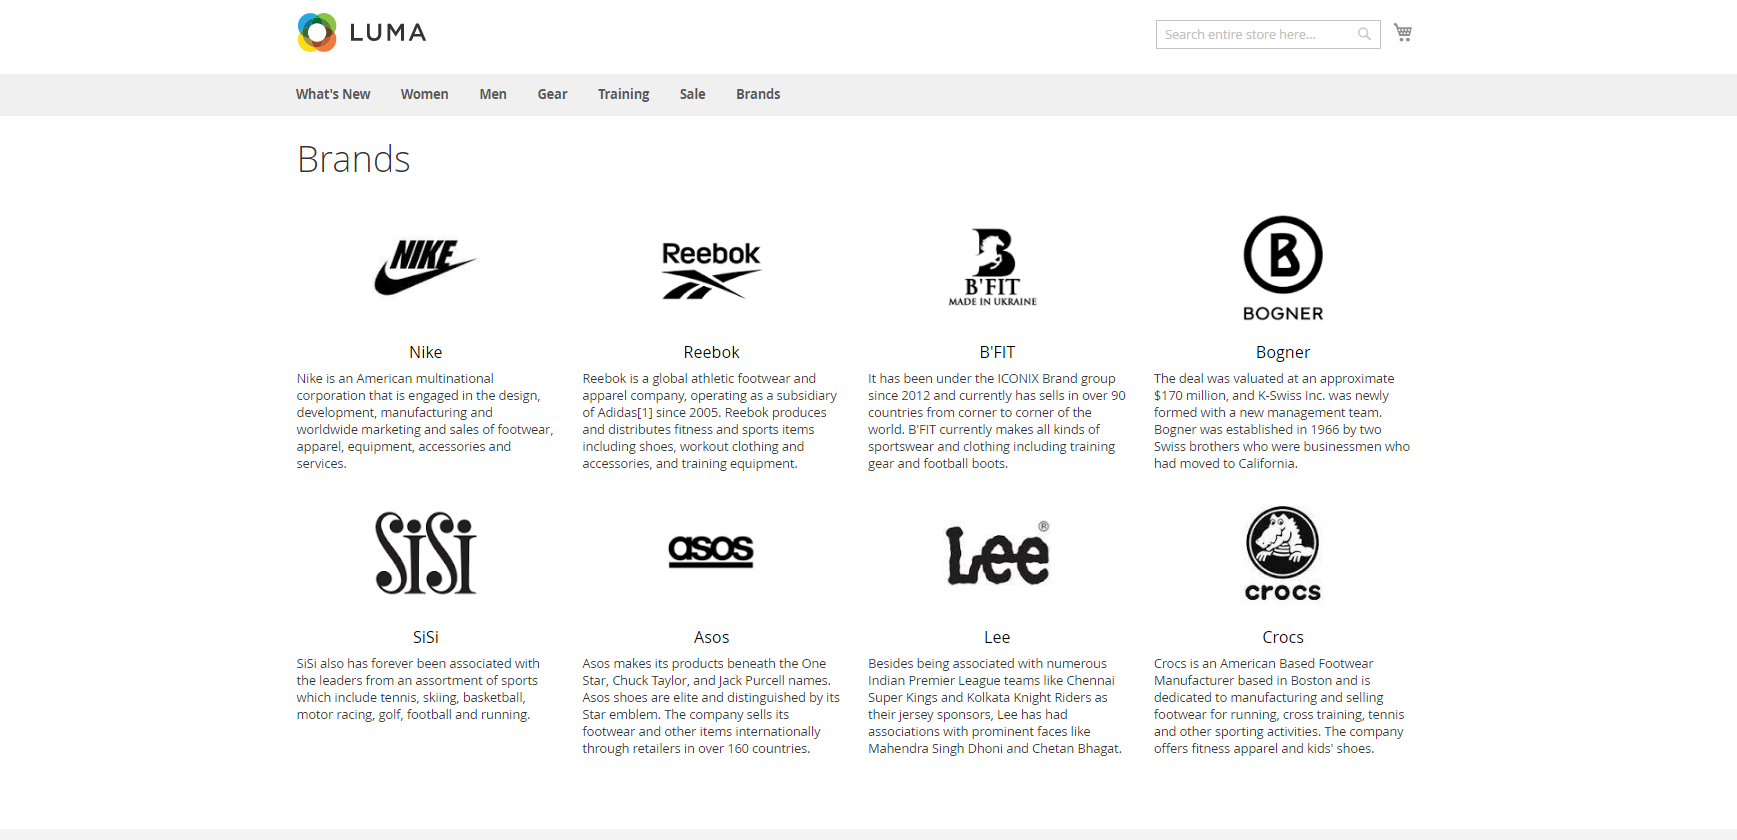
❑ On the frontend you are going to see the all in-store Brands Grid with short description, clickable Brand logos and names (based on the default Magento store).
Brand Sidebar
- Enable. Turn on to enable Brand Sidebar Block.

- Display Brand Name. Turn on to display name in the Brand Sidebar Block.
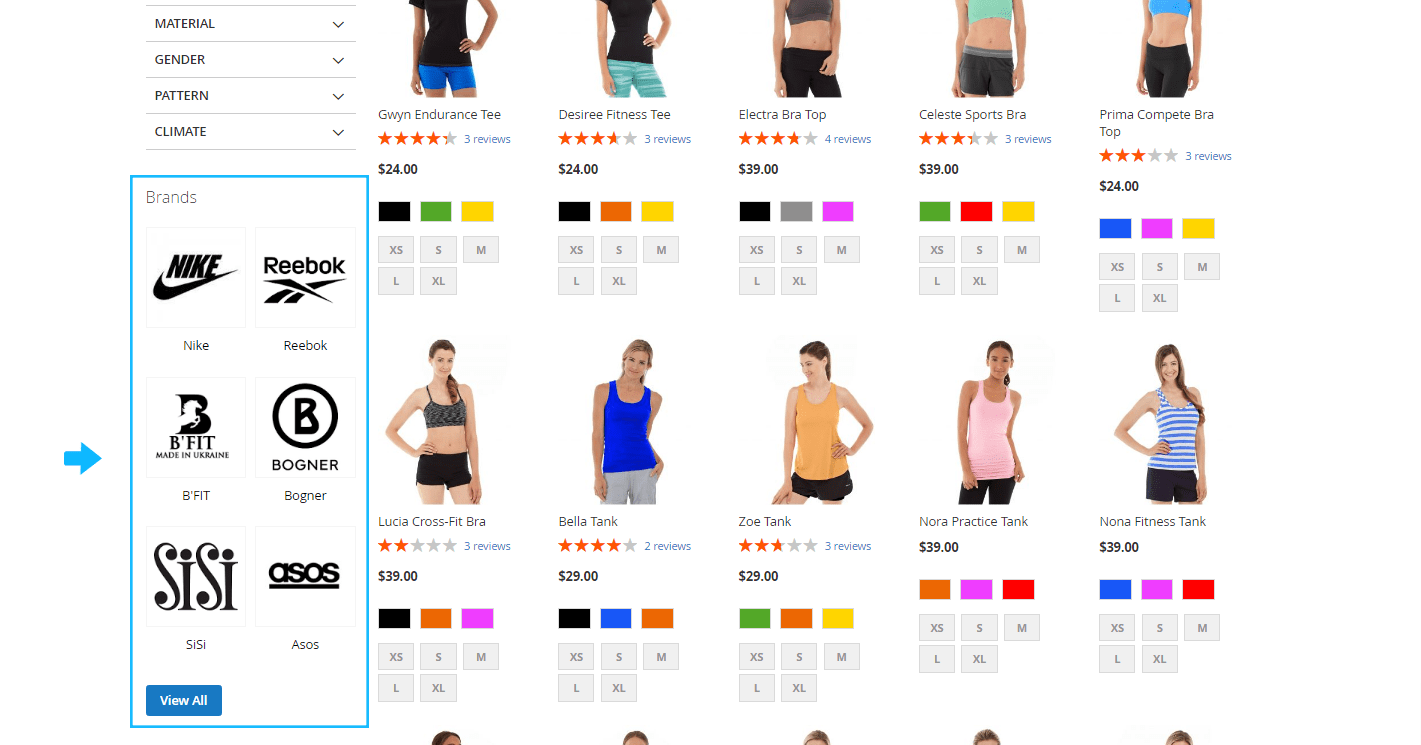
- Display Brand Logo. Turn on to display logo in the Brand Sidebar Block.

- Quantity to Show. Brand quantity to display name in the Brand Sidebar Block.

❑ When Customers visit a Brand Description Page, they can see a Sidebar Box showing brand list with brands’ name and logos as below (based on the default Magento store):
Brand Manager
Here you can add, edit, manage information regarding all in-store Brands, and delete Brands if you want.
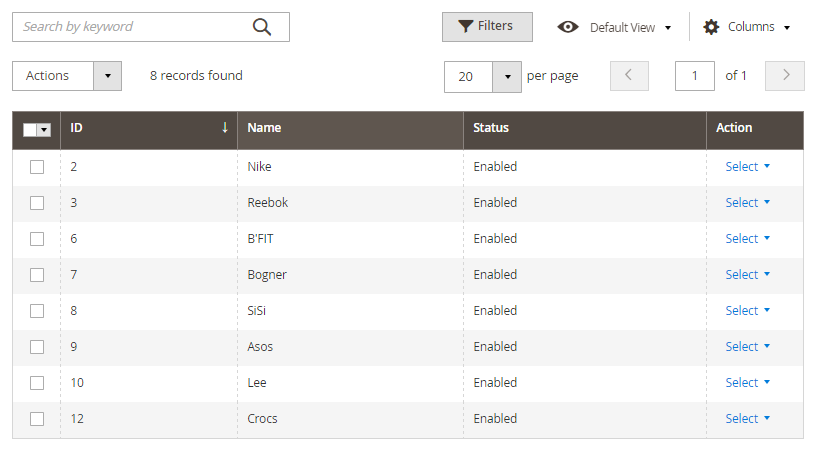
All brands are gathered in a grid that displays ID, Name [e.g. Bogner, SiSi, Asos, etc.], Status [Enable/Disable]. In Action column you are able to choose the needed action, either you want to edit or delete one, several or all Brands at once.
NB: If you’ve ticked all or several Brands to edit you can edit general information in a table only. If you want to edit a brand, just click on the Edit link in the corresponding row.
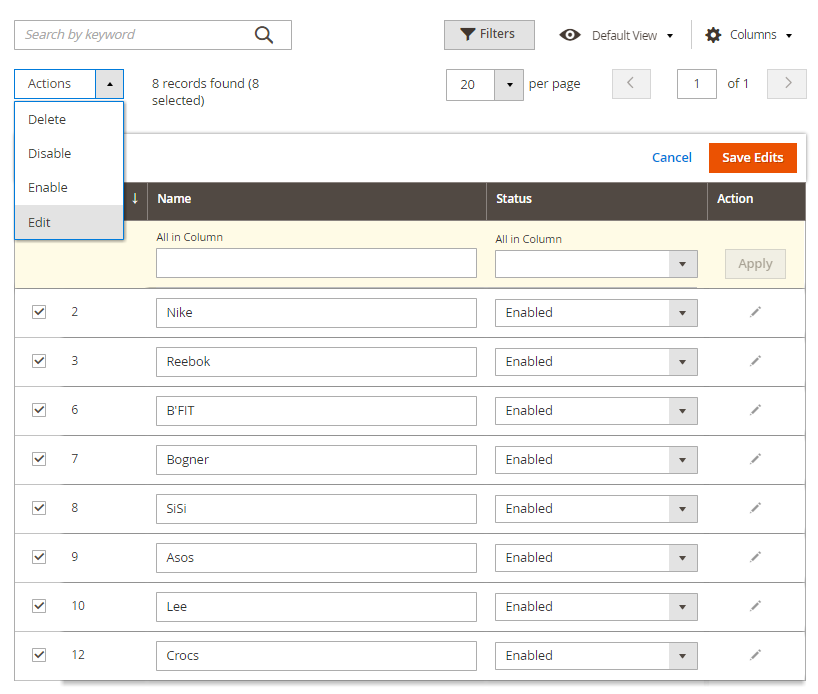
The Brands can easily be filtered. To set filter parameters click the Filters button.

Add a New Brand
If you want to add a new brand, click on the Add New Brand button at the top right corner, then fill out data about that new brand…
PRODUCT BRAND TAB
In this tab, you can select products which belong to the newly added Brand. In frontend, these products will appear on the Brand Detailed Page.
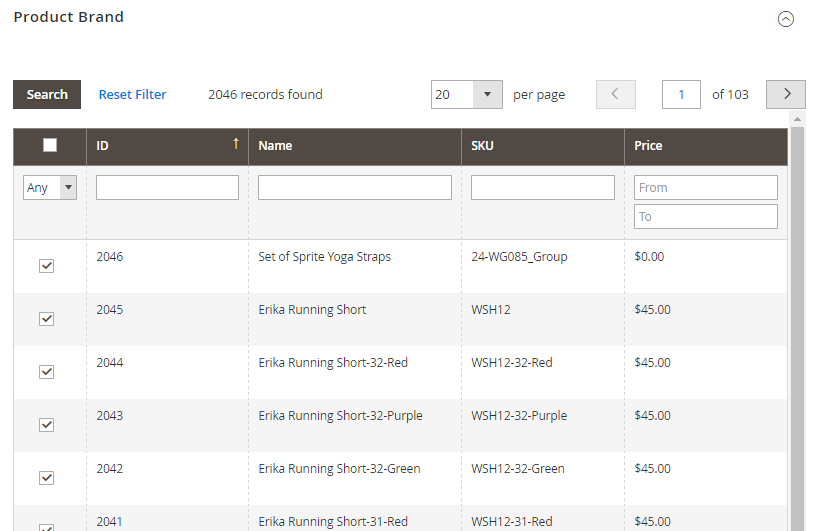
Frontend (based on the default Magento store):
SOLD STATISTICS TAB
Sold Statistics Tab shows all the sold items of a specific Brand [including ID, Purchased from Store, Name, Quantity, etc.]. Thus, you can easily manage your inventory to meet Customers’ demand.

Advise
✓ After you finish editing the data, remember to click on Save Brand or Save and Continue Edit to save your work.


