


From this tutorial you’ll learn how to install phpMyAdmin tool and add databases to it.

Installing PhpMyAdmin Tool
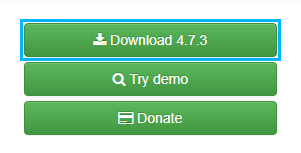
- First, let’s download phpMyAdmin. You can do it from the official phpMyAdmin website.
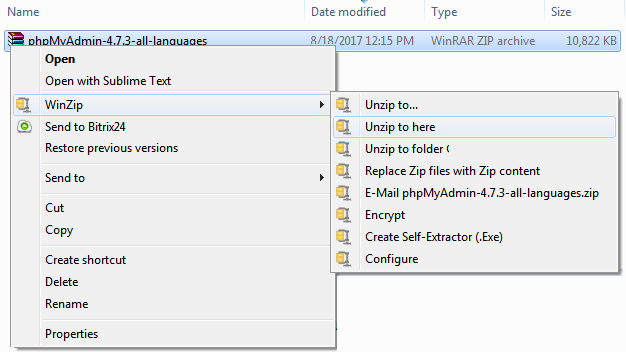
- Unzip the archive using any archive program that is convenient for you (e.g., WinZip, StuffIt, etc.).
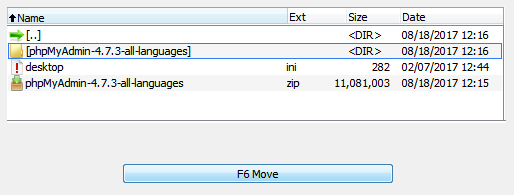
- Upload the folder with all the unzipped files to your server using FTP file manager (e.g., Total Commander, FileZilla, etc.).
- Create config folder in the phpMyAdmin directory. Check the folder attributes to allow the server to write and read it.
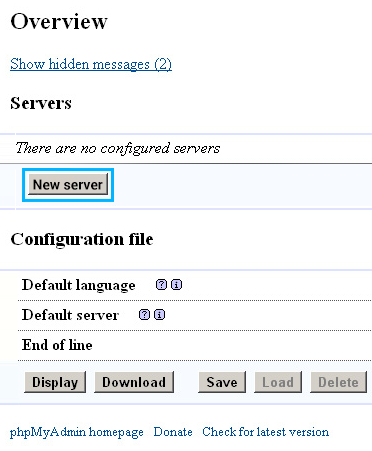
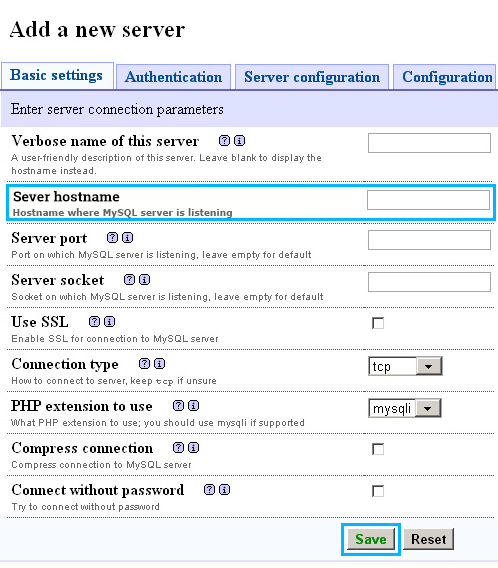
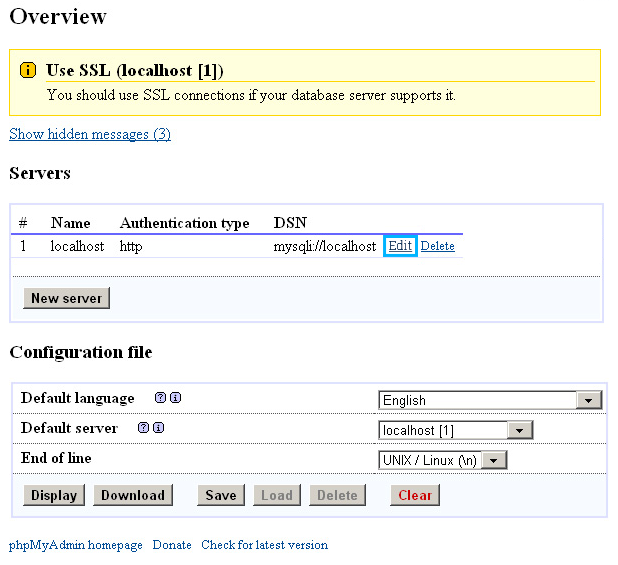
- Navigate to your browser and input http://your_host.com/path_to_phpMyAdmin/setup/ URL link in the address bar and click on New Server button in order to add a new server.

- Input your new server host name in the Server Hostname field. You need to contact your hosting provider in order to get the hostname to connect it to your database.
- Click on Authentication tab in the top. Here select the authentication type you want to use.
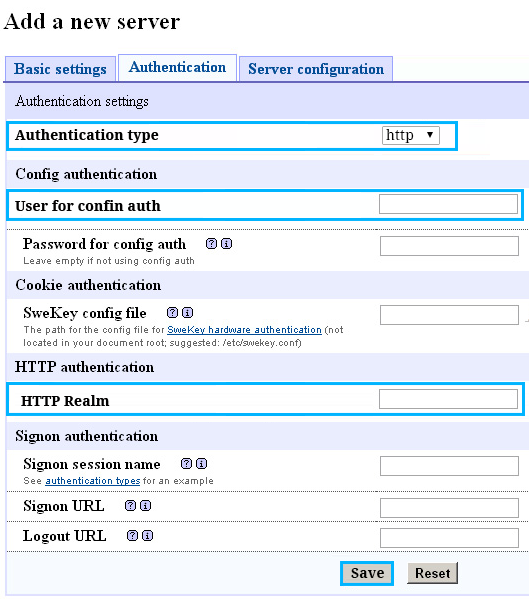
- Leave User for config auth blank.
- Type in the message to display when login to phpMyAdmin in the HTTP Realm field.
- Save the changes.
- Click on Save on the Overview page in order to save the config.inc.php file. You need to move it to the main phpMyAdmin directory.
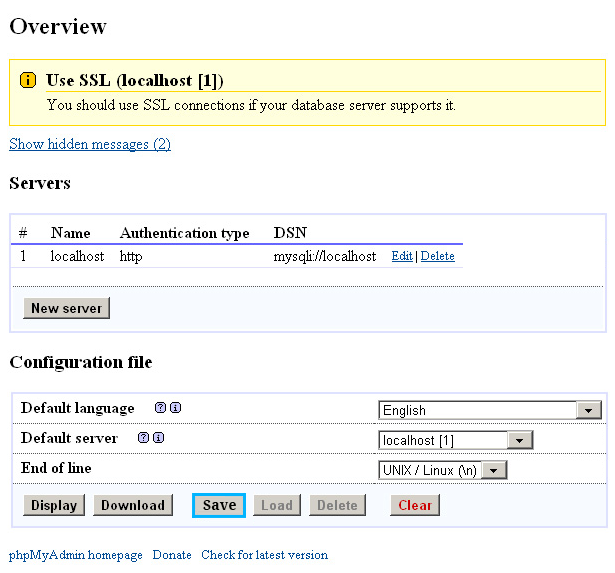
- Now let’s delete the config folder and rename the setup directory.
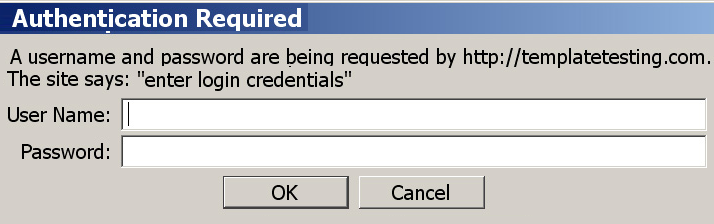
- Return to your browser and input http://your_host.com/path_to_phpMyAdmin URL address into the address bar. Note, that the address URL is a sample, and you need to paste your actual hosting and the path to phpMyAdmin folder there.
- As a result, you’ll be able to log in to phpMyAdmin tool. Enter your username and password and navigate to your databases in order to start working with them.
Displaying Single Database with phpMyAdmin
- To display a single database using phpMyAdmin you’ll need to create the config folder in the root phpMyAdmin folder.
- Now open your browser and fill in http://your_host.com/path_to_phpMyAdmin/setup/ URL address in the address bar.
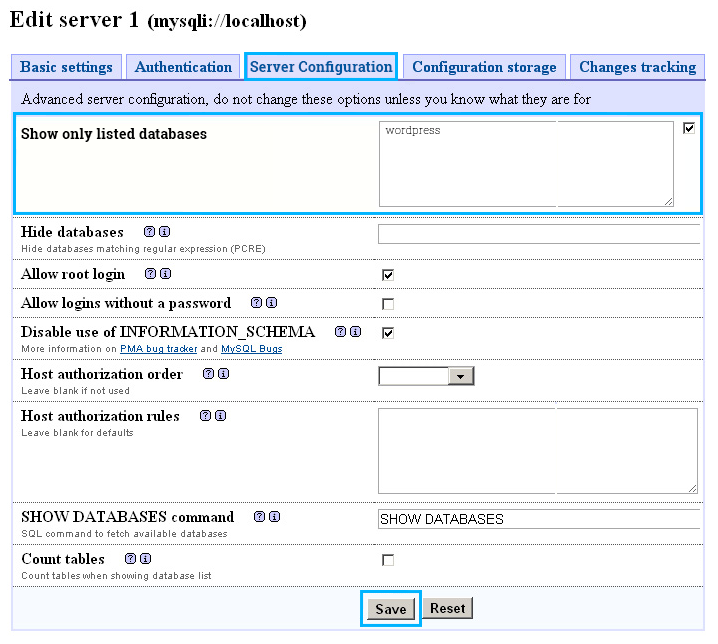
- Click on Edit button and navigate to server configuration tab.
- Here you can fill in the database name you want to display in phpMyAdmin. Then save the changes.
- Return to your file manager tool and move config.inc.php file from config directory to the main phpMyAdmin folder.
- Access phpMyAdmin tool from your browser. As a result, you’ll see the database you’ve specified in the list of databases.
