Here you can find the instructions on how to add new Brand.
In the Admin panel, go to Template Monster > Shop By Brand > Brand Manage. This will bring you to the Brand Manager.
Add a New Brand
If you want to add a new brand, click on the Add New Brand button at the top right corner, then fill out data about that new brand.
There are 2 tabs for you to complete: General and Product Brand.
GENERAL TAB
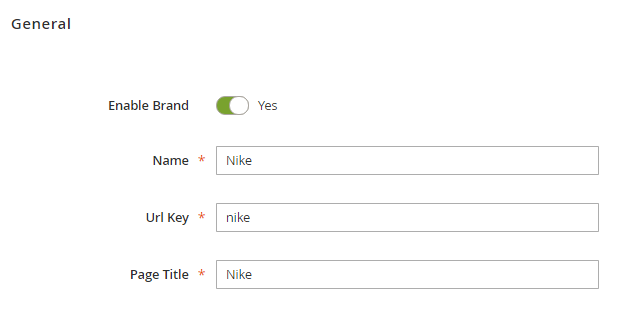
In this tab, you can Enable or Disable Brand, add general details for the brand such as Name and Page Title. You also can add URL key.

Add Brand Logo
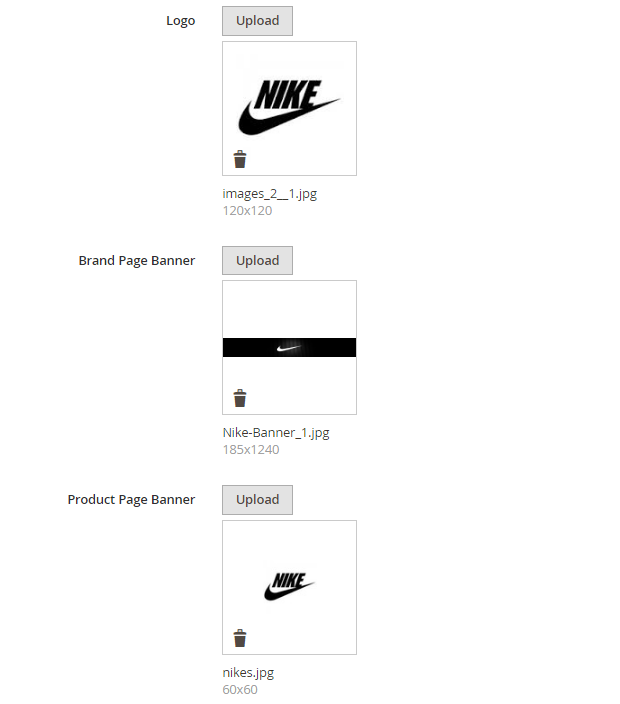
You can specify Brand Logo, Brand Page Banner [max. 1240 x 184] and Product Page Banner, you can upload brand images from here. You are able to see image size under the uploaded images thumbnail.

Add Brand Description
Use the Short Description (max. 250 characters; It’s 1-2 sentences.) and Main Description fields to add brand description text which you want to be shown on the frontend.
[notice type=”warning”]Note:
You have to enable Banner, Logo and Description option from configuration setting of Shop By Brand, otherwise Banner, Logo and Description won’t be on the frontend.
Besides, you can add Meta Keywords and Meta Description for its Brand Detailed Page.
PRODUCT BRAND TAB
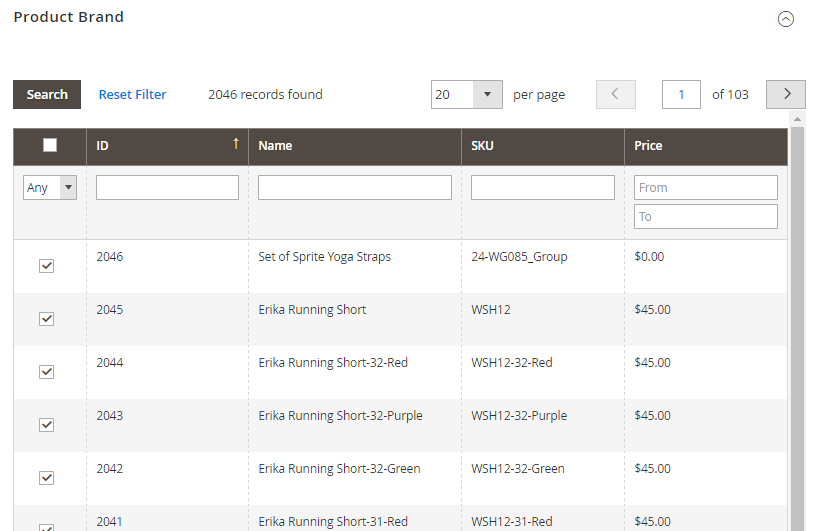
In this tab, you can select products which belong to the newly added Brand. In frontend, these products will appear on the Brand Detailed Page.

✓ After you finish editing the data, remember to click on Save Brand or Save and Continue Edit to save your work.


