


To create and manage navigation links (menus), perform the following steps.

Creating a new menu
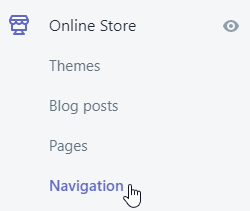
- First, navigate to Online Store > Navigation in Shopify admin panel.
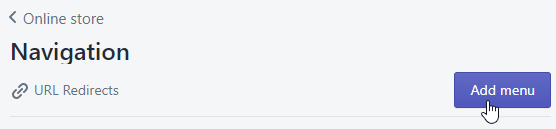
- Press the Add Menu button.
- Enter menu name in the Menu description → Name field.
- You can leave the Handle field’s information as it is. Change it only in case you want this item link to be different.
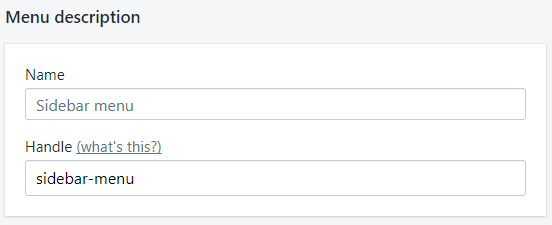 For example, the handle can be ‘catalog’ and menu item link will be mysite.com/catalog accordingly. Note: Handles are used to access the attributes of Liquid objects. By default, a handle is the object’s title in lowercase with any spaces and special characters replaced by hyphens (-). Most objects in Shopify (products, collections, blogs, articles, menus) have handles. For example, a page with the title “About Us” can be accessed in Liquid via its handle about-us
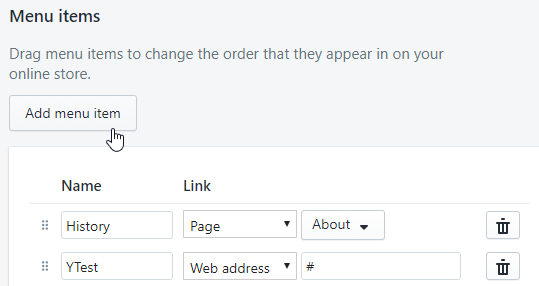
 - In the Menu Items section, enter the item’s Name (title).
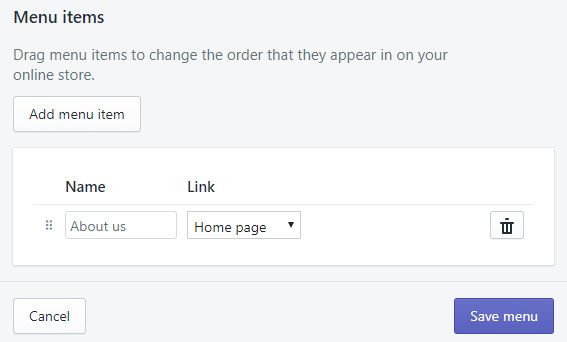
- Pick up the type of a link from the Link to… dropdown. First seven items of this drop-down are for the internal Shopify links:
- Home: your online store’s home page
- Collection: select a specific collection
- All Collections: all collections will be displayed
- Product: choose a specific product
- All Products: all products will show up in this menu item
- Page: pick a webpage on your online store
- Blog: select a blog on your online store
- Web Address will help you in case you need to set a link to the external web page. Just paste the needed site URL in this field.
- To add more menu items, press the Add menu item button on the left.
- Once all the menu items are set, press the Save menu button.
Editing the existing menus
- In the Online Store > Navigation click on the needed menu title to open it for editing.
- On the page that opens, you will see all the menu items of the selected menu.
Likewise adding the new menu, you can edit here the menu title in the Menu description → Name field, as well as the Handle. - In the Name field, you can change the menu item title.
- In the Link section, you can change the link type and/or its content.
- You can add more menu items by clicking on Add menu item button on the left and entering the needed content for it.
- To remove the menu item, press the Trash icon.
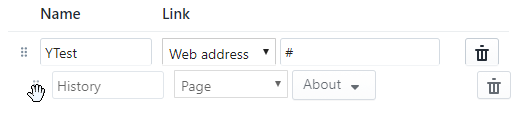
- In order to change the order of menu items, point your mouse on the dots left to the menu item name. You will see a hand icon, hold the hand icon and then drag the menu item to another position.
- When all the needed changes are made, press the Save menu button.
