


- In your PrestaShop admin panel go to Localization -> Translations section:
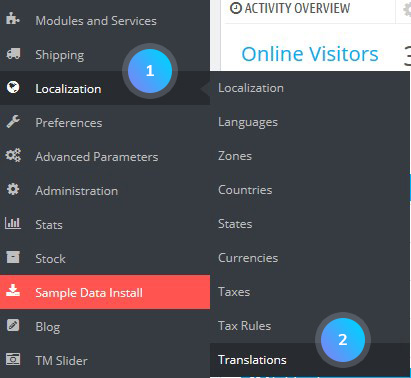
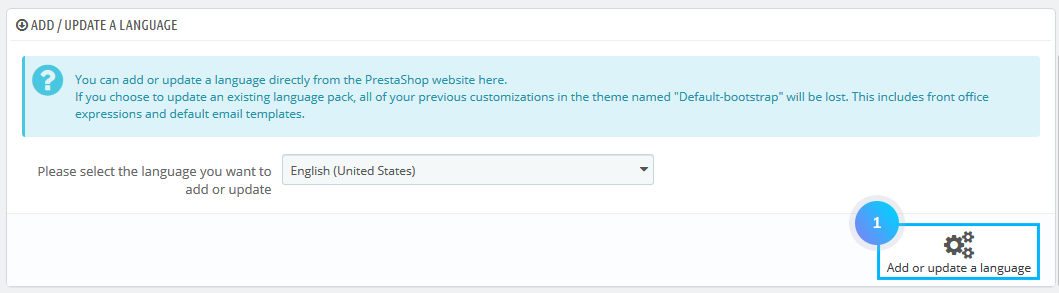
- Find a tab Add or Update a language:
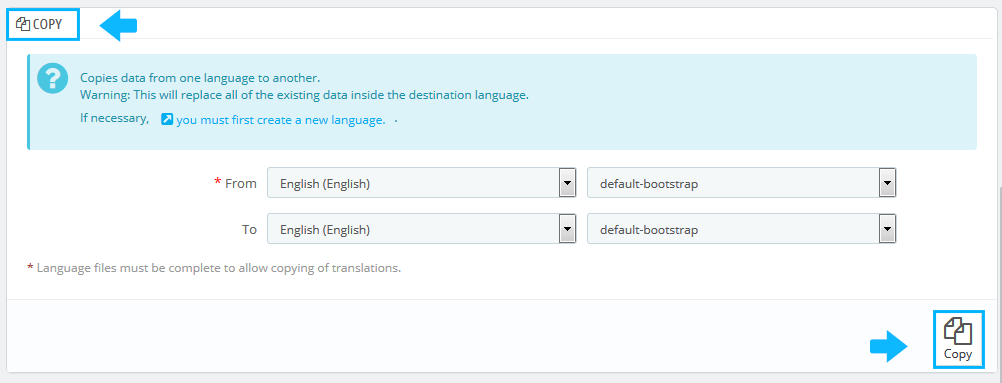
- Copy a language (if you already use a theme with a language translation that meets your requirements, you can simply “copy” this translation into the newly installed theme in Localization -> Translation using the Copy button):
Import a language pack manually
- Download a language pack from official PrestaShop website here. [notice type=”warning”]Note: Mind the compatibility, 1.6.x and 1.7.x language packs are different.
- When you get a language pack, you need to prepare it for uploading to the server. You need to extract it. Follow the instructions on how to download and install the program.
- Once you unzip it, you will see the folders named mails, themes, modules, translations, which you need to upload directly to the root of your PrestaShop installation on the server. Skip themes folder for now:
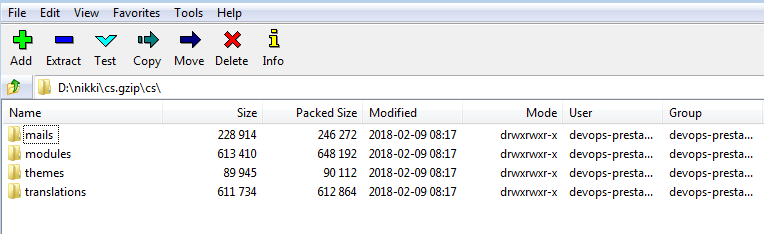
- It is also necessary to upload the content of “themes/default-bootstrap” folder located inside of the language pack to your “themes/themesXXX/lang” folder.
- When the files are uploaded to the server, you can check Localization -> Translations section in your PrestaShop admin panel.
Hopefully, this tutorial was helpful for you.

