


From this tutorial you’ll learn how to update Jet Plugins and check for newly released ones.
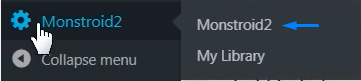
1. Navigate to your Dashboard and locate Monstroid2 icon in the bottom left of the admin panel. Select Monstroid2 and click on it.
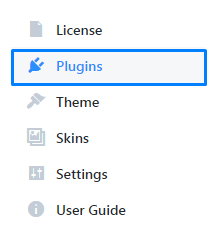
 2. In the opened window select Plugins and click on it.
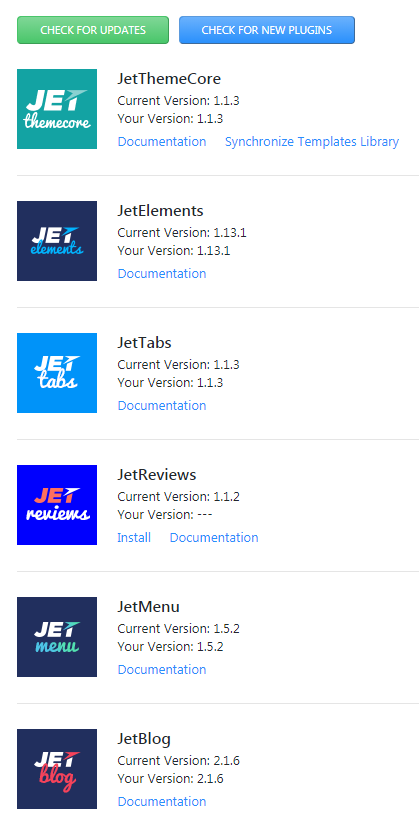
3. You’ll access the list of all Jet Plugins available with Monstroid2.
4. If you already selected a skin, you’ll get some plugins installed. To install any plugin additionally, locate the needed one and click Install.
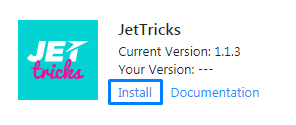
5. Once installation is done, click Activate.
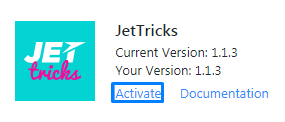
6. There are Current version and Your version under each plugin. Current version means the latest released version from the developers. Your version means the which version you have installed on your WordPress website.
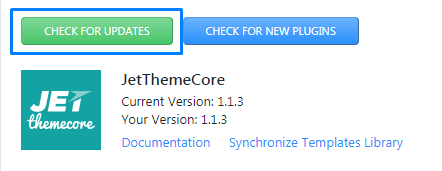
7. If you need to check whether your plugin’s version matches with the current one, click Check for Updates button.
8. Developers are constantly releasing the new plugins for Elementor, which will be automatically added to your Monstroid2 package. To check if any of them was released, click Check for Updates button.
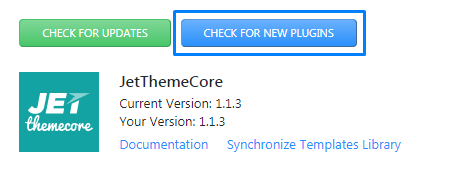
If any of them was added, it will appear in the end of plugins list.
That’s all! This is how easy it is to update Jet Plugins with Monstroid2!


