From this tutorial you’ll learn how to create parallax effect step by step. Please note, that you are free to use your own images and effects.

How to Prepare Widget to Parallax Effect
- Access Elementor editor page, click on Add New Section button.
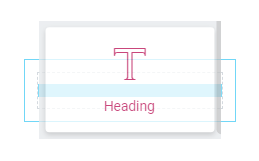
- Select the structure for your future widget and drag and drop JetElements modules to the columns. For this tutorial we selected Heading module.
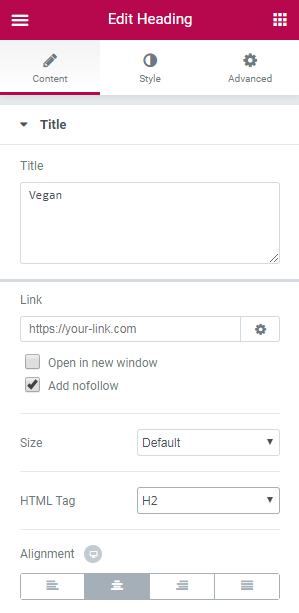
In different JetElements modules settings may vary. You have opportunity to experiment and create your own widgets!.- Navigate to Content tab on the left and type in widget title. Also, you will find other settings available for customization (e.g., Link Options, Size, HTML Tag and Alignment).
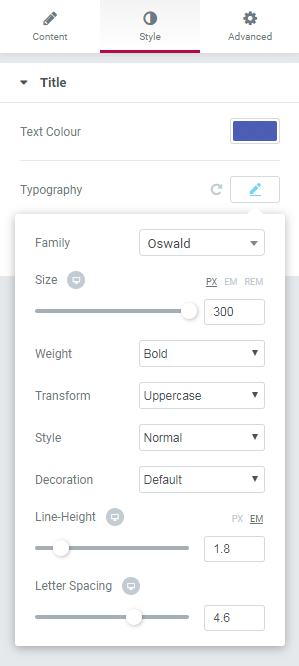
- Navigate to Style tab to change title appearance. In this tutorial we worked with Typography and Text Color options.
- Navigate to Advanced Tab. Here you’ll see a list of blocks, which will help you to style up the widget.
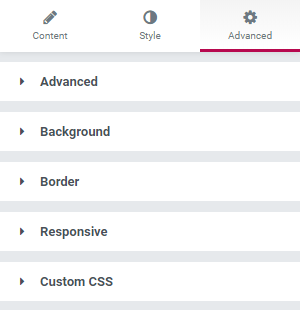
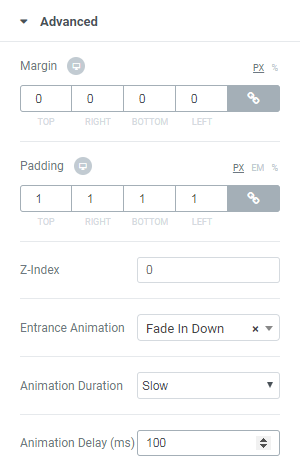
- Advanced block is responsible for entire widget appearance and effects to be applied to it. You can change parameters of Margin, Padding and widget Animation options.
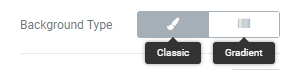
- Navigate to Background block, which has two modes with settings: Normal and Hover. We selected Normal mode and started customization process. There are two variants of Background Type to be selected (Classic and Gradient). Let’s look at both of them.
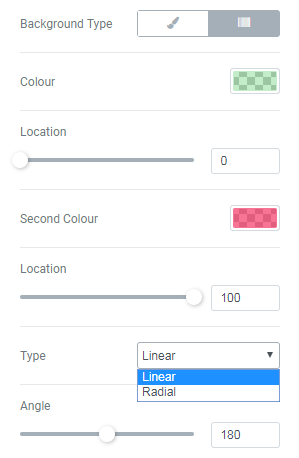
- In Gradient Type you need to select two colors in order to create gradient effect. We selected rgba(97,206,112,0.38) and rgba(242,41,91,0.65) accordingly. Also, you need to pick up either Linear or Radial type of gradient.
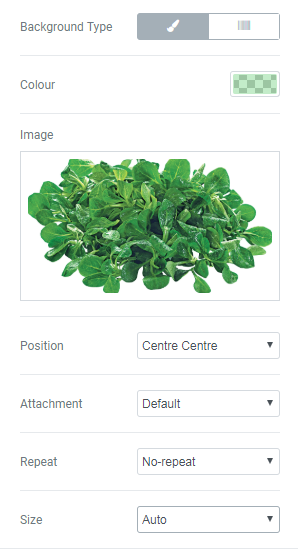
- In Classic Type you can select color (e.g., rgba(97,206,112,0.38) or/and Image from your WordPress Media Library. If you select image, you need to choose options for its Attachment (e.g., Centre Centre), Attachment (we left Default), Repeat (e.g., No-repeat), and Size (we set Auto) settings. Here’s what we’ve got for now.

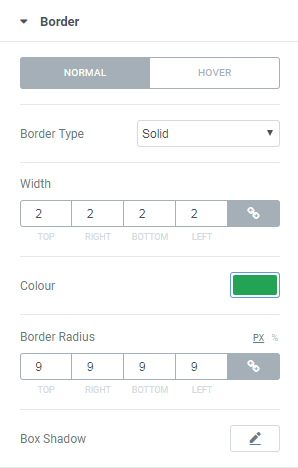
- Border block allows to add border to entire widget. It also contains two modes available for customization: Normal and Hover. For this tutorial we selected Solid border type, set its width to 2, chose color #23a455, and set border radius for 9. Here’s how the widget looks with the border.

How to Create Parallax Effect
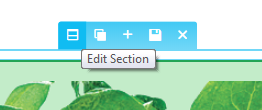
- Now, let’s proceed with adding parallax effect. Hover the section and click on Edit section button.
- In the opened window on the left side you’ll find blocks, which need to be customized.

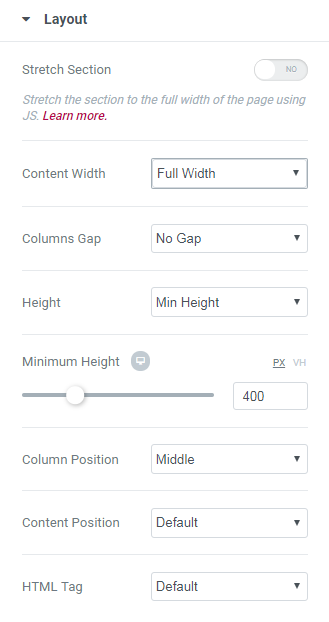
- Navigate to Layout block and select options fitting you the best. For his tutorial we set Content Width as Full Width, selected No Gaps, Min Height and Middle Column Position.
- Now, navigate to Jet Parallax block and click on Add Item button. A new Item will be added and you will be able to customize it to create parallax effect.
Please note that you are free to add as many items as you need. For this tutorial we’ll use one.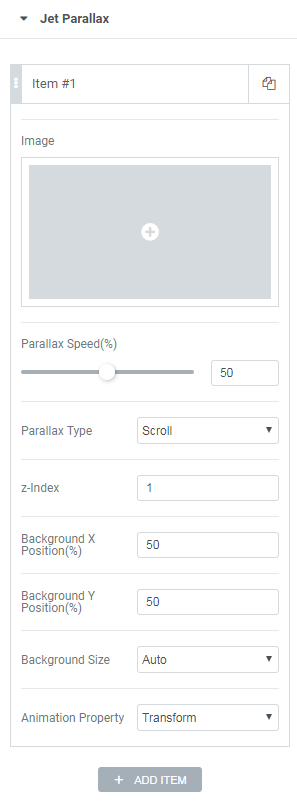
- Click on Image area and select the image you want to use for parallax effect from your Media Library or your hard drive. Next, navigate to Parallax Speed parameter and set the percentage value of speed (e.g., 37%).

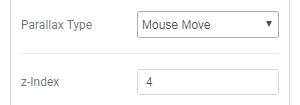
- Next, select Parallax Type from a dropdown list (we used Mouse Move), set z-Index parameter, which allows to move the object or parallax layer using z-axis, zoom it in on mouse move, etc, use 3D effect in animation.
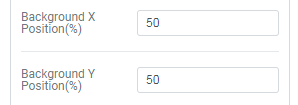
- On this step you need to define the item’s horizontal (Background X Position %) and vertical position (Background Y Position %) in percents in relation to the background.
- Navigate to Background Size option to select the preferable size for the item (Auto, Cover or Contain). Also, select Animation Property setting, allowing the image to move in three different modes: Background Position, Transform and Transform 3D.
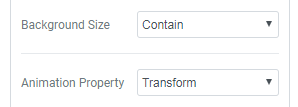
[notice type=”warning”]Transform animation property is highly recommended to use!
- Access Elementor editor page, click on Add New Section button.