From this tutorial you’ll learn how to install and start working with JetParallax plugin.

Parallax will make your website stand out from the crowd by adding stunning effects, called to engage visitors’ attention.
- First, you make sure that you’ve installed and activated Elementor page builder before proceeding to JetParallax installation.
- Now, log in to WordPress Dashboard and navigate to Plugins tab in the left column.

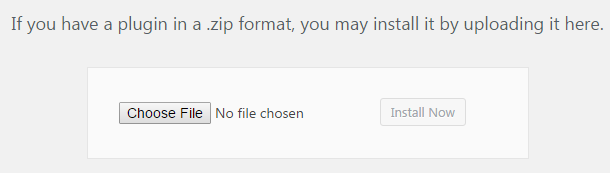
- Click on Add new button to upload JetParallax plugin from your hard drive.

- Next, click on Upload button located at the top of Plugins page. Browse the path to JetParallax plugin and start installation.
- After installation process is completed you need to activate JetParallax plugin. Navigate to Plugins tab and click on Activate link under JetParallax. As a result the plugin will become active.

- Next, navigate to Elementor page editor and click Add New Section button.
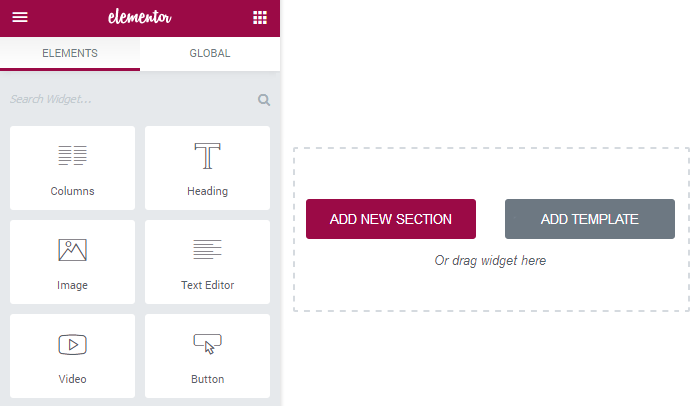
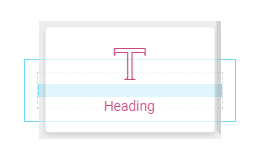
- Select Section Structure you want to proceed creating parallax effect in, and drag and drop modules you need. For this tutorial we used Heading module.
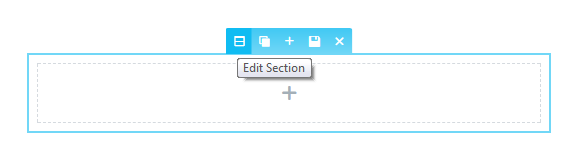
- Hover on the upper border of the section and click Edit Section option in order to access the section settings.
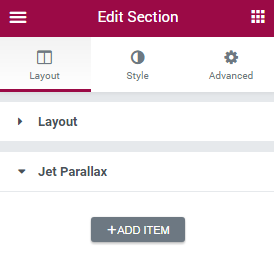
- Finally, in the Section Settings window on the left you will see Layout and Jet Parallax blocks, which need to be customized to create parallax effect.
Congrads! Now you can proceed creating parallax effects!