


From this tutorial you’ll learn how to set Smart Slider 3 general settings, such as slider size, animation, autoplay options, etc.
To access the plugin’s general settings, please, navigate to Smart Slider tab on the left of the Dashboard. Here scroll the page down to see the settings block. It consists of several tabs: General, Size, Autoplay, Optimize, Loading and Developer. Switch between the tabs in order to access the settings described below. 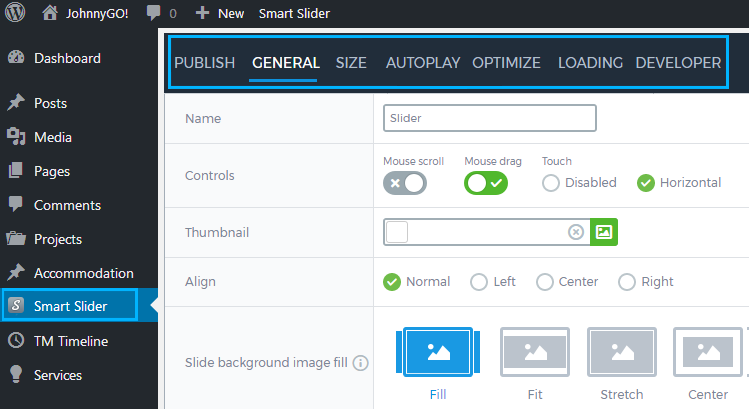

General
In this block you can manage the following settings. 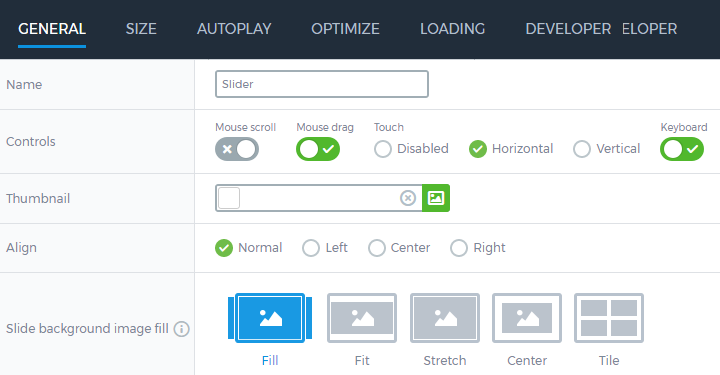
- Name – input the title of the slider in this field.
- Controls – here you can set which types of controls you want to use when switching from slide to slide. They are:
- Mouse scroll – the slides will change each other on scrolling;
- Mouse drag – the slides will change each other when you drag the slides sideways using mouse cursor;
- Touch – here you can enable switching between slides on touch (horizontal or vertical), or disable it.
- Keyboard – the option allows switching between slides using the keyboard Left and Right keys.
- Thumbnail – here you can select the image from media library or upload it from hard drive to use it as a thumbnail.
- Align – here you can set the alignment for the slider. Select the one that suits the most (Normal, Left, Center or Right).
- Slide background image fill – in the case that the image’s size is not the same as the size of the slider, you can select one of the background fill options (Fill, Fit, Stretch, Center or Tile).
Animation settings
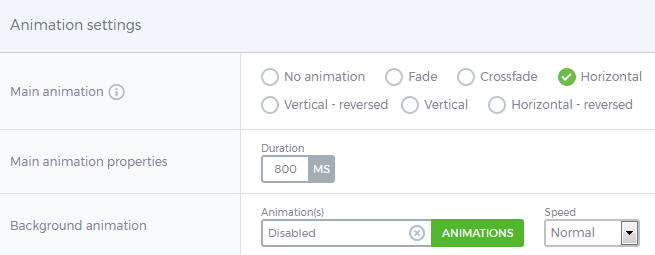
- Main animation – here you can select the type of animation to use it when switching from slide to slide. There are several types of animation: Fade, Crossfade, Horizontal, Vertical, Horizontal-reversed, Vertical-reversed. You can as well use no animation at all.
- Main animation properties – here you can define the duration of animation effects in ms.
- Background animation – click on this field to select one of the animation types and view the animation samples. A new popup window will appear, allowing you to select the preferable animation that will suit your purpose.
- The Background Animation can be Default (Scale to left, Zoom, Zoom out, Fade, Curtain to left, Puzzle), Vertical (Scale to top, Scale to bottom, Curtain to bottom, Curtain to top), or RTL (Scale to right, Curtain to right).
Size

- Slider size – here you can set the needed slider height and width in px.
- Margin – set the Top, Right, Bottom and Left margins to position the slider according to your needs.
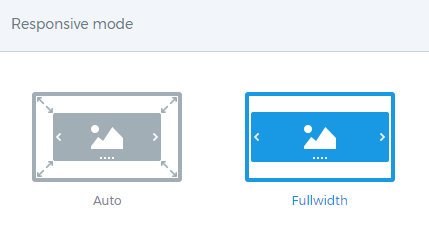
- Responsive mode – here you can select the responsiveness pattern to use for providing the best slider responsiveness (Auto, Fullwidth). The responsiveness option will vary depending on the mode you’ve chosen.
Responsive – Auto width
- Mode – here you can enable upscale and downscale mode to make the slider responsive.
- Slider height – set the necessary slider height in the corresponding field.
- Slider width – specify the needed slider width in the corresponding field.
Responsive – Fullwidth
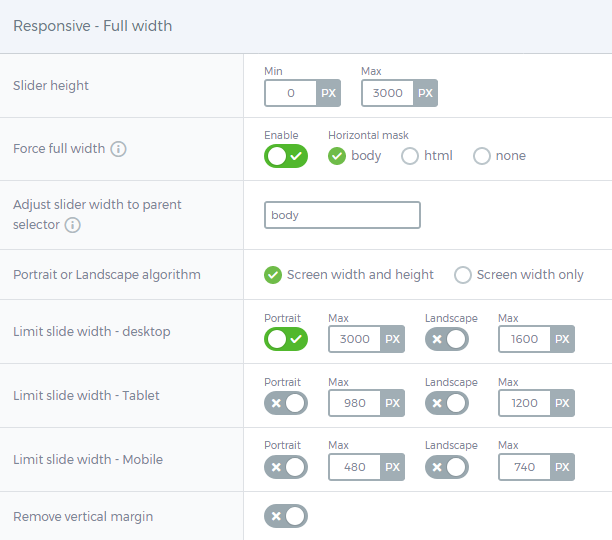
- Slider height – here you can specify the slider maximum and minimal height in px.
- Force full width – enable the option if you want the slider to fill the width of the browser anyway using body, html horizontal mask, or none at all.
- Adjust slider width to parent selector – specify the jQuery class in the field to make the slider fill the full width of the element.
- Portrait or Landscape algorithm – here you can specify if you want the slider to be shown with applied screen width and height, or with the screen width only.
- Limit slide width – enable the maximum and minimum slide width for desktop, tablet, mobile devices, and enable Portrait or Landscape mode.
- Remove vertical margin – you can disable or enable this option if you don’t want to use the vertical margin for the slider.
Autoplay

- Autoplay – enable autoplay and set the time interval for it in ms.
- Stop autoplay on – enable the autoplay stop on click, on hover or when the media starts playing.
Optimize
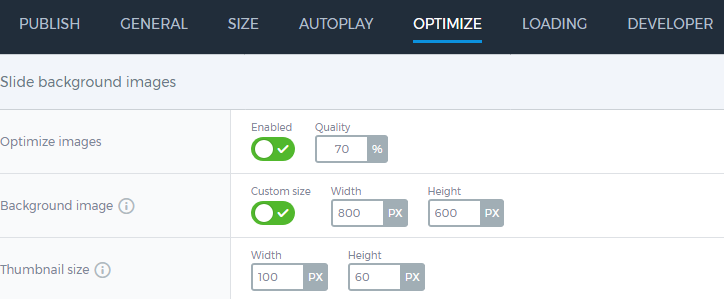
- Optimize images – here you can enable the slide background images optimization and specify the quality percents.
- Background image – enable the custom size of the background image and specify its width and height.
- Thumbnail size – here you can set the slider thumbnail size (its height and width).
Loading

- Play when visible – enable play the slides when they are loaded at least for 50 (or your custom number) percents.
- Pre loaded slider ID – the current slide won’t load until the set slider will load completely.
- Delay – here you can set the delay time in ms.
- Delayed (for lightbox/tabs) – enable this option to make a delay for the tabs.
Developer
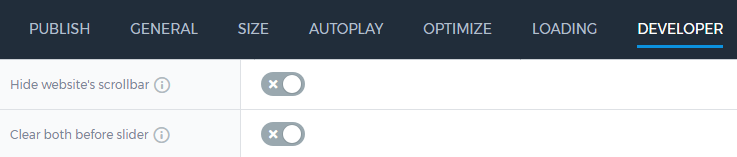
- Hide website’s scrollbar – here you can disable the scrollbar on the side of the website, and you won’t be able to scroll it anymore.
- Clear both before slider – enable this option if the slider resizes incorrectly.
- JavaScript callbacks – here you can use the JavaScript callback functions.

