


From this tutorial you’ll learn how to create slider using Smart Slider 3 plugin.

- First of all, you need to install and activate Smart Slider 3 plugin in the case you still don’t have it. You can download it using this official link.
Feel free to read the Manual Plugins Installation tutorial to learn how to do it. - Now that Smart Slider 3 plugin is active, you can see Smart Slider tab on the left of the Dashboard. Click it to start creating a new slider.
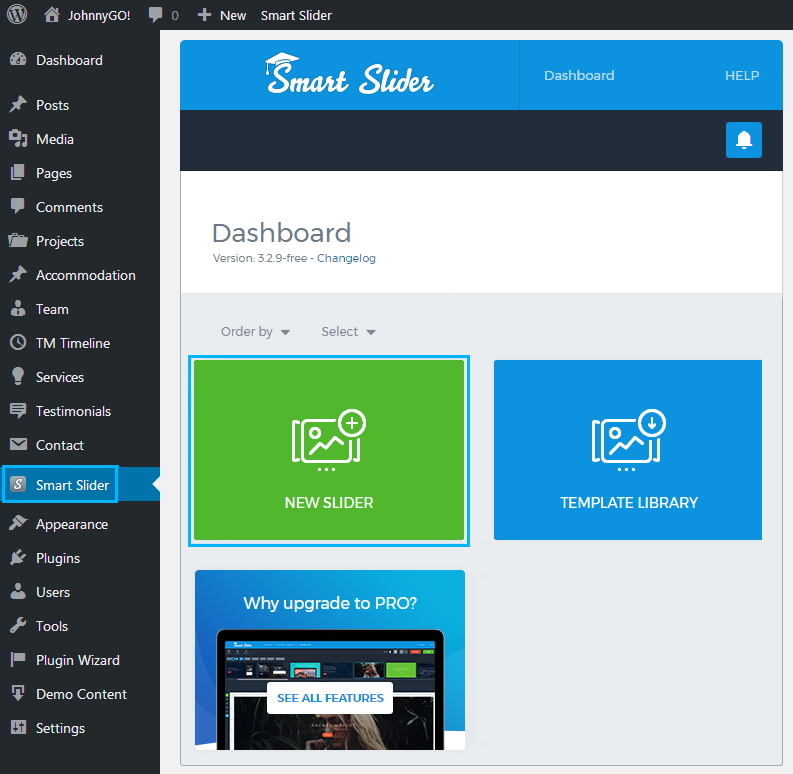
- Smart Slider Dashboard will open. Here click New Slider block.
- A new popup window will appear. Here you can manage the following settings:
- Set a slider name in the corresponding field;
- Set the slider width and height;
- Select the preferable slider preset (default, full width, thumbnail-horizontal);
- Import sample sliders.
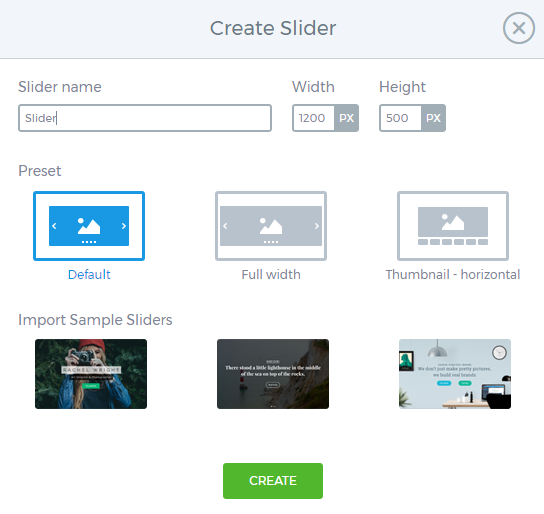
- After that click Create button.
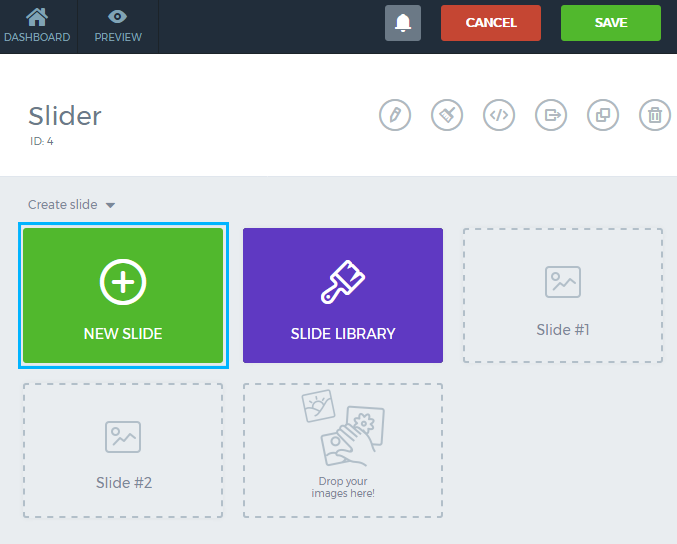
- Let’s add slides to the slider. Click New Slide option and select the image from the Media library, or upload one from the hard drive. You can repeat the action to add as many slides as you need to.
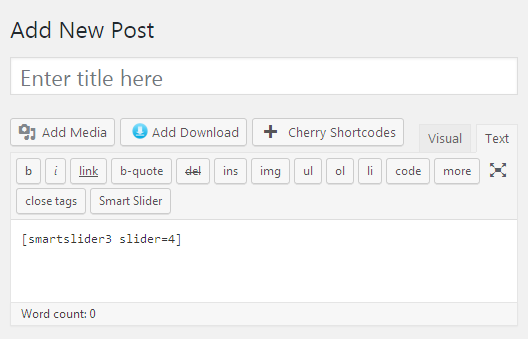
- Now let’s embed a slider to your website’s page. To do it locate Publish tab in the horizontal Slider settings panel. Here you can see several ways of how to embed a slider to a page. We’ll use a shortcode to add our new slider.
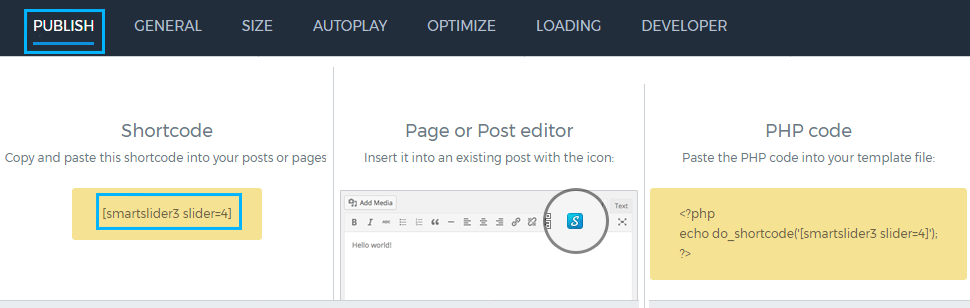
- Copy the shortcode under the Shortcode block to the clipboard.
- Open the page to which you want to add a slider and paste the code to its content area.
- Update the page to apply the changes to it.

