


From this tutorial you will learn how to add reviews using the meta boxes via WordPress Dashboard.

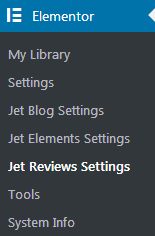
- First, make sure you installed and activated Elementor and JetReviews plugin. Now, navigate to Elementor > JetReviews Settings tab in WordPress Dashboard.
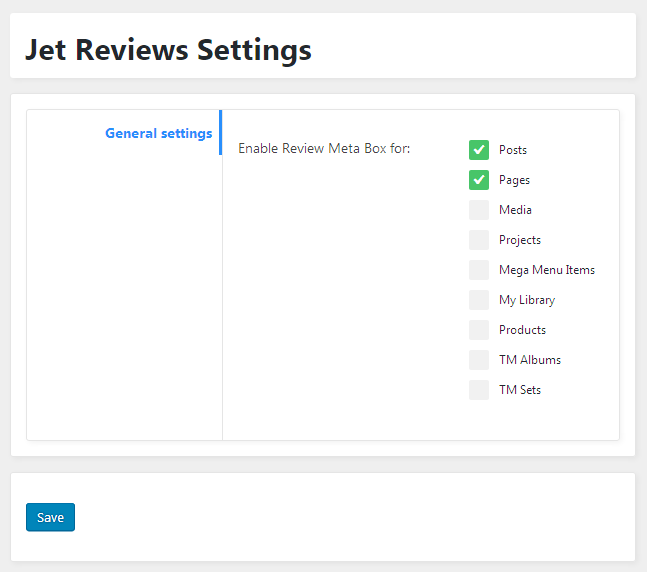
- In the opened window you need to enable the Meta Box for the regular Posts and Pages and for other custom post types, such as Projects, Products, etc. Then click Save button.
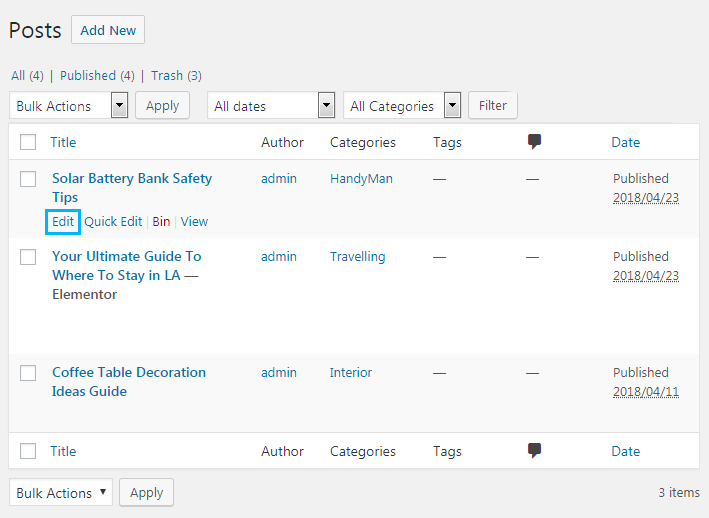
- Next, go to Posts and click Edit option under the post to which you want to add a review.
- Scroll the post editing page down and locate the JetReviews block.
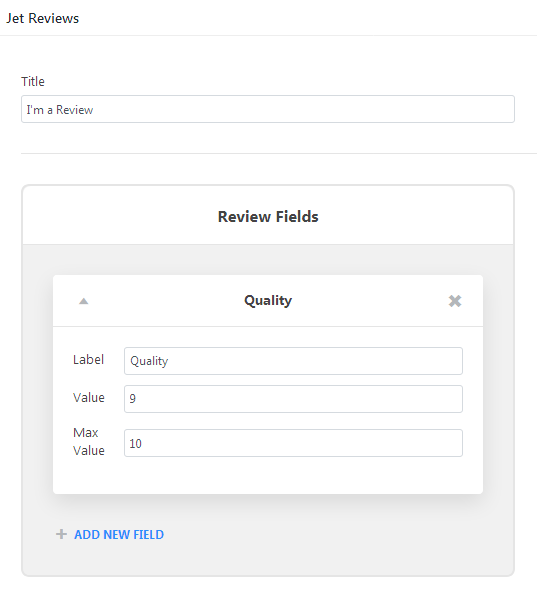
- Here you need to fill in the fields. First, give the general title of your Review block by filling Title field. In Summary Title field add the title to describe the conclusion of your review in few words. In Summary Text field you can add an explanation. Finally, in Summary Legend field add the text which will show up above the summary value (e.g., Excellent, Good, Poor, etc.).

- Scroll up and locate Review Field. Here you are free to add as many fields as there would be reviewed features.
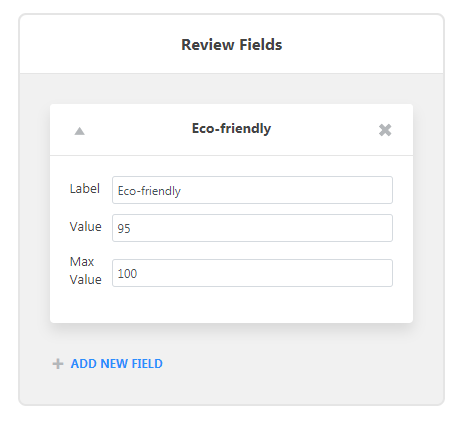 Here you need to fill in the fields:
- Label – here you need to name the feature you want to mention in the review (e.g., Eco-friendly).
- Value – here you need to define the value which you want to assign to this feature (e.g., 95).
- Max Value – here you need to set the maximum value (e.g., 100, in this case the value will be set as 95 from 100 points).
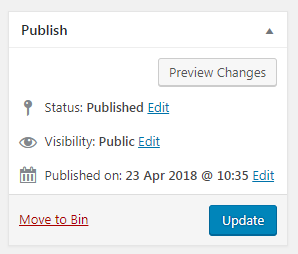
- Once everything’s done click Update button to save the changes for the post.
Congrads! We created a pre-made review meta for the post that can be added to the post using Review widget when choosing Post Meta in Review > Content > Content Source dropdown list in Elementor editing page.
