From this tutorial you’ll learn how to add Review widget in Elementor and Customize its Content Block.

- Click Add New Section button, select the structure and drag and drop Review module.
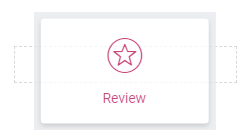
- You will see default module layout, which you can customize.
- Navigate to Content block and locate Content Source setting. Select between two options: Manually Input or Post Media.
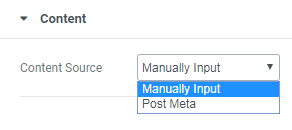
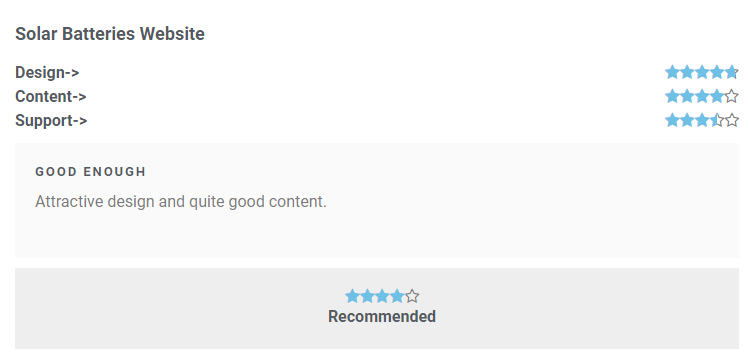
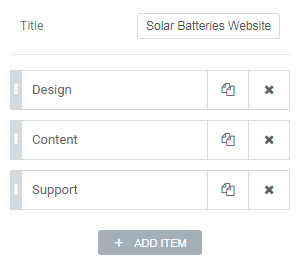
- Once you selected Manually Input Option, you will see fields, which you will fill in. Title field is responsible for entire widget’s name, which your web site will display. Items (you can add or remove) add the features in Review widget, displayed as the bars or rating categories.
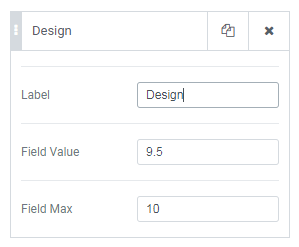
- Each Item contains its fields with settings, which you need to fill. In Label field you need to name the rating category. In Field Value you need to input the value you want to assign to this rating category. In Field Max you need to specify the maximum value for the rating category.
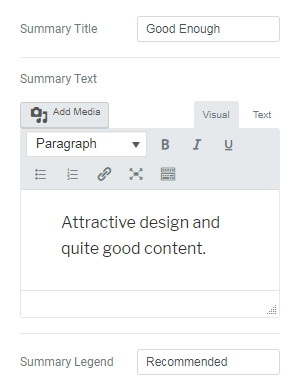
- Now, fill in Summary Title field to use it for the review summary. Next, type in Summary Text and Summary Legend, which shows up as the summary for the review.
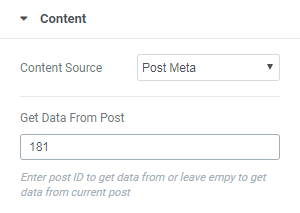
- Once you selected Post Meta Option, you will see Get Data From Post setting. Here you need to define the Post ID in order for the widget to get the information from it. Please, feel free to read How to Find Out Page / Post ID tutorial to learn how to find out the post ID. Here you will see Post Meta Option, which you prepared via WordPress Dashboard.
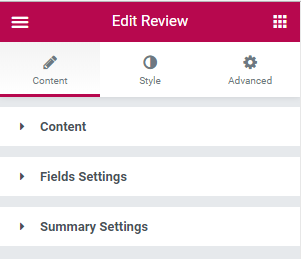
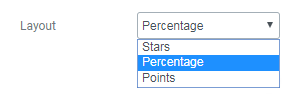
- Navigate to Fields Settings. Here you will find settings, available for customization. In Layout you can choose the way to display your rating value (Stars, Percentage or Points).
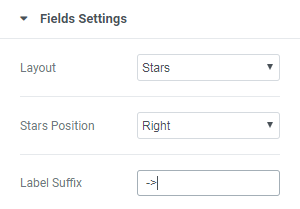
- In case you selected Stars, you’ll see Stars Position and Label Suffix settings. In Stars Position you can select either Left or Right. Label Suffix allows to add suffix to values.
- If you selected Percentage or Points option, you’ll find the following options:
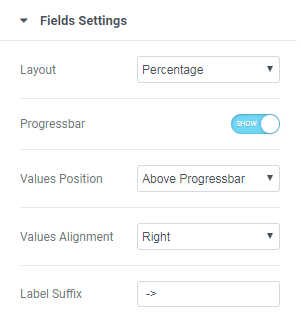
- Progressbar – enable this option in order to display the rating in the form of a progressbar.
- Values Position – the rating value can be put above the progress bar or inside it.
- Values Alignment – in case you’ve set Values Position > Above Progressbar, you can define if the value will be displayed on the left or on the right.
- Label Suffix – in case you want to add additional text to the existing item label, input it in this field.
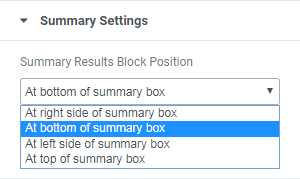
- Now, navigate to Summary Settings block. In Summary Results Block Position you need to select a place, where the Summary will be displayed from dropdown list.
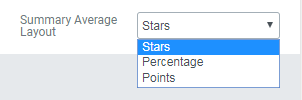
- The next setting is Summary Average Layout. Here you can choose the best layout of Summary Average value from dropdown list.
How to Use Manually Input Option
Here’s what we’ve got.
How to Use Post Meta Option
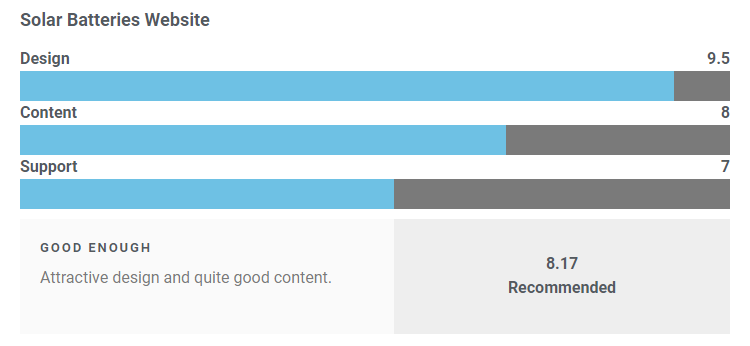
How to Customize Fields and Summary Settings
Finally, here’s what we’ve got.