This tutorial is going to show you how to manage sections and rows styling in Power Builder.
Pages are built with the help of sections, while each section consists of rows. You can easily add custom style for each section or row. Let’s take a closer look at the styling settings.

Section style settings
In order to open the section style settings click on the Settings tab in the top right corner of the section box. 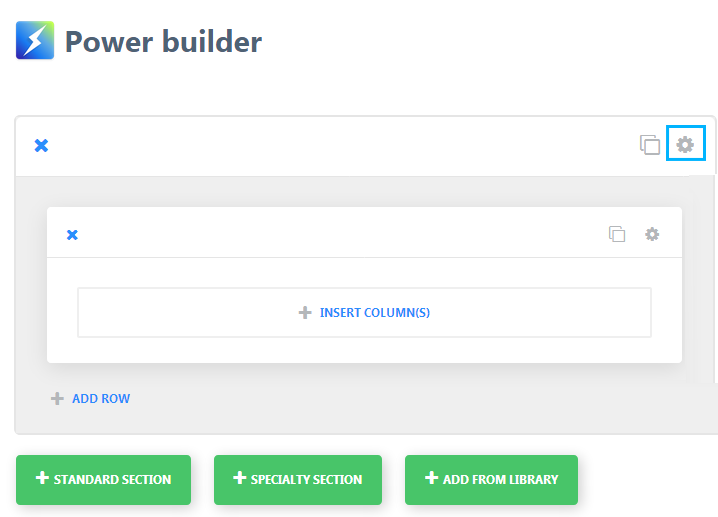 You will be able to define following style settings in the popup window:
- Background image. If defined, the image will be used as the background for the module. To remove a background image, simply delete the URL from the settings field.
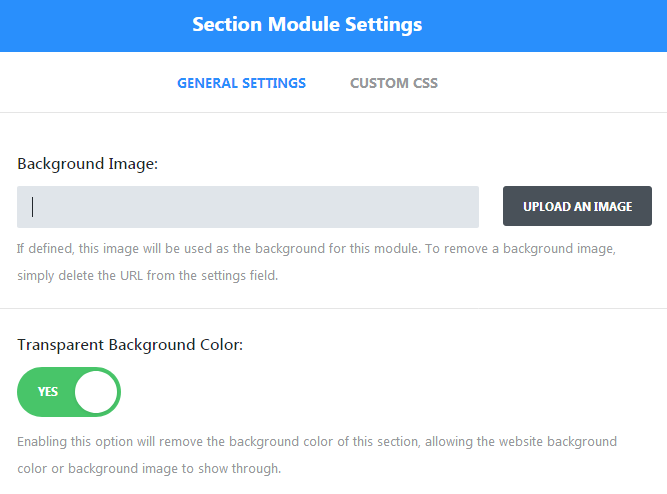
- Disable Transparent Background option to be able to add hex background color for your section. Enabling this option will remove the background color of this section, allowing the website background color or background image to show through.

- You can use background video for certain section on your site. Upload your video files to Background Video fields.
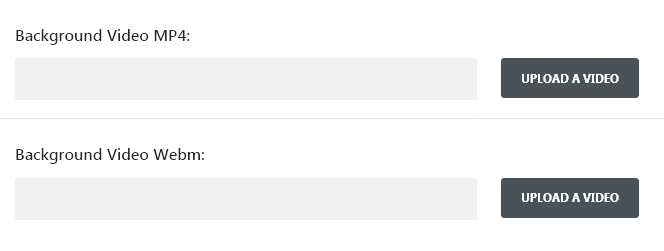
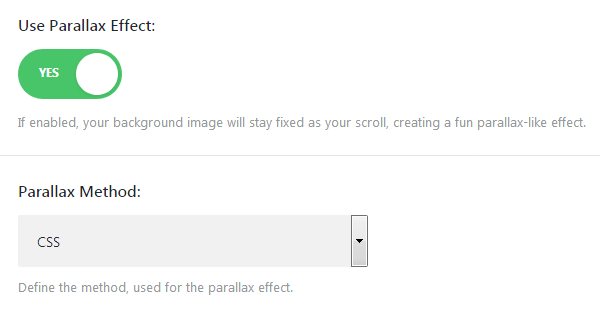
Please, note! All videos should be uploaded in both MP4 and WEBM formats to ensure maximum compatibility with all the browsers.Video backgrounds are disabled on mobile devices. Instead, your background image will be used. For this reason, you should define both a background image and a background video to ensure best results. Also, you can set up background video height and width and allow video to be paused by other players when they begin playing. - Enable/disable parallax effect. If Use Parallax Effect option is enabled, your background image will stay fixed as your scroll.
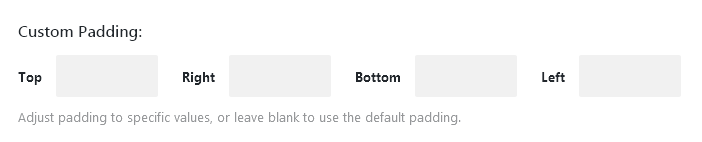
- Add custom padding section allows you to adjust section padding settings for your section. You can add custom passings for different devices here. Leave it blank to use the default padding.
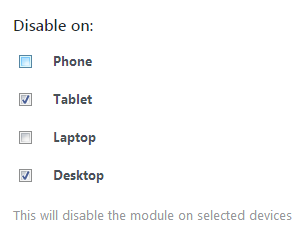
- The Display on option allows you to enable/disable section on selected devices.

Row style settings
Every section could contain several rows. The first thing you can do here is to change your rows layout. Click on the Change Structure button in top right row corner and select one of the presets available.
Now you can proceed to style settings. Click on the Settings tab in the same corner to change row style settings. 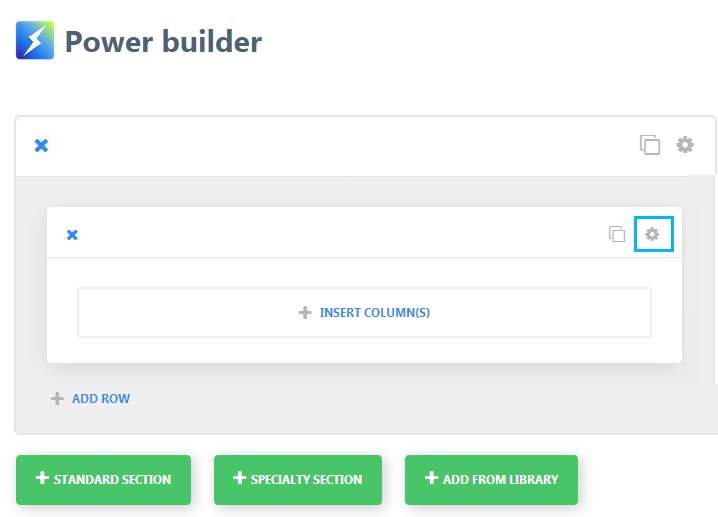
In Row Module Settings popup you will see several tabs available:
- General Settings tab allows you to change basic style settings. You can do the following changes here:
- Make row fullwidth. Enable this option to make your row fullwidth. It allows you to expand row to the edge of the browser window.
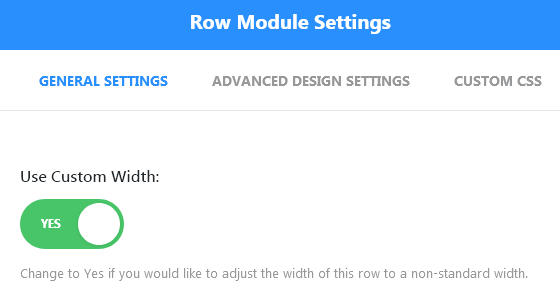
- Enable Use Custom Width option to set up custom width for the row.
- Change and adjust custom grid settings
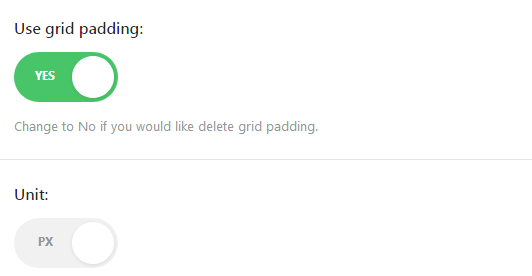
- Enable or disable custom padding on mobile devices.
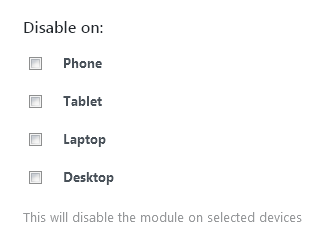
- Select whether the row is disabled or enabled on different devices under the Display on section.
- Make row fullwidth. Enable this option to make your row fullwidth. It allows you to expand row to the edge of the browser window.
- Advanced Design Settings allows to manage following settings:
- Add custom background for the row. You can use hex color, background image or video here. Requirements for the background images and videos are the same as for the section ones.
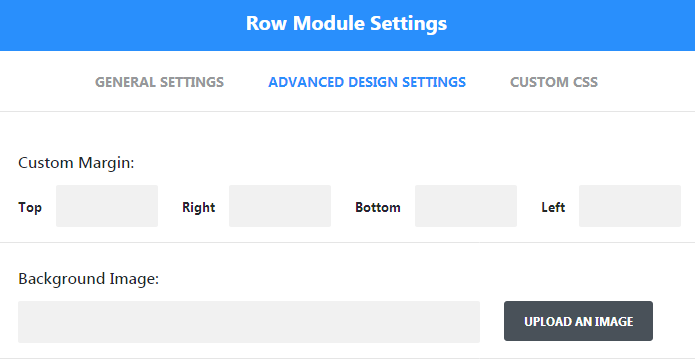
- Set custom margins for the block under the Custom Margin fields. You can use different margins for various devices.
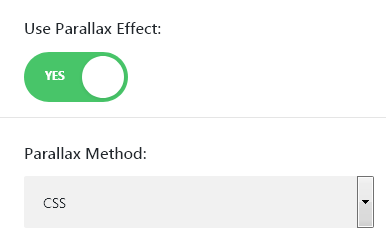
- Enable/disable parallax effect. If Use Parallax Effect is set to Yes you will need to select Parallax Method. You have two options here: css and true parallax.
- Equalize Column Heights.
- Also, you can set up different backgrounds for the columns included to the row. Here you can change column order on different devices, change column vertical alignment and set up column background color.
- Add custom background for the row. You can use hex color, background image or video here. Requirements for the background images and videos are the same as for the section ones.
- Custom CSS section is used for adding custom CSS properties to certain sections on your site. It allows you to avoid CSS files customization.
Now you know how to change sections and rows styles. New hacks are coming soon!