


From this tutorial you’ll learn how to change skins using TM Style Switcher plugin.

You need to know that only flagman templates (such as Monstroid2, WooStroid, Magic, JohnnyGo, etc.) have multiple skins. So if your template doesn’t have TM Style Switcher plugin, it seems you can’t switch skins using this method.
Changing Skins Using TM Style Switcher
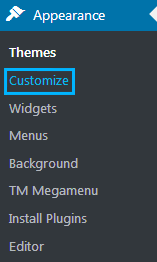
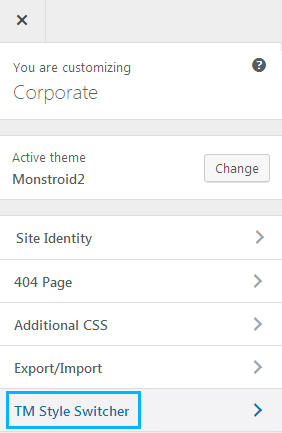
- First, you need to import your current customization settings in order to preserve them. Log in to WordPress Dashboard. Here navigate to Appearance > Customize tab in order to access WordPress Live Customizer.
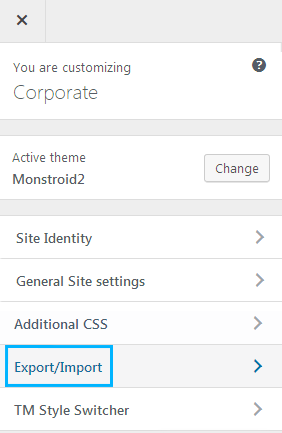
- Look for Export/Import tab on the left. Open it.
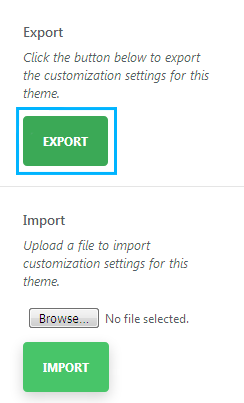
- Click on Export button to export your customization settings. You need to do it to save all the existing settings in order to be able to return your previous skin if the new one won’t satisfy you.
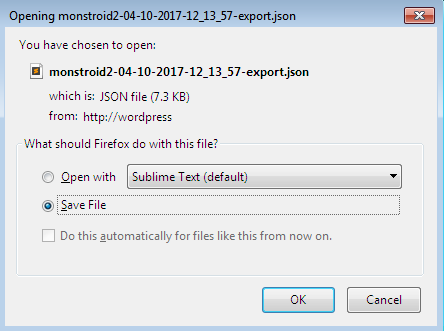
- CLick Ok to save the file.
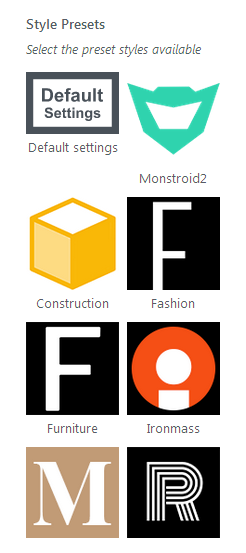
- Now let’s return to Customizer main menu and open TM Style Switcher tab. Here you can see the full list of available style presets. Select the one you want to use.
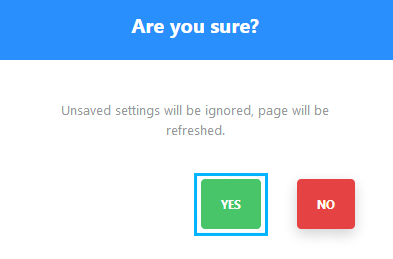
- You’ll see the popup window informing you that the previously made changes won’t be saved. Click on Yes button to proceed further.
- A new skin is active now!
This tutorial is based on Monstroid2 Multipurpose WordPress theme.
