From this tutorial you’ll learn how to create and change product categories in WooCommerce theme.

Creating Product Categories
- When there is a need to sort your online store products, one can add categories to assign certain products that have something in common to a category (or several categories).
- Let’s create a new category and add products to it. Log in to WordPress Dashboard and navigate to Products > Categories tab on the left.
- In the Product Categories block, you can add a new category. Fill in the title of the new category in the Name field.
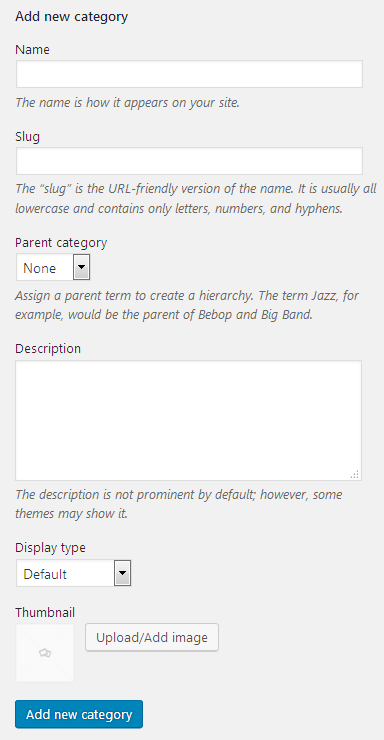
- Add a category slug, which has to be unique and contain only letters, numbers and hyphens.
- Select a parent category if there is a need, and you want to add a subcategory to some of the products.
- In the Description field you need to input the short description of the products that will be related to this new category.
- Select the display type for the category from the dropdown list of types.
- Add an image from the Media Library, or upload it from your hard drive to set it as a category thumbnail.
- Now we’re ready to add a new category. Click on Add new category button to add it.
Changing Product Categories
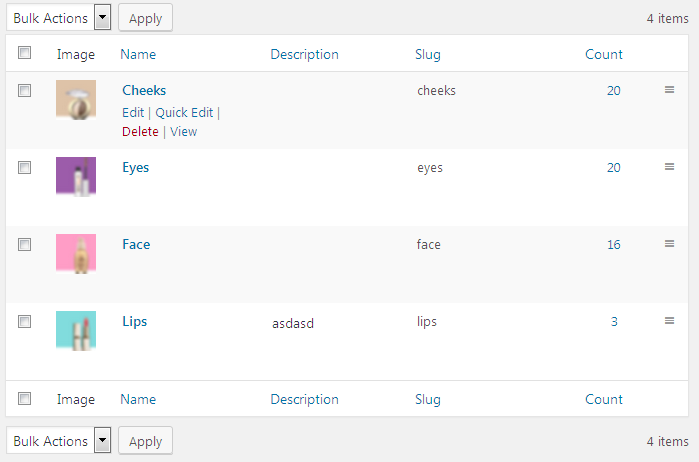
- On the right, you can view the list of the existing categories. Hover on one of the categories to see the options available for you. You can edit it, delete it, or use Quick Edit option to change the category name and slug.
- Now locate Products tab in the left column of the Dashboard. Open it to view the list of products (or add a new product using Add New tab).
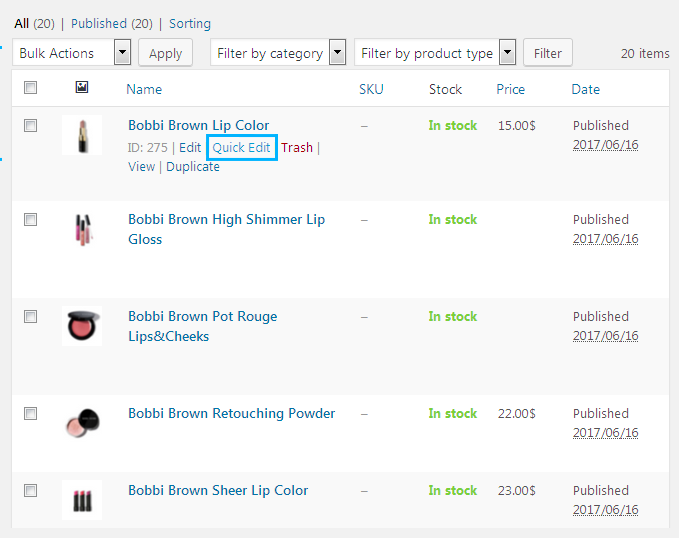
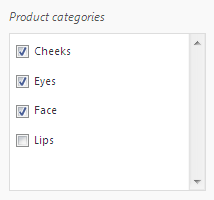
- Click on Quick Edit option under one of the products. You’ll see the list of categories in the Product Categories block on the right. Check the categories to which you want to assign the product.
- Click on Update button to save the changes.