


From this tutorial you’ll learn how to add post tags to the posts and manage them using WordPress Dashboard.

Adding Post Tags
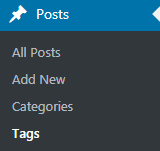
- Post tags assist visitors in navigating through website content. When one needs to find information on the subject and wants to find all the posts concerning the topic, he can use tags to view the full list of posts related to the topic he’s interested in. Let’s learn how to add tags to the posts. To do it, log in to WordPress Dashboard and navigate to Posts > Tags tab on the left of the Dashboard.
- When you add a tag, there’s no hierarchy, so the tags have to be unique and characterize the post content.
- Let’s add a new tag. In the Add New Tag block fill in the fields to create a tag. Here you need to add a tag name, define a slug and add a description of the tag. You can also add a thumbnail picture to it (upload it from your hard drive or select one from the Media Library).
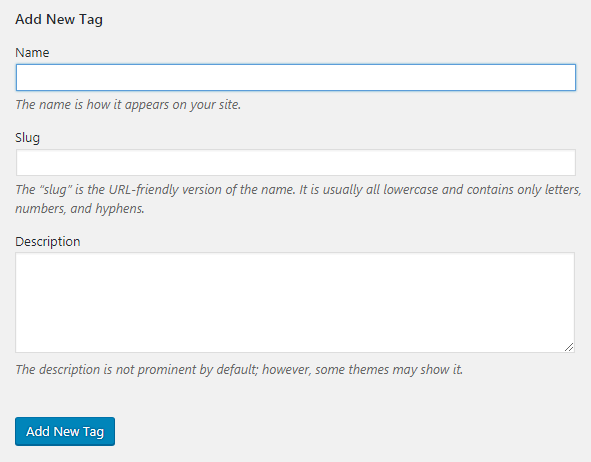
- After that click on Add New Tag button to save the newly created tag.
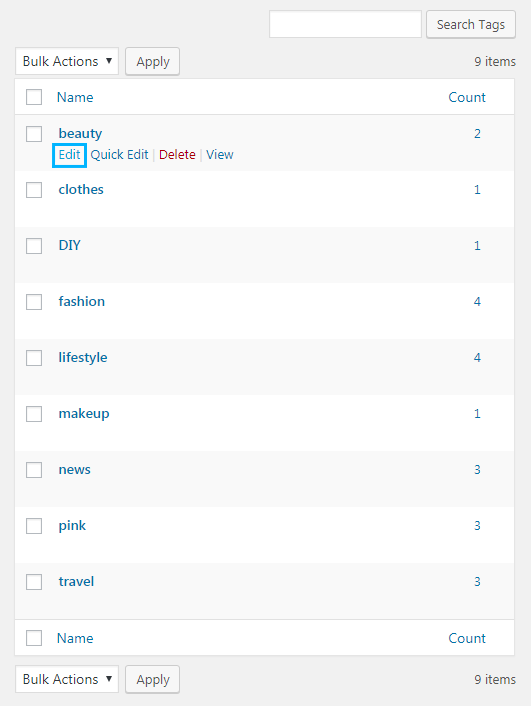
- On the right side of the screen, you’ll see the list of existing tags. Click on one of them and select Edit option to start editing its description, slug or title.
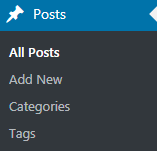
- To add a tag to one of the posts navigate to Posts > All Posts tab on the left of the Dashboard and open the post for editing.

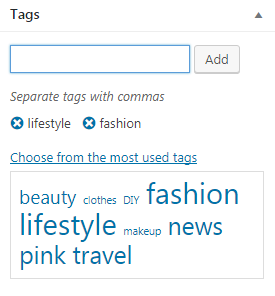
- On the right of the post editor page, you’ll see Tags block, where you can type in the tag for the post, or select one from the most used tags. If you want to add several tags to one post, please, separate them using commas.
- Then click on Update button to apply the changes.
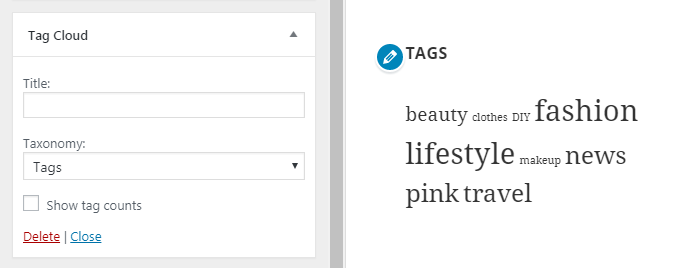
- You can also add Tag Cloud widget to your website. To do it navigate to Appearance > Customize tab in the left column of the Dashboard and open Widgets section. To learn more how to add widgets to the widget sections, feel free to read Widgets Customizer tutorial.
- Select Tag Cloud widget and customize its settings to show posts count, add a custom title to the cloud, etc.
- Then click on Save and Publish button to save the changes.
This tutorial is based on Surfing Responsive WordPress theme.
