WordPress is a popular content management system, which allows to install your theme, customize it, and adjust it to your needs.
You need to upload and install WordPress CMS before installing a template itself. Let’s learn how to upload WordPress engine to server.
Preparation
- To upload WordPress, first, you’ll have to download it to your personal computer.
- Then unpack it with any archive manager, which supports .zip format. It can be WinRar, WinZip, Stuffit Expander. Choose the one that is more convenient for you.
- Once the archive is unpacked, upload the files to the www or public_html directory.
- To upload files to the server you can use cPanel, or do it by the means of FTP client.
Upload WordPress with FTP file manager
- First, you have to install an FTP client. Choose the one, that you want to use, download and install it to your hard drive.
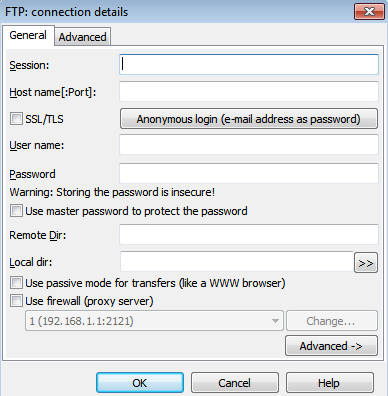
- Launch your FTP client and set up your hosting server details. You’ll need to define:
- host (your server’s address);
- your username;
- your password;
- port (usually it is ‘21’).

- After that, you will be able to connect to your server and see the folders, which it contains.
- It is quite easy to upload the files to your server’s folder: just drag them from the area, which contains the files on your personal computer, and drop them to the area, where your server’s folder is opened.

- You’ll see the uploading process in the progress bar. The progress may take a while.
How to upload WordPress using cPanel
The cPanel interfaces may differ, depending on what hosting you are using, but the steps it usually takes to upload files are similar.
- Log in to your hosting Control Panel (cPanel).
- Go to the root server directory. It is usually named www or public_html.
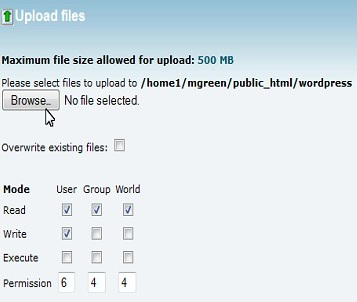
- Find the Upload button and upload the necessary files.

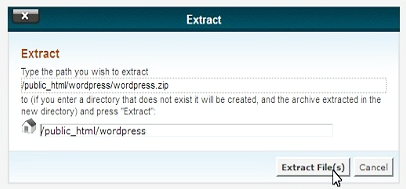
- Uncompress them with the Extract button on your top toolbar.

- Congratulations! Everything is done!


