When using Posts Module you will be able to create and customize different kinds of posts with the ease and precision of a pro. This module provides you with the tools, that help you arrange your posts in different layouts. First of all, the module enables you to make your posts presentation attractive.
Power Builder Posts Module Settings
- Columns — here you can define the number of columns, in which the posts will be organized. You can also define the number of columns for different devices separately.

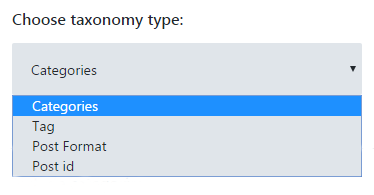
- Choose Taxonomy Type — select the preferable type of taxonomy, that you want to use.
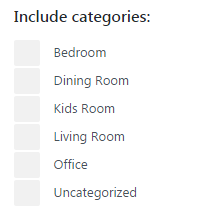
- Include Categories — here you need to define the categories, that you want to display using the Posts module.
- Posts Count — set the posts count for the module. Otherwise, you can leave the count unspecified to show all the posts.

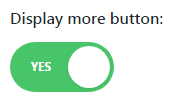
- Display More Button — here you can enable More button for the posts.
- More Button Text — define the custom text for a More button. You can also leave the field blank if you want to use a default title.

- Excerpt Length — here you can set the length of the post’s excerpts. Otherwise, you can leave the length unspecified to disable any excerpts.

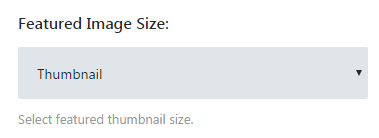
- Featured Image Size — here you can specify the size of the featured image. Just choose the needed size from the dropdown list in order to apply it.
- Display Post Meta Data — enable this option to show the information about date when the post was published, post’s author, etc. In this case, the visitors will be able to view meta information when reading the posts in this module.
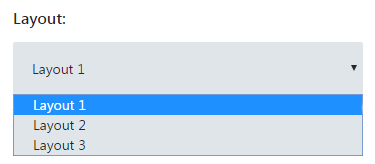
- Layout — choose one of the available layouts from the list, in order to use it for the post module.
- Use gutter between columns — here you can apply using gutter between the rows, where the posts are contained.
This tutorial is based on TechnoFix Tech Repair Company Responsive WordPress theme.


