


From this tutorial you’ll learn how to install and use PolyLang plugin to add localization for themes and plugins.

Installing PolyLang
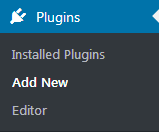
- To install PolyLang navigate to WordPress Dashboard and locate Plugins > Add New tab on the left.
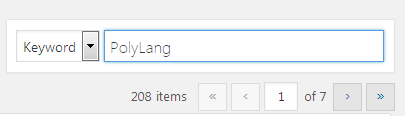
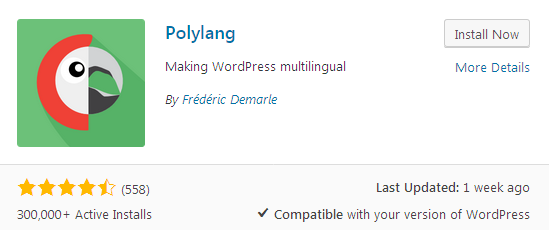
- Type in PolyLang in the search box and search for PolyLang plugin. Click on Install button.
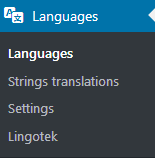
- Activate PolyLang plugin. Now you can see Languages tab on the left of the Dashboard.
Adding languages
- Once you’ve installed PolyLang, you can proceed to adding languages. To do it navigate to Languages > Languages tab on the left of the Dashboard.
- On the left you can see Add new language field with multiple language settings, such as language full name, locale, language code, etc.
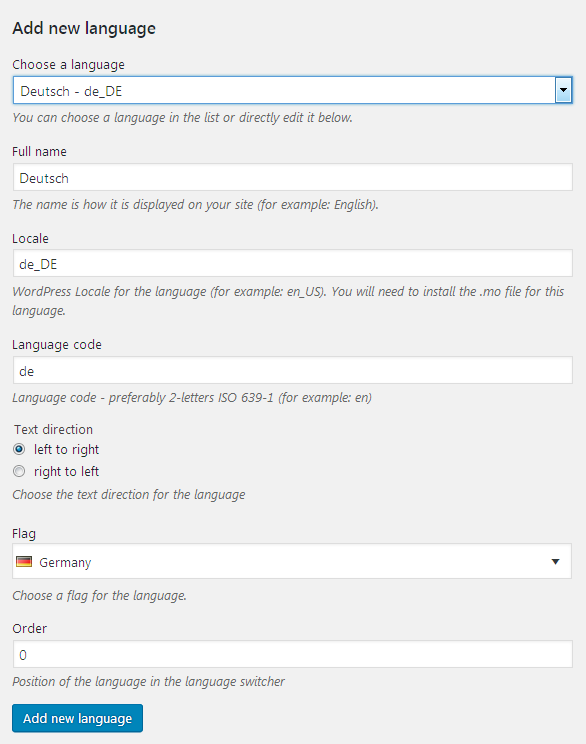
- To add a new language choose it from the dropdown list.
- Define the full name of the language, type in its locale name, code, select the necessary text direction (left-to-right, right-to-left, etc.).
- Specify the language flag.
- Set the order of the language in the language switcher.
- Then click on Add new language button to add it to the list of the existing languages.
Strings translation
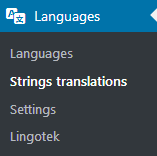
- With PolyLang you can translate the strings of text that are used in plugins and themes. To start translating strings navigate to Languages > String Translations tab on the left of the Dashboard and select the group which strings you need to translate.
- You’ll see the strings that are to be translated to your selected language. Type in the translation for each of the strings in the field on the right and click on Save Changes button.

- Now you know how to create localization for themes and plugins using PolyLang plugin.

