If you want your website’s content organized, you will definitely need to use categories to make your posts structure clear and obvious. Creating and using categories makes website navigation for visitors easy, as they can quickly find the information they are looking for using categories structure.
A Category is a classification element, that creates a diversion between various items. You can assign a category to a couple of posts. As a result, when a visitor enters the category, he is also able to view all the related posts. From this tutorial, you’ll find out how to add categories to the posts.
Adding a Category
Now let’s find out how to add and create new categories.

- To edit categories log in to Administration panel (Dashboard), then proceed to Posts tab in the left column. You can see the Categories sub menu. Open it. Here you can customize and add new categories.
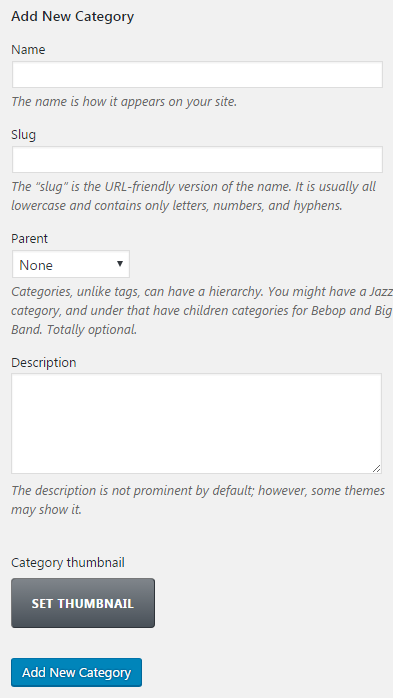
- To add a new category fill in the required fields in the Add new category form:
- name — in this field you need to specify a category name;
- slug — here you can choose a short and recognizable name for a new category;
- parent — if you need to assign the current category to another category as a child one, choose a parent category;If you don’t choose a parent category, your new category will become a parent category.
- description — here you can enter your new category description to tell the visitors what kind of information it contains.
- category thumbnail — here you can set a thumbnail image.

- When everything is done, you’ll need to click on Add new Category button, and it will appear in the list of available categories. You can also add a category right from your post editing form.

- Navigate to the Posts > Add new tab and locate the small Categories block on the right. Click on the Add new category link to see the additional form where you can add a new category.
As you can see, adding a new category is an easy matter!
This tutorial is based on Bellaina Real Estate WordPress theme.


