From this tutorial you’ll learn how to use Power Builder Custom CSS section to customize modules easily without applying changes to CSS files.
Customization with Custom CSS Section
- Navigate to Pages tab in the left column of WordPress Dashboard.

- Locate the page you need to edit.

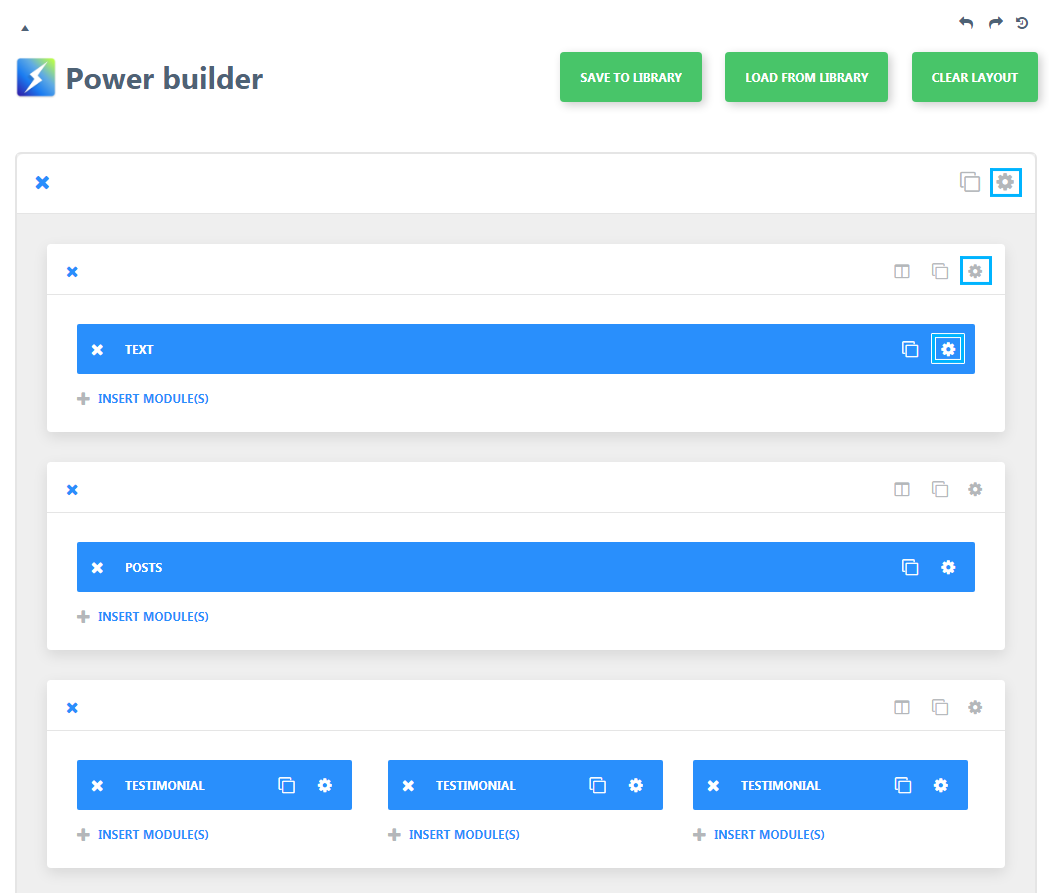
- Open Module Settings. To do it click on the corresponding button in the top right corner.

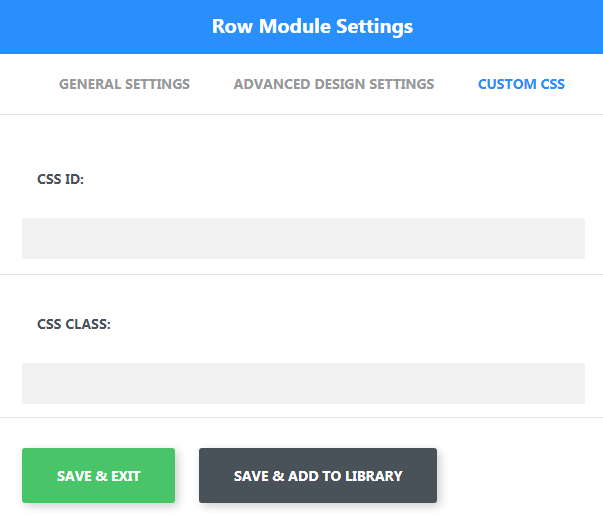
- Switch to Custom CSS tab in the popup window.

- In this section you can add CSS ID to define HTML element you need to style. Here you can add section, row or module CSS ID to apply extra CSS code to the specific module or row.
- The main section for each module has custom CSS fields to add pseudo classes (e. g., before, after). You can also add CSS code for every row, column, or whole module.
E.g., you can add a specific background to the column, as shown in the picture below. Be sure not to use brackets.
- When you add CSS code to one of the elements, a custom CSS selector is added next to the field title. There is a specific selector for every module.

- If everything is ready, click on Save and Exit button to save the changes. Now you know how to work with Power Builder Custom CSS section.


