


From this tutorial you’ll learn how to update Power Builder plugin manually using WordPress Dashboard.

Updating Power Builder Plugin
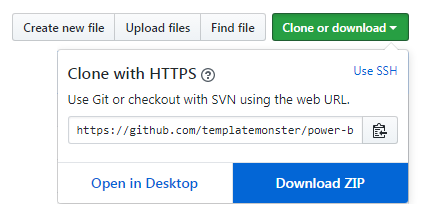
Let’s download the latest version of Power Builder plugin. You can download it using this link. Simply click on Clone or Download > Download ZIP button, and save the file to your default downloads folder.
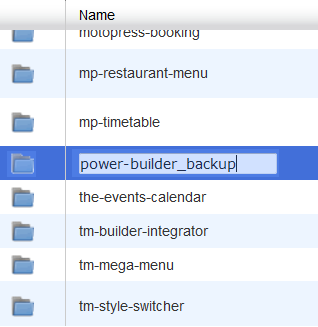
Now we need to create a backup for power-builder folder. To do it proceed to /wp-content/plugins folder on your server. Here locate power-builder folder and rename it to power-builder_backup.
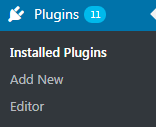
Let’s install a new version of Power Builder plugin. To do it log in to WordPress Dashboard and navigate to Plugins tab in the left column.
Proceed to Add New sub menu and install power-builder-master.zip file. Don’t activate it immediately!
Now navigate to your hosting server cPanel and rename power-builder-master folder to power-builder.
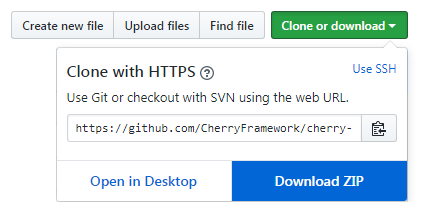
Download cherry-framework component to make the plugin work. You can do it here. Extract .zip archive you’ve downloaded to your personal computer. Rename the folder where the extracted files are contained, to cherry-framework.
Upload the folder to /wp-content/plugins/power-builder directory using FTP client or your hosting server cPanel file manager.
Now you need to activate Power Builder plugin. You can do it from your WordPress Dashboard. Navigate to Plugins > Installed Plugins and click on Activate link under the Power Builder line.

Now you know how to update Power Builder plugin manually.

