


From this tutorial you’ll learn how to enable website caching using WP Super Cache plugin.
Enabling Website Caching
- First, make sure that WP Super Cache plugin is installed on your website. If it is not, then you can download it from WP Super Cache plugin official page. Install and activate it using WordPress Dashboard. You can learn how to install plugins from Manual Plugins Installation tutorial.
- Now let’s enable caching on your website. Navigate to Settings tab in the left column of the Dashboard, and locate WP Super Cache.
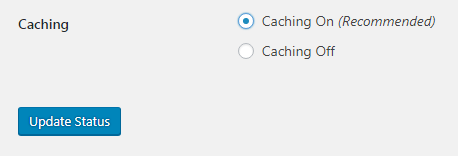
- Turn on Caching On option and click on Update Status button to apply caching.
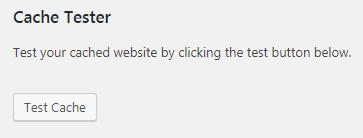
- Check how the caching works. To do it click Test Cache button (it is located just below Update Status button).
- If everything works properly, you’ll view the next notice.
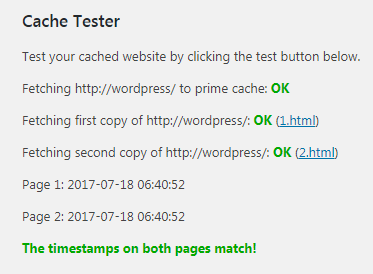 Pay attention to the time lapses for the pages. They have to be similar if the caching works.
Mod_rewrite Settings
- You may need to use specific mod_rewrite settings. In this case, you have to switch to Advanced settings tab on the WP Super Cache page. Here you can use mod_rewrite to serve cache files option. Don’t forget to save the changes using Update Status button.
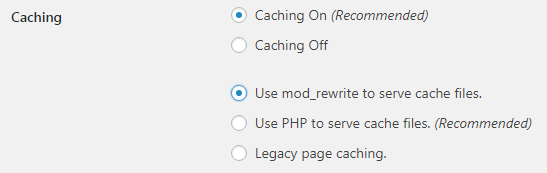
- Scroll the page down to add the necessary mod_rewrite rules. Click on Update mod_rewrite rules to update them. The section will become green when the rules are applied.
Garbage Collection
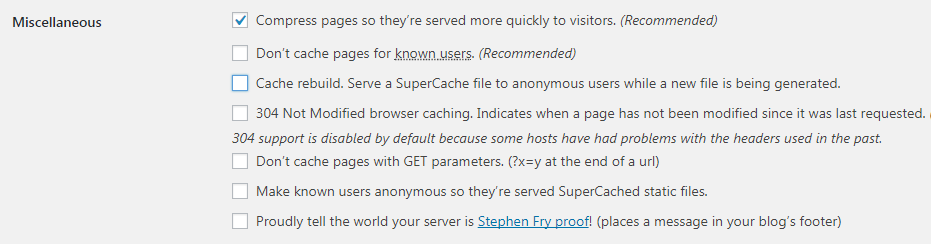
- If you get the notice about garbage collection, then locate Expiry Time & Garbage Collection section and define the time and frequency for the collecting garbage of cached files on your server. You may as well enable files compression. To do it mark Compress pages so they’re served more quickly to visitors option.
Using Content Delivery Network
- There is another way to cache lots of static files, that need to be loaded with each page request (they are images, stylesheets, JavaScript, etc). These files can be served by the means of Content Delivery Network (CDN), which you can set using WP Super Cache plugin.
- To enable CDN click on CDN tab and mark Enable CDN Support option.
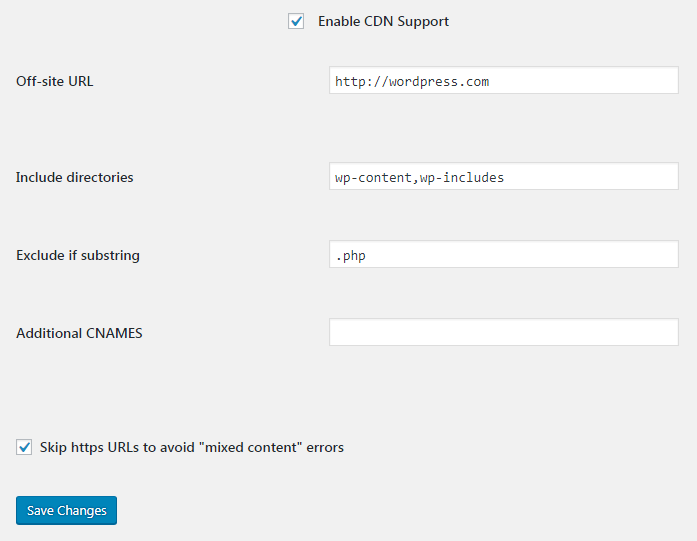
- In the Off-Site URL enter your URL address. It will become the URL of your pullzone.
- Enable Skip https URLs to avoid “mixed content” errors” option, and then save the changes. As a result, your website will serve static content using CDN.
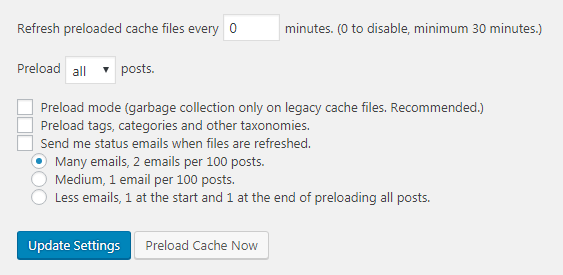
- You can create super cache static files for all of the posts and pages and serve a static website using preload mode of WP Super Cache plugin. Refresh preload cache options by default are set to zero, and minimum required time is 30 minutes. As you can see, it takes some time to preload your entire website. You may leave the default value zero if you don’t want the static files to become expired.
- Now you know how to enable website caching using WP Super Cache plugin.
This tutorial is based on Fashion Blog WordPress theme.
