You might have already noticed that WooCommerce plugin was updated. Did you do an update and got an issue with the product page layout, cart functionality or anything else? To fix these issues you need to update your theme to make it compatible with the most recent WooCommerce plugin release.
We are ready to show you a few simple steps that will help you while updating the theme. You will definitely have a few questions:

Is my theme compatible with the most recent WooCommerce plugin version?
This information is specified on your template details page. Please, open your template preview page and check the compatibility section there. If you see that your template is compatible with the latest version of WooCommerce plugin feel free to proceed to the next step.
Will I lose my site data after the update?
The first and the main thing to do is to backup your website. Always backup the site prior any updates. You need to perform a few simple actions:
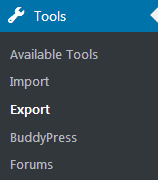
- To do a backup of WordPress GPL theme, please navigate to Tools > Export section in your site backend.
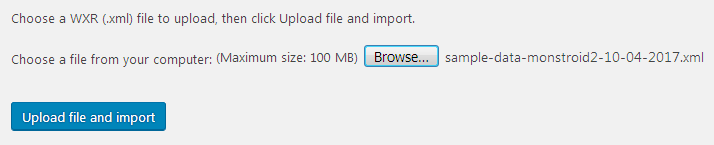
When you click the Download Export File WordPress creates an XML file for you to save it to your computer. This file contains your site posts, pages, comments, custom fields, categories and tags.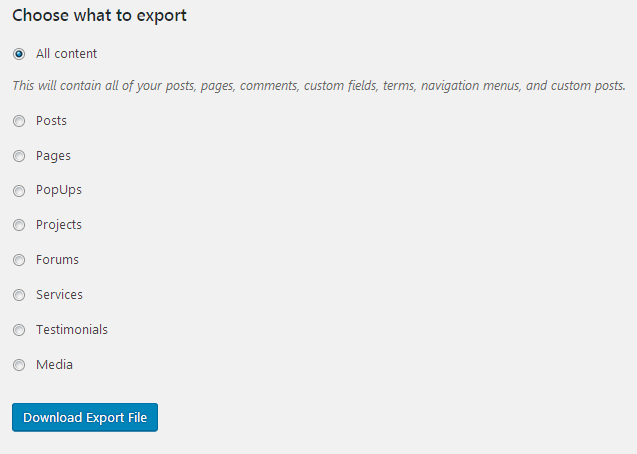
Once you’ve saved the downloaded file you can use the Import function in another WordPress installation to import the content from this site. Or you can use this file to restore your content in future.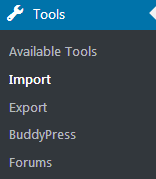
- Once content backup is done, do your widgets backup. The easiest way to do that is to export widgets from Tools > Widgets Importer & Exporter section in your Dashboard.
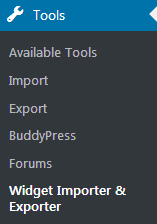
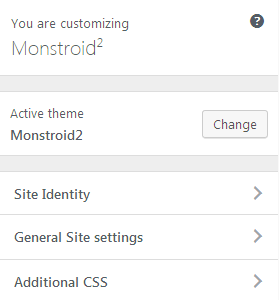
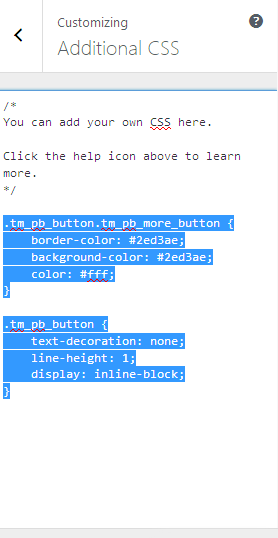
Please, keep in mind, you should have the Widgets Importer & Exporter plugin installed to your website. You can install it under Plugins > Add new section in your site Dashboard. Enter the Widgets Importer & Exporter to the search field on that page, install and activate it. - And, of course, save additional CSS code you have added. To save it open the Appearance > Customizer > Additional CSS section in your WordPress Dashboard. Copy all the CSS code you see there to some text file.
- Backup is done now!
What’s next? How do I do an update?
The answer is very simple. The first thing you need to do is to rename your theme folder: wp-content/themes/your_theme_name folder to wp-content / themes / your_theme_name_backup. Here your_theme_name stands for the actual theme name. 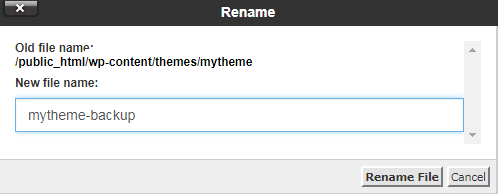
Redownload your theme files.
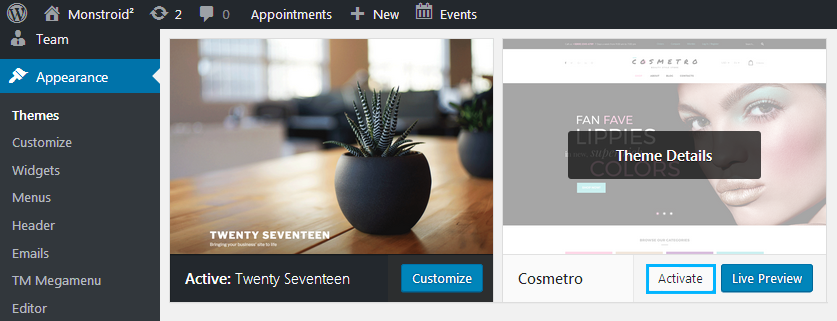
Alternatively you can upload the unzipped theme folder via FTP or hosting cPanel. Upload it to the wp-content/themes directory on your server. Activate theme under the Appearance > Themes section in your WordPress Dashboard after the upload.
Import site widgets and add your custom CSS changes back after completing the new theme installation.
You can add your custom CSS code to the Appearance > Customize > Additional CSS section in site Dashboard.
Then import your widgets under the Tools > Widgets Importer & Exporter section in your WordPress Dashboard.